

Inbound File Transfer Activity in Salesforce Marketing Cloud
Learn how Inbound File Transfer works in Salesforce Marketing Cloud, enabling secure automated data imports and seamless integration.
By Sharan Kumar Mariappan
Assistant Software Developer
Inbound File Transfer Activity in Salesforce Marketing Cloud
Marketing cloud needs data from the external server, Am I correct? Are you wondered how the data come into the Marketing Cloud environment? Let's see in this blog in detail.
Say for example, if the person is purchasing a product. Soon after the purchase, the company wants to greet and thank the user for purchasing their product. In addition to that they are going to send the invoice for the purchase. The data will come as a batch file in the zipped format from the CRM. Since every purchases will be maintained and recorded in the Sales Cloud and through the batch file, the data will be zipped or encrypted (For security purpose). Let see, how the encrypted file will enter into the system and how the inbound file transfer activity is achieved in SFMC.
Steps involved in Inbound File Transfer Activity
Step 1: Create a data extensions
Here, in this example, I have used two files that has been zipped and I am going to upload the file that contains data will be stored in the data extension (Used for inbound activity). I have been creating two data extensions and naming them as SQL_InvoiceDetail and SQL_CUSTOMERS for this demo purposes. I hope you are aware of creating a data extension. If not, not a problem. Please review our blog for data extension creation.
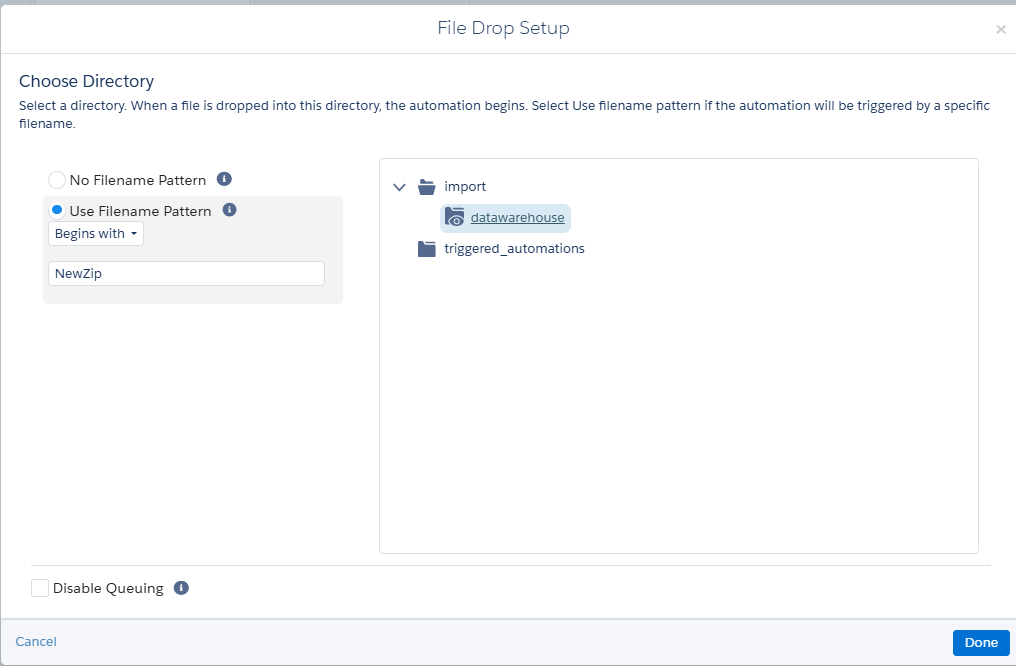
Step 2: File drop entry source in the Automation Studio
Navigate to automation studio in the marketing cloud. I have used the file-naming pattern which begins with NewZip and configured from where the file will be included into the system (that is folder location).
Step 3: File Transfer Activity
File transfer activity will be used to encrypt or decrypt the file and transferring the files between Safehouse and FTP location. Here, we are going to include the data from the file, to the data extensions. So, I have checked the first checkbox as shown in the image below.
Enter the name that has been used in the file naming pattern that should exactly match the name That you are using for zipped CSV files (during import). Select the source file location from where the file enters (FTP location name). Select the file management action as Unzip compressed file and click on next. Review the summary and click on finish.

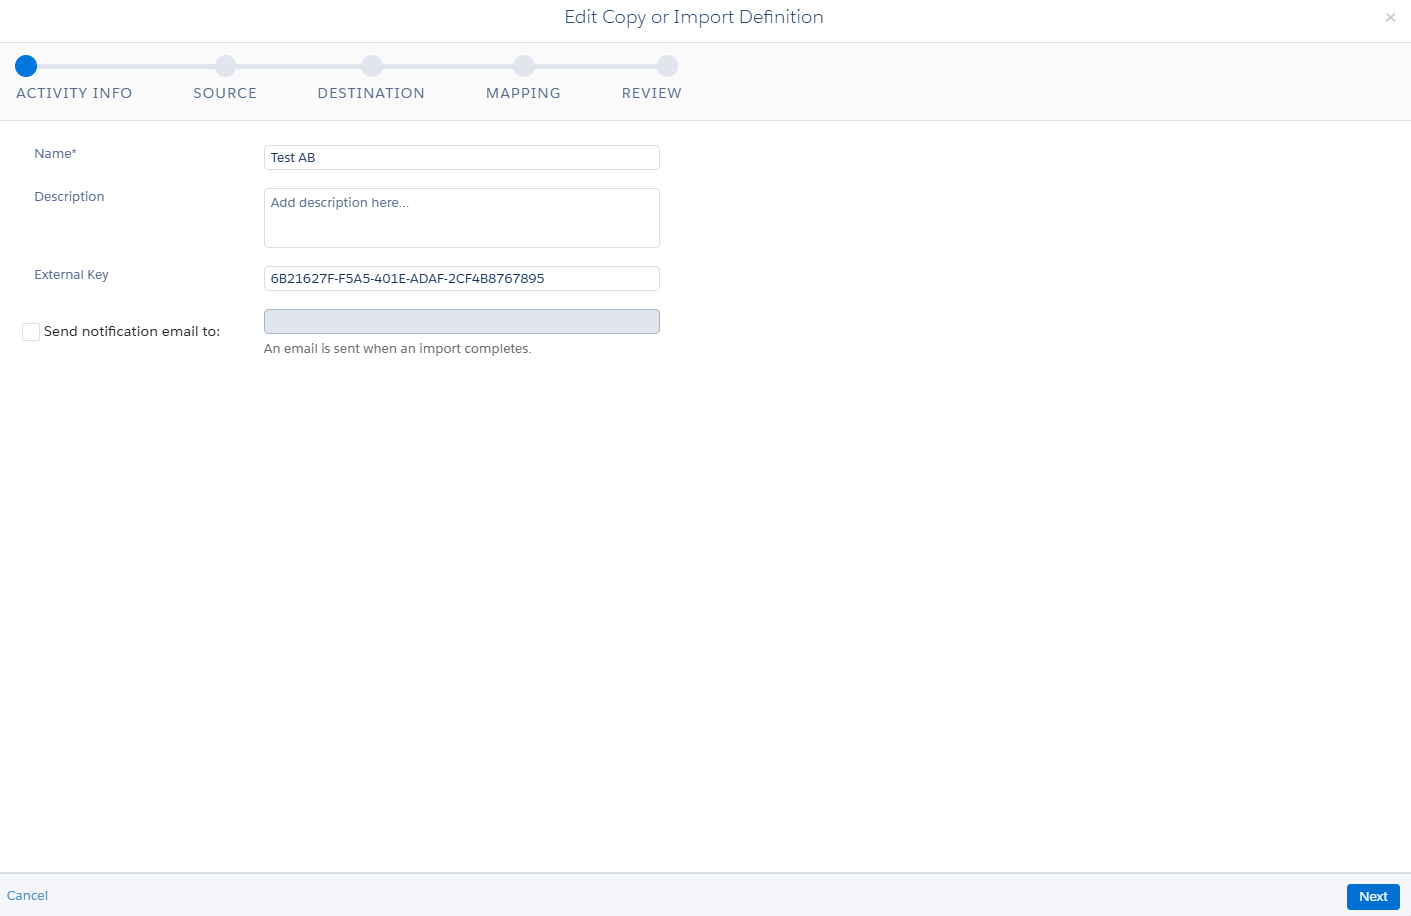
Step 4: Data Copy or Import Activity
For creating this activity, we need to give a name and description (optional) in the activity info section. Then, click on next.
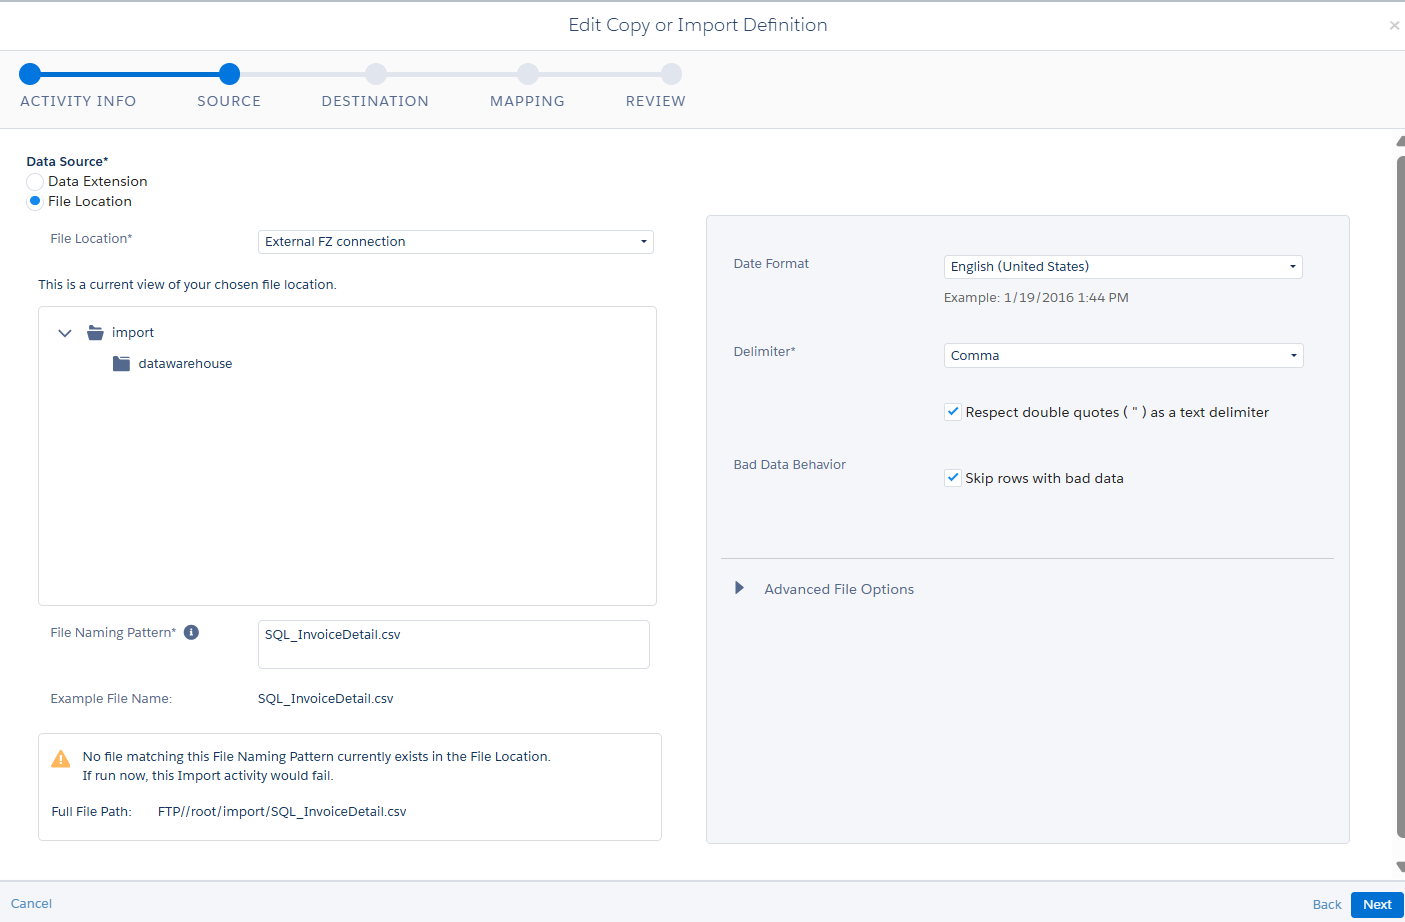
In the next section, select the file location and I have chosen the file location apart from the previously chosen location to avoid the confusion as shown below. Also, if the file is transferred to the safehouse, the naming pattern would be the file using. That should be added to the File Naming Pattern.
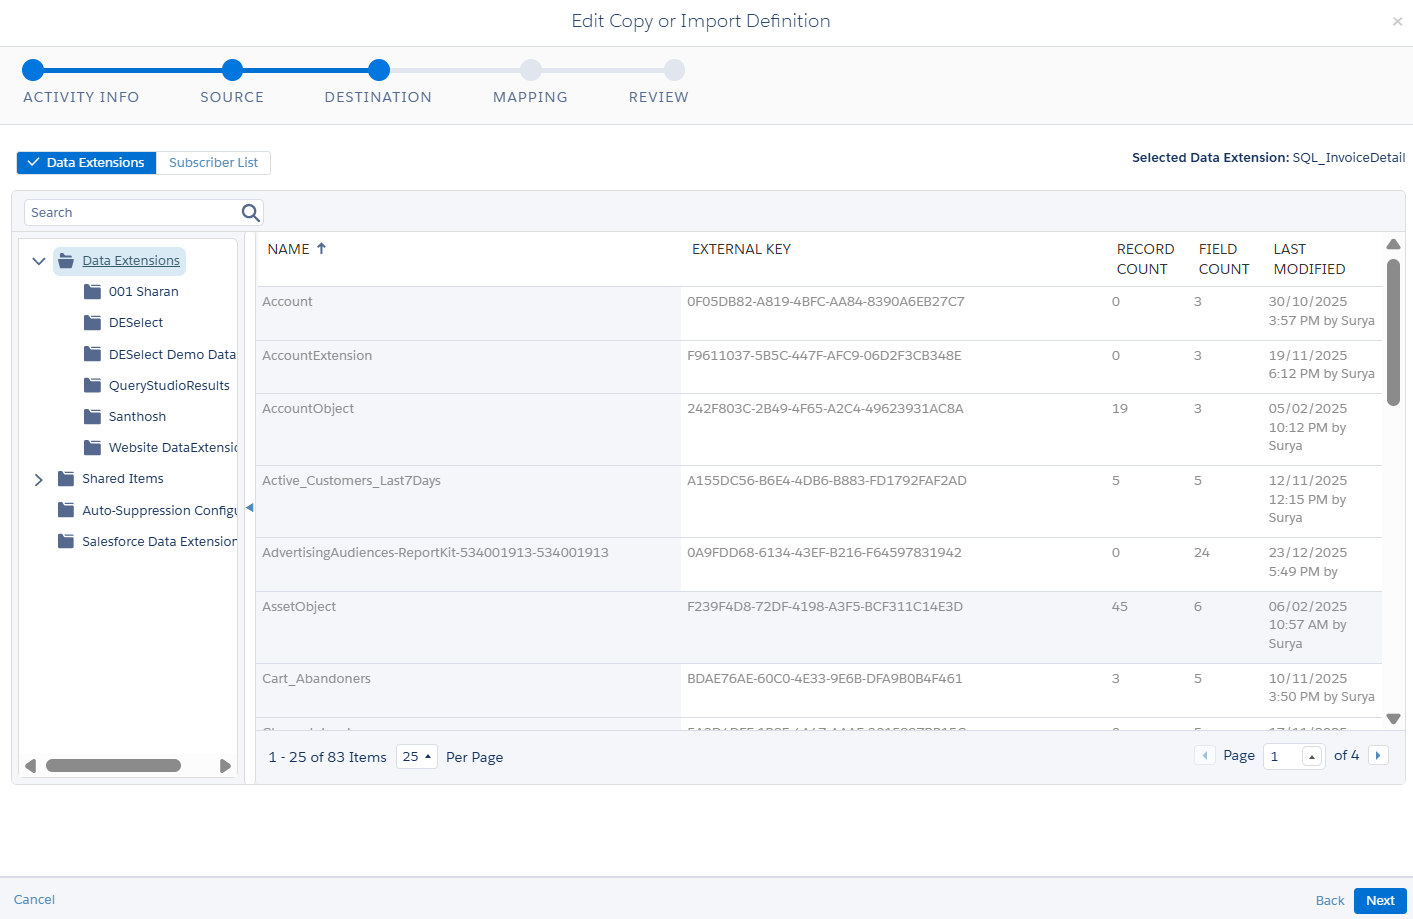
Then, choose the destination where the data from the unzipped CSV file should be stored.
Then, it comes mapping section. I have just selected the overwrite and map by the ordinal. Based on your requirement, you just select the appropriate mapping fields.
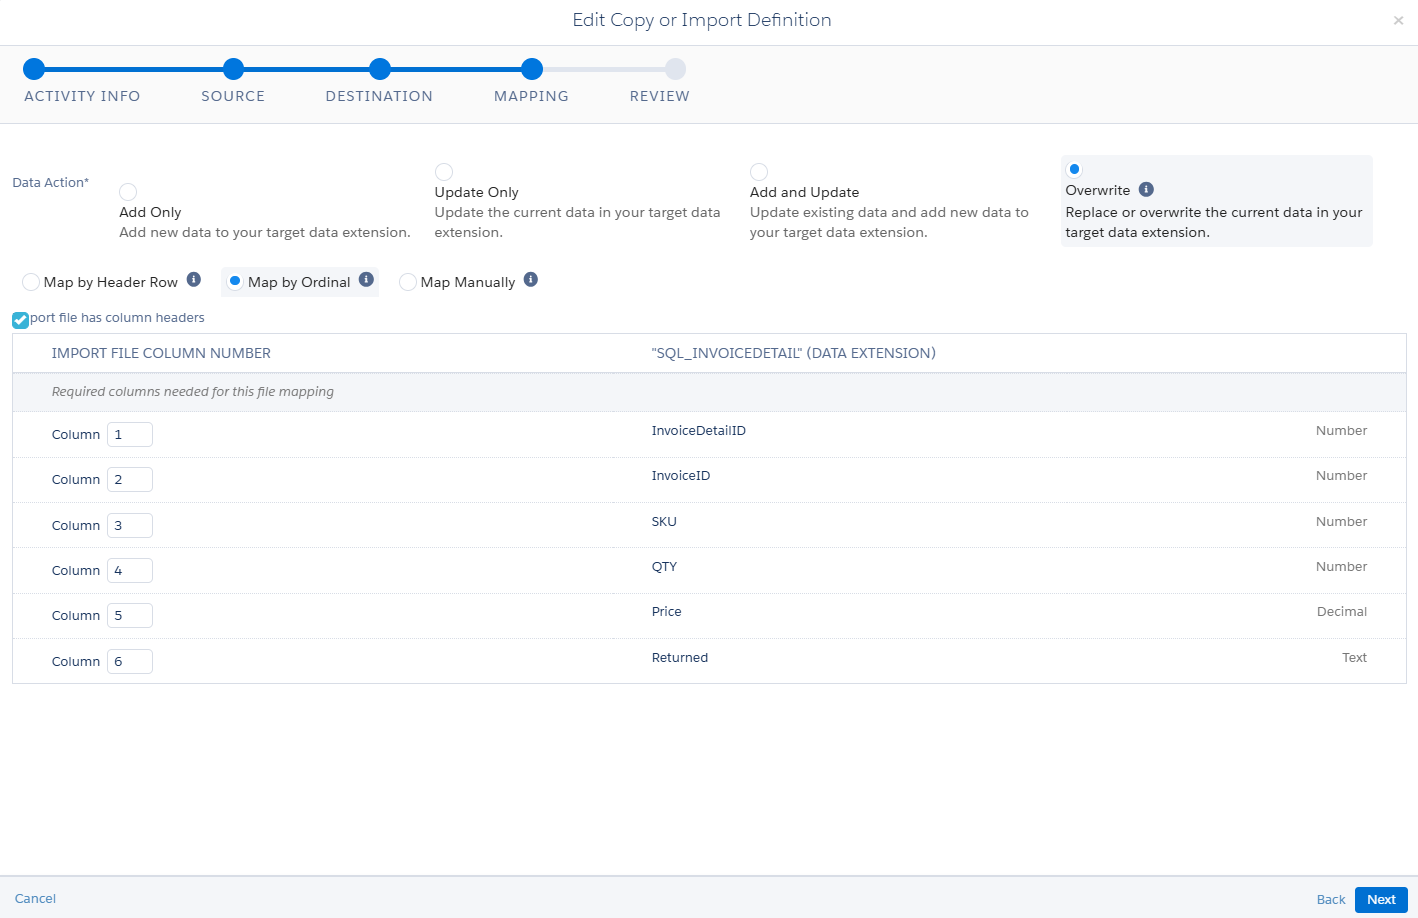
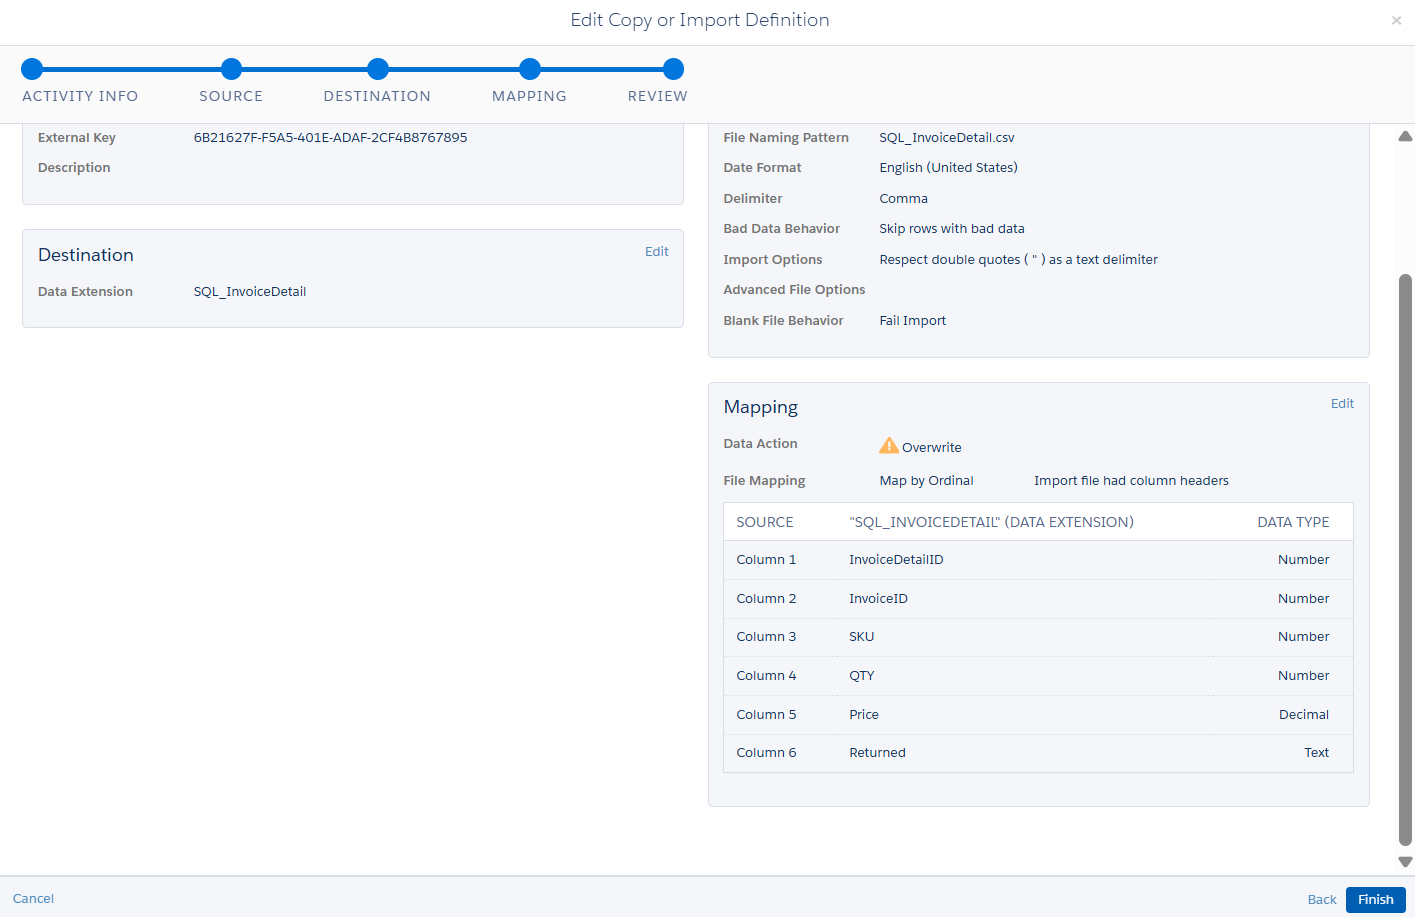
Finally review and click on next.
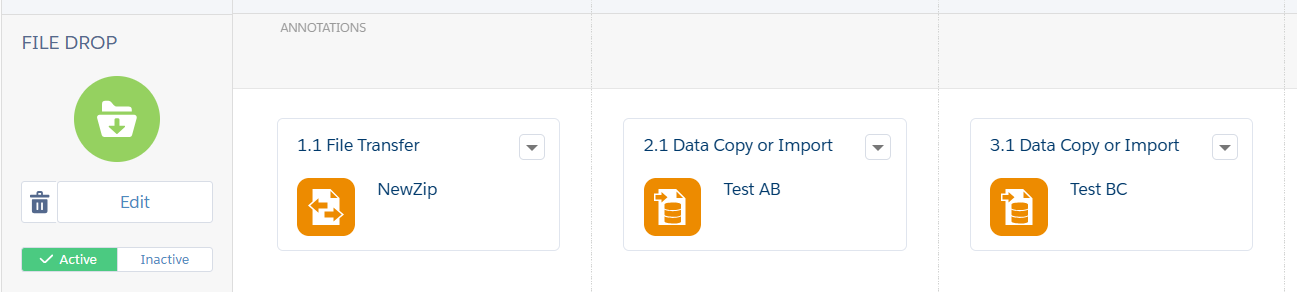
Similarly, create for the another data extension that is SQL_CUSTOMER. Apply the same steps again.
Step 5: Activation
Give the name to activity and activate the automation by saving.
Then drop the file. When you drop the file that contains same naming pattern (Zip file). The automation will start as shown inthe figure.
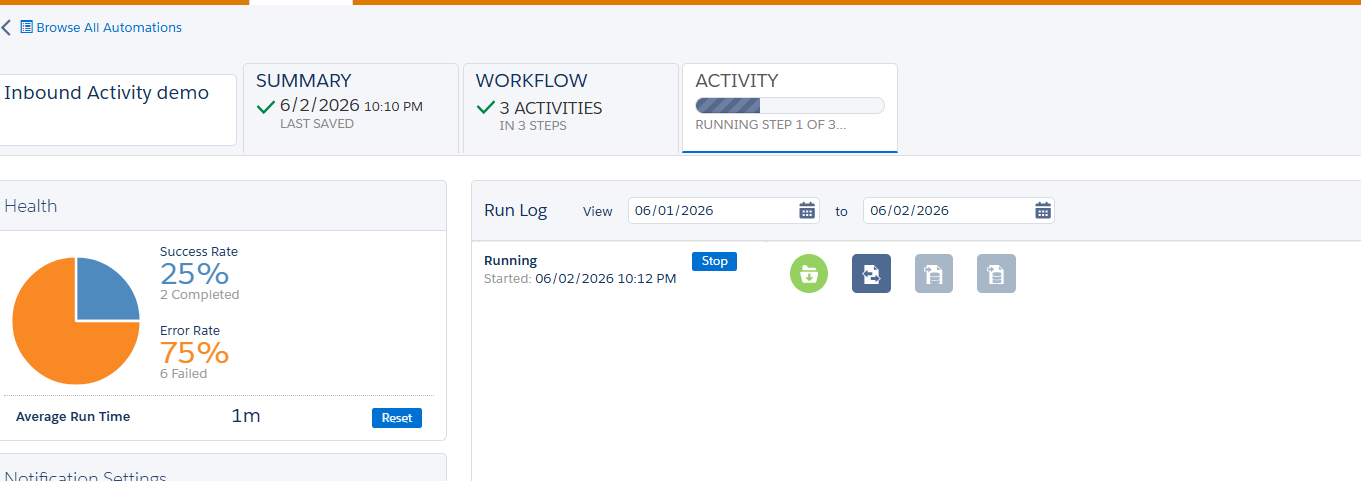
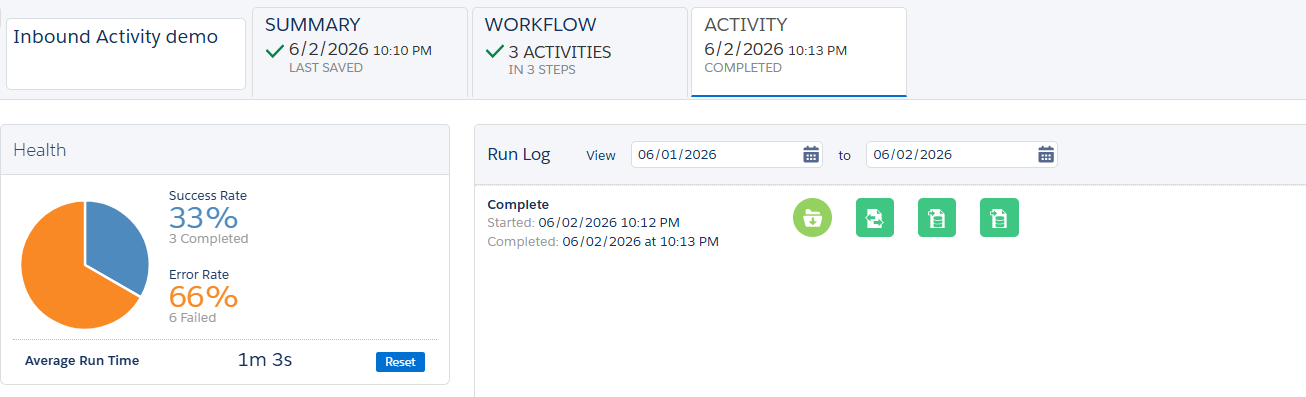
Once the activities has been completed, we could check the log and also the data extension whether data has been imported.

Conclusion
I hope this blog helped you understand how the Inbound File Transfer activity works in Salesforce Marketing Cloud. Follow us for more updates and insights on marketing-related topics and best practices. Mastering file transfer activities ensures smoother data imports, better automation, and improved campaign performance. Stay tuned for more practical guides, real-time use cases, and expert tips to enhance your marketing automation journey.