

Manual Email Sending in Marketing Cloud Engagement
This blog explains how to send emails manually in Salesforce Marketing Cloud, to run one-time promotions, or send personalized messages without any automation.
By Surya Vijayakumar
Salesforce Developer
Manual Email Sending in Marketing Cloud Engagement
Sending emails manually in Salesforce Marketing Cloud might seem old-school, but it is actually a super handy skill for any marketer. Sure, automation does most of the heavy lifting, but sometimes you just need that extra control, like for a last-minute promotion or a one-off announcement. In this blog, I will show you how to send emails manually in Marketing Cloud, explain why it’s useful, and outline the steps to complete the process correctly.
Manual sending in Salesforce Marketing Cloud allows you to control your audience, timing, and content exactly as you want. Emails can be sent either manually or through automation. In this blog, we’ll focus on the process of sending emails manually within Marketing Cloud.
Let’s jump in! 🚀
Preparing Your Email Before Sending
Before you hit send, you need to make sure all your data is ready. In the last blog, we went through creating a data extension, designing a template, and adding records in Salesforce Marketing Cloud. If you missed it, check it out first so you’re all set.
Note: You can’t send emails without records, so make sure those steps are done before moving on.
Step-by-Step Guide to Manual Email Sending
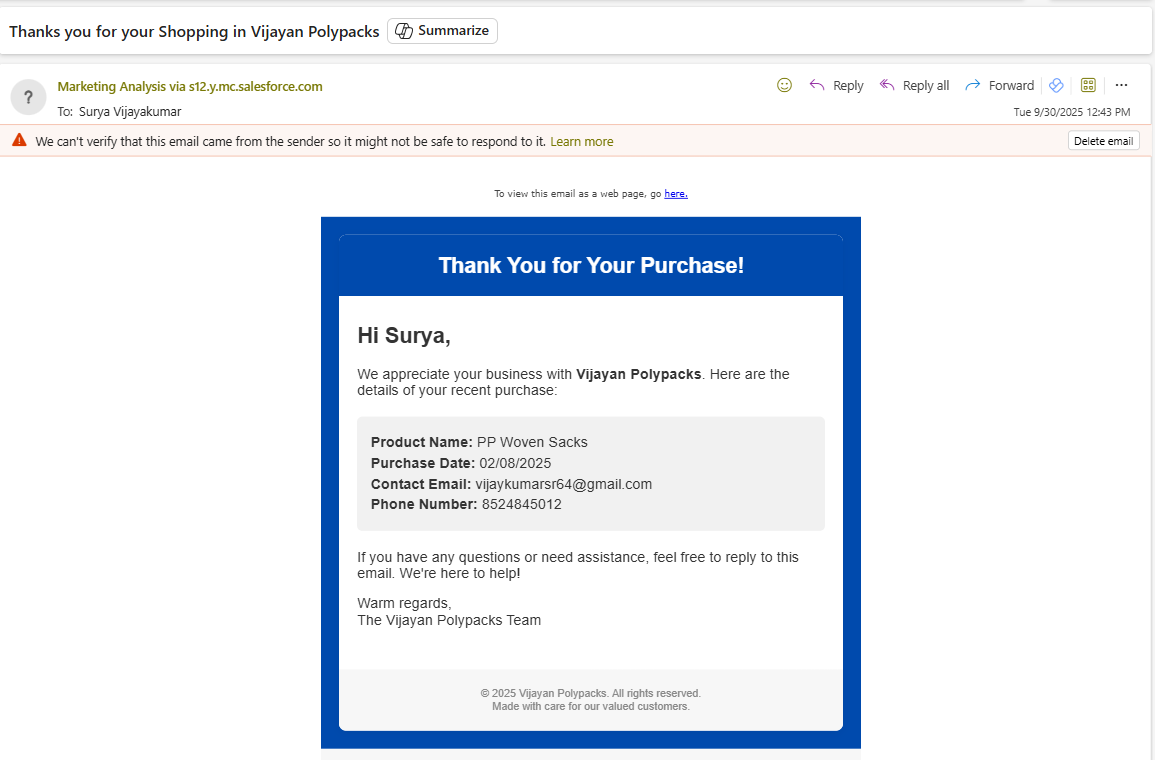
Let’s consider a business example: On an e-commerce platform, when a customer purchases a dress, a personalized thank-you email should be manually sent to them by the end of the day. This email acknowledges their purchase and helps enhance customer satisfaction, may we could also add the feedback survey in the email.
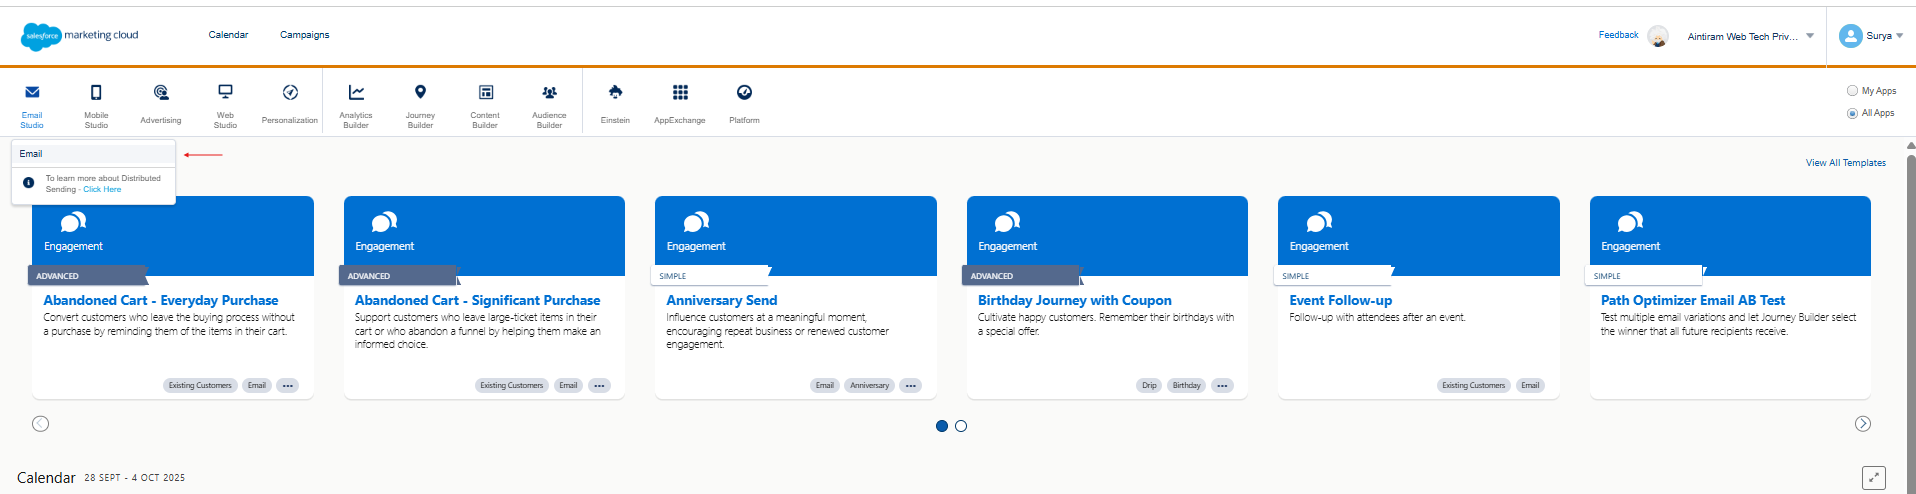
Click the Email in Email Studio on the Marketing Cloud Engagement Dashboard
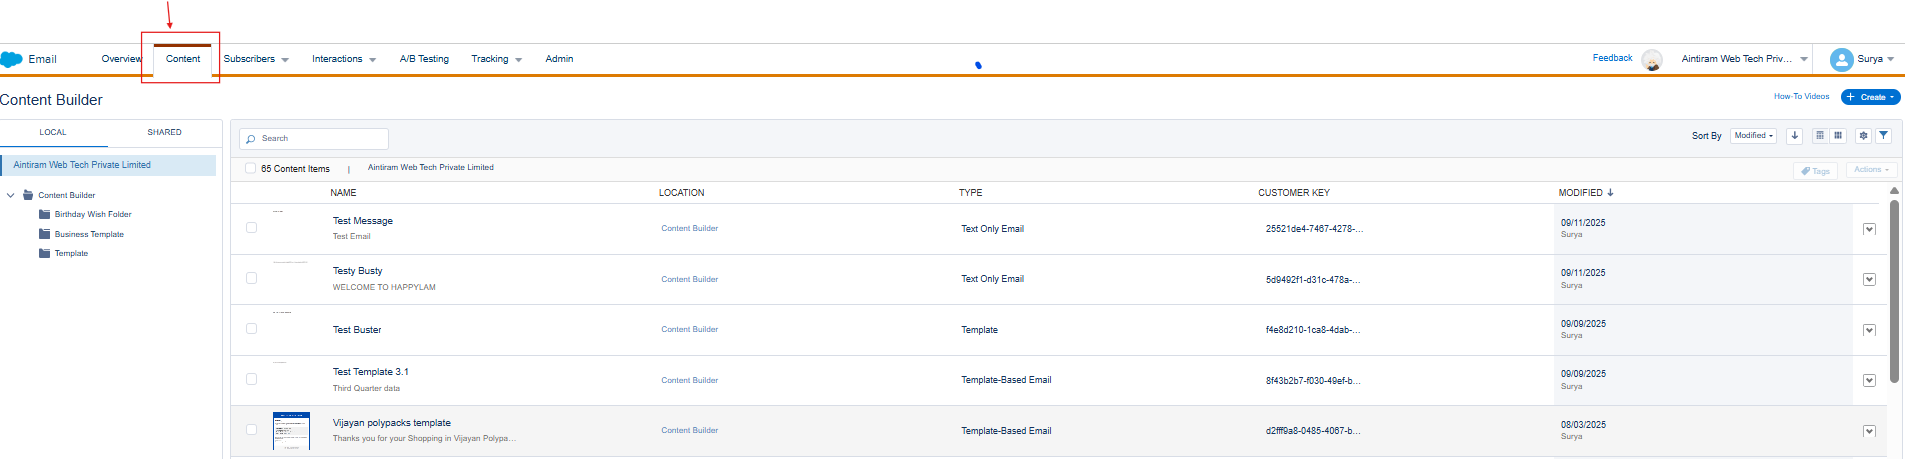
I have already created the email template in Content Builder. If you’re not familiar with this process, you can refer to the previous blog before moving on to the next steps. Click the Content Tab and Choose your template.
Now the 60% of the work is completed, and just only four steps remain in this flow.
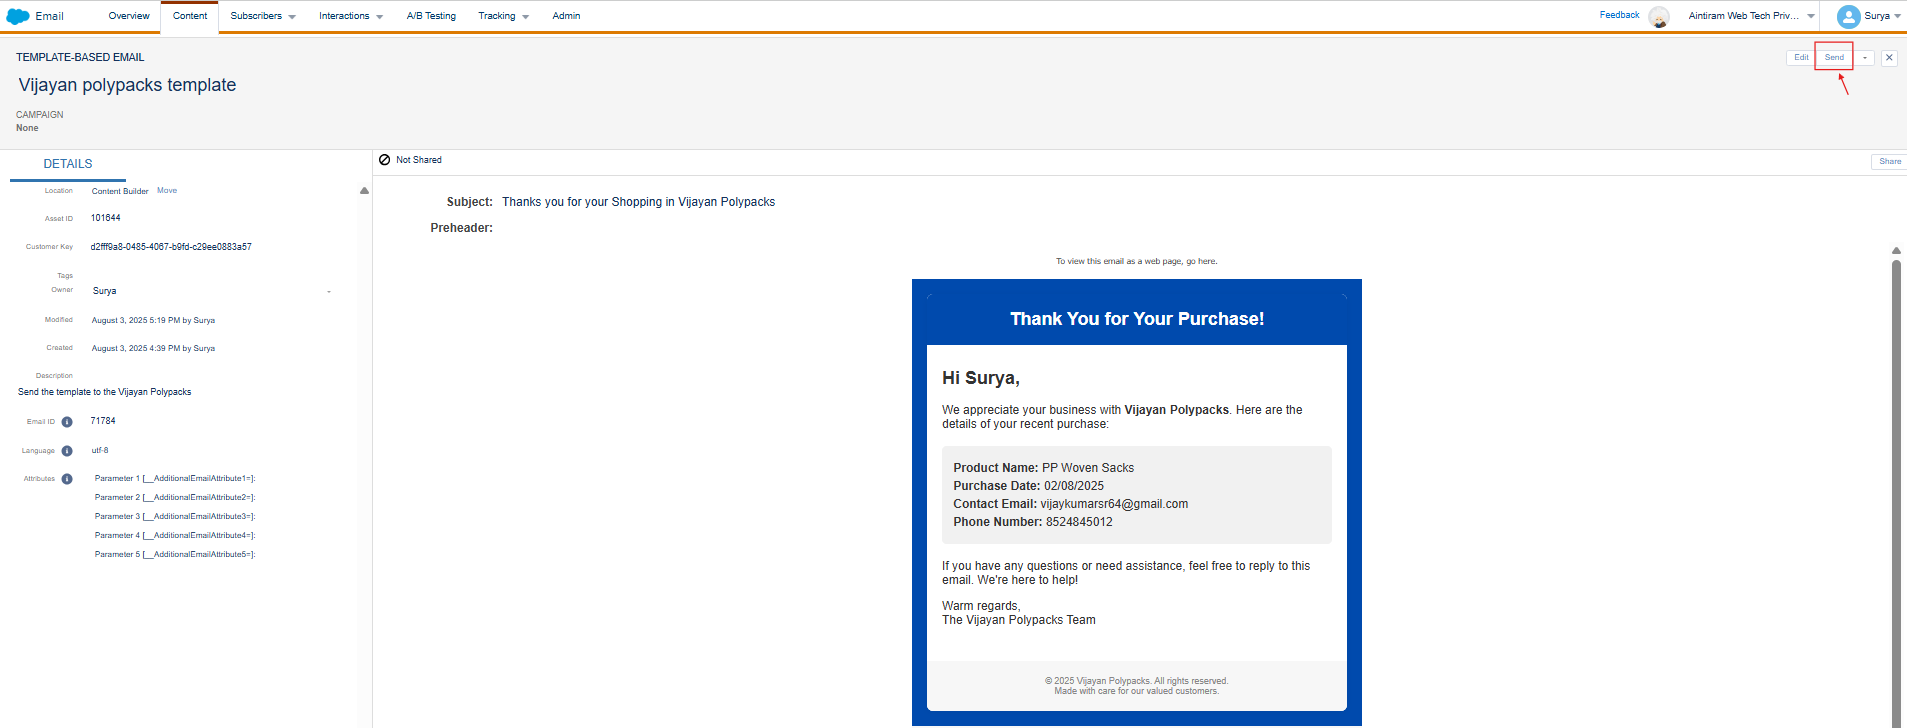
Click the Send Button in the Content Builder
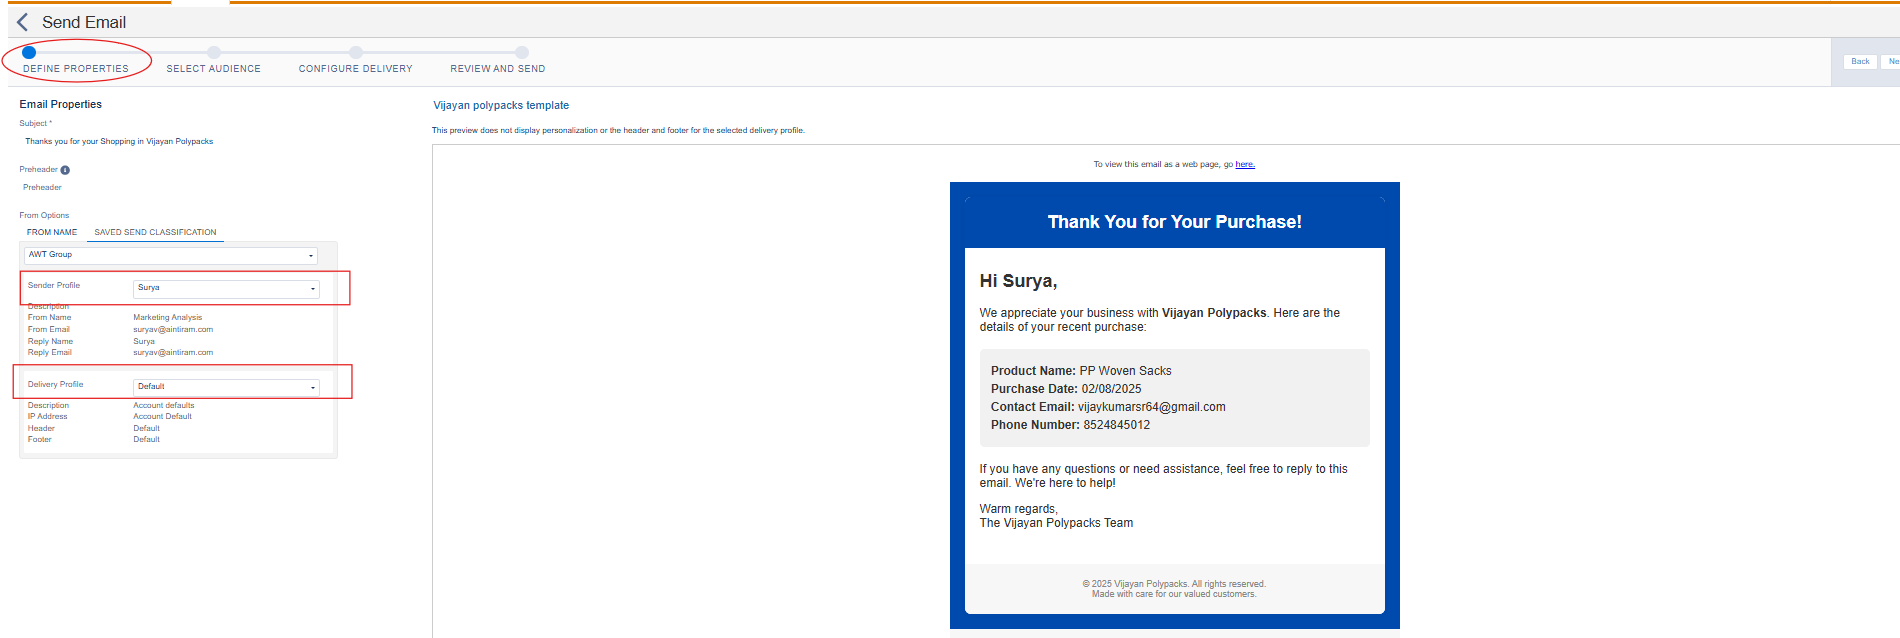
Step 1: Define the Properties
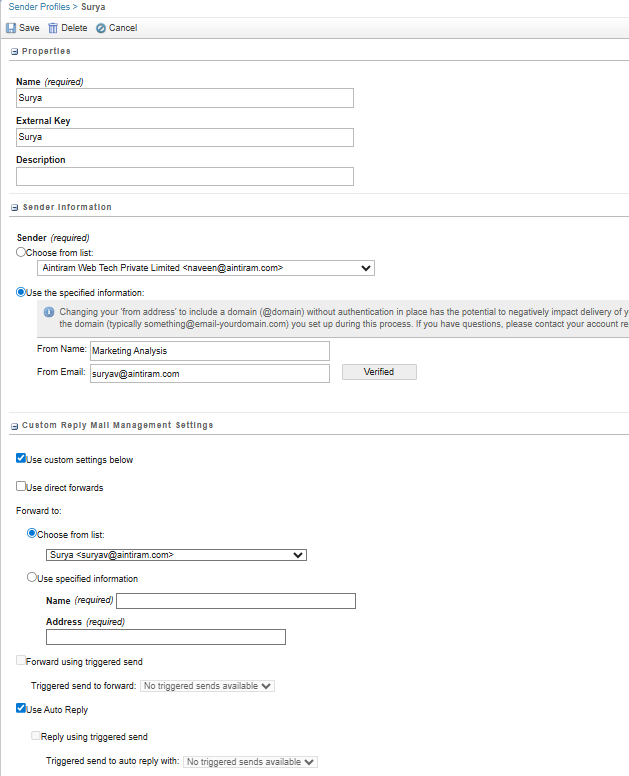
In these steps, we need to set the Sender Profile and Delivery Profile.
The sender profile is the one who send the email or from whom the audience receive an email. Basically, It is a "From" address. We can set different profile for different emails.
If your Sender Profile is changed, follow the steps to update that
Go to the Setup → Sender Profiles. We need to create an sender profile as demonstrated below.
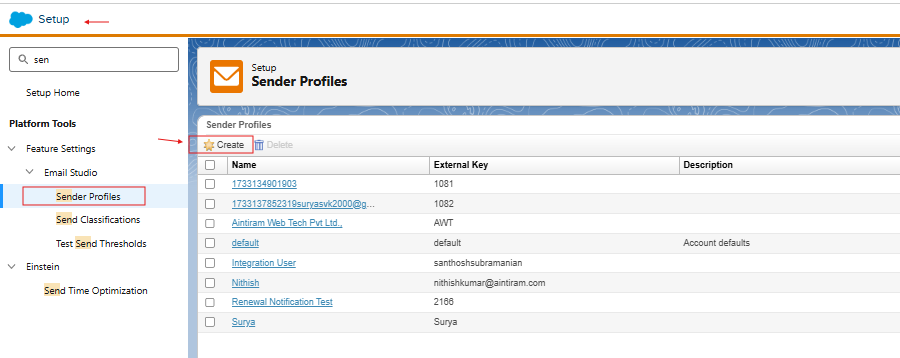
Create the record. Just for demonstration, I have already created a Sender Profile - see the screenshot below.
Step 2: Select the Audience
In the Step, select your audience. Already, I had created the Data Extension. Just I have dragged and dropped the Targeted, Excluded, and Suppressed sections.
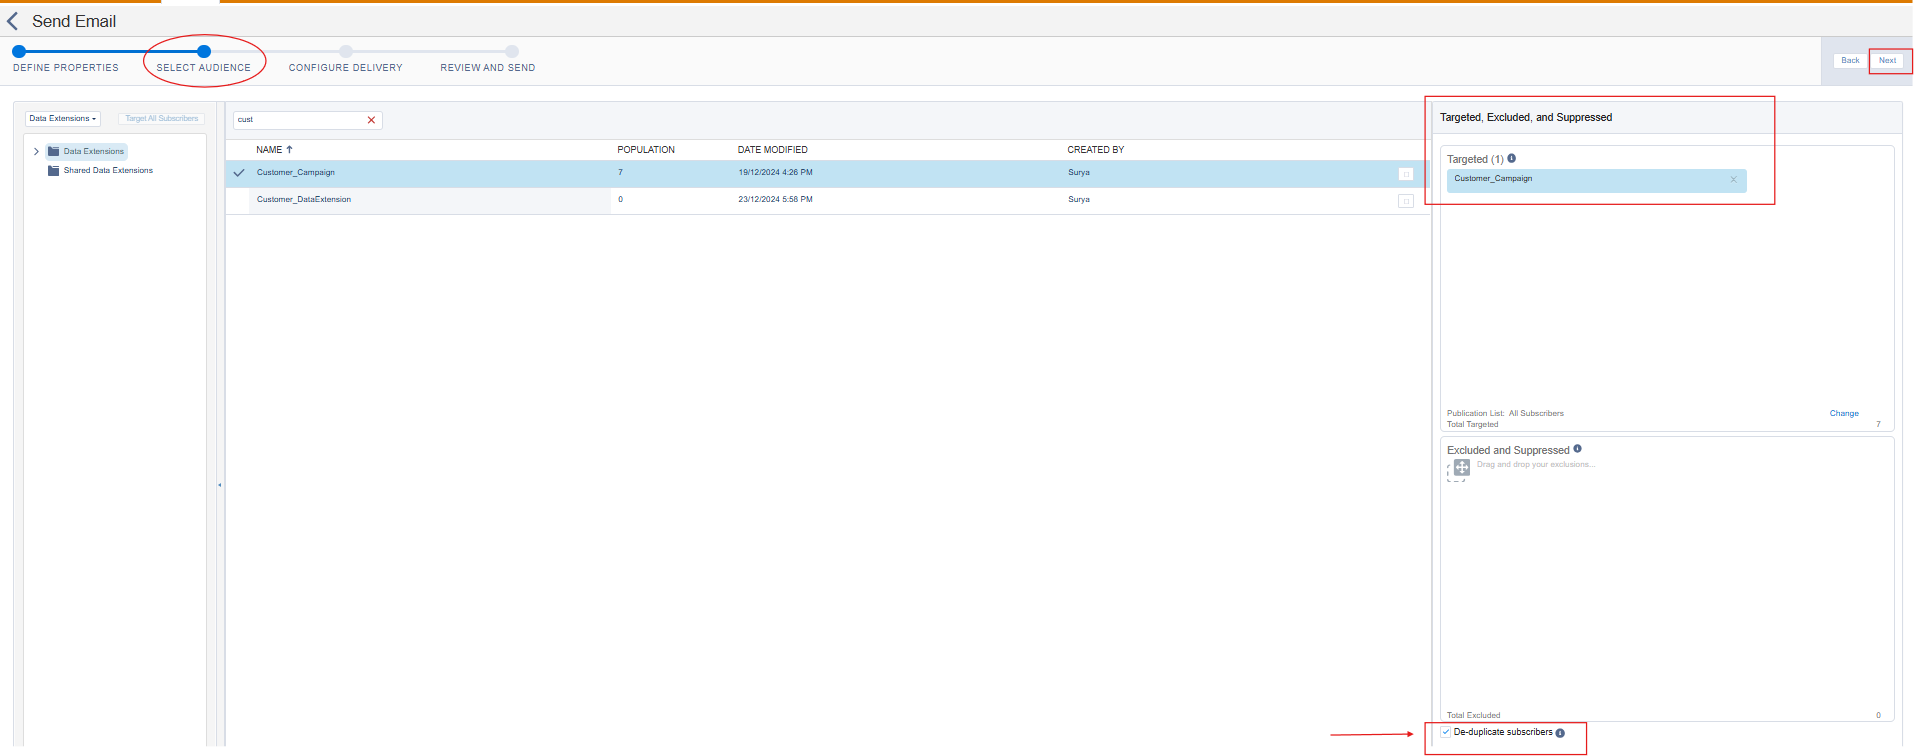
Enable the De-duplicate Subscribers option. If this is enabled, duplicate email addresses will be excluded, and the email will not be resent to them.
Step 3: Configure Delivery

In these steps, we configure the email action - whether it should be sent immediately or scheduled for a later time. If we select the Schedule action, then mention the data and time.
Track Clicks - This tracks when someone clicks a link inside your email.
Retain Send Log Data - This saves detailed information about your send, like which version of the email a subscriber received.
Suppress From Send Report - If you don’t want this email to show up in your regular tracking reports, check this box.
Tracking Destination Folder - You can choose a folder where the tracking results will be stored.
Step 4: Review and Send
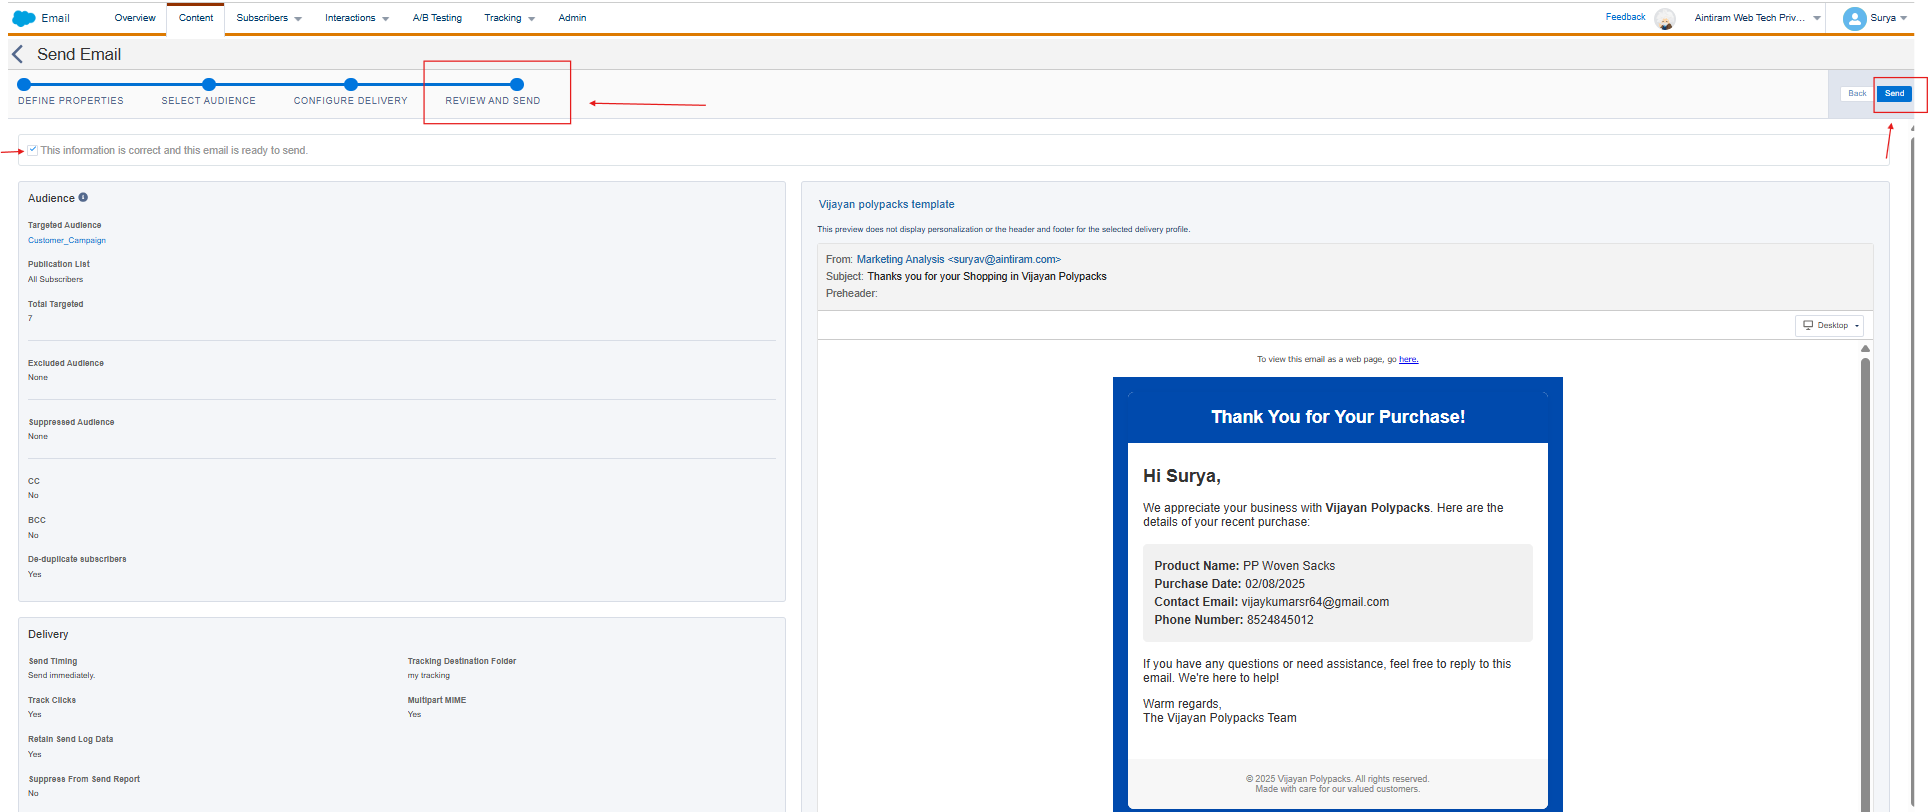
In this step, review all the previous steps. Once everything looks good, click the Send button in the top-right corner. Once you send the template, the selected audience will receive the email in their Inbox, as shown in the screenshot below.
Advantages
- You can send important updates or announcements instantly without automation or Journey.
- Perfect for one-time Campaigns.
- You decide when, where, and to whom the email goes - offering full control over your campaign timing.
- No Complex Setup Required.
- After sending, you can instantly view open rates, click rates, and engagement data in Email Studio.
- Great for testing email content, subject lines before scheduling automated campaigns.
Limitations
- Manual sending doesn’t support automated triggers or journeys, so emails won’t send based on customer actions.
- Manual steps like selecting data extensions or testing emails can lead to mistakes if not carefully reviewed.
- It’s suitable for small or one-time sends, but not ideal for managing large campaigns.
- Manual sends provide basic tracking (opens, clicks, bounces), but you don’t get deep analytics like journey-based performance.
- A/B or Multivariate testing is harder to perform manually.
- Manual sends don’t adapt to user behavior or data changes instantly - rather than Journey Builder or Triggered Sends.
Conclusion
Hope you found this blog helpful in understanding how manual email sending works in Salesforce Marketing Cloud Engagement and how simple it is to send quick updates, one-time messages, or test designs before a major campaign. Stay tuned for our upcoming blogs to explore more tips and best practices to enhance your marketing strategies.