

Lightning Email Builder in Account Engagement (Pardot)
In this blog, learn how to build and customize engaging Emails in Pardot using Email Builder, with helpful tips, best practices, and design templates.
By Sharan Kumar Mariappan
Assistant Software Developer
Building Emails Using Lightning Email Builder in Pardot
Nowadays, engaging the audience is a primary goal for marketers. Advertisement through banners, LCO displays, websites and many more engagement activities will increase prospect for the specific product. A modern approach of marketers use to keep the audience engaged is more typically done through email marketing. Email marketing is one of the best ways to reach a group of audiences by engaging them through their personal devices more specifically their smart handphones and the computers.
Building emails in the Email builder is not a tough gig, and it is absolutely superfast. The drag and drop functionality enables the users to build their emails with less effort as compared to the traditional email template building in the Account engagement emails. Have you wondered about creating an email in email builder? Follow these steps, which make it super easy to build your templates.
Step: 1
Navigate to Account Engagement (Pardot) and choose the Email content item in the Navigation Bar. To create a new email template, select "New" in the upper right corner. Also, by using the "Cone", we can copy the current template and alter it to suit our needs. Here, I am only showing how to make a template from scratch in this case.


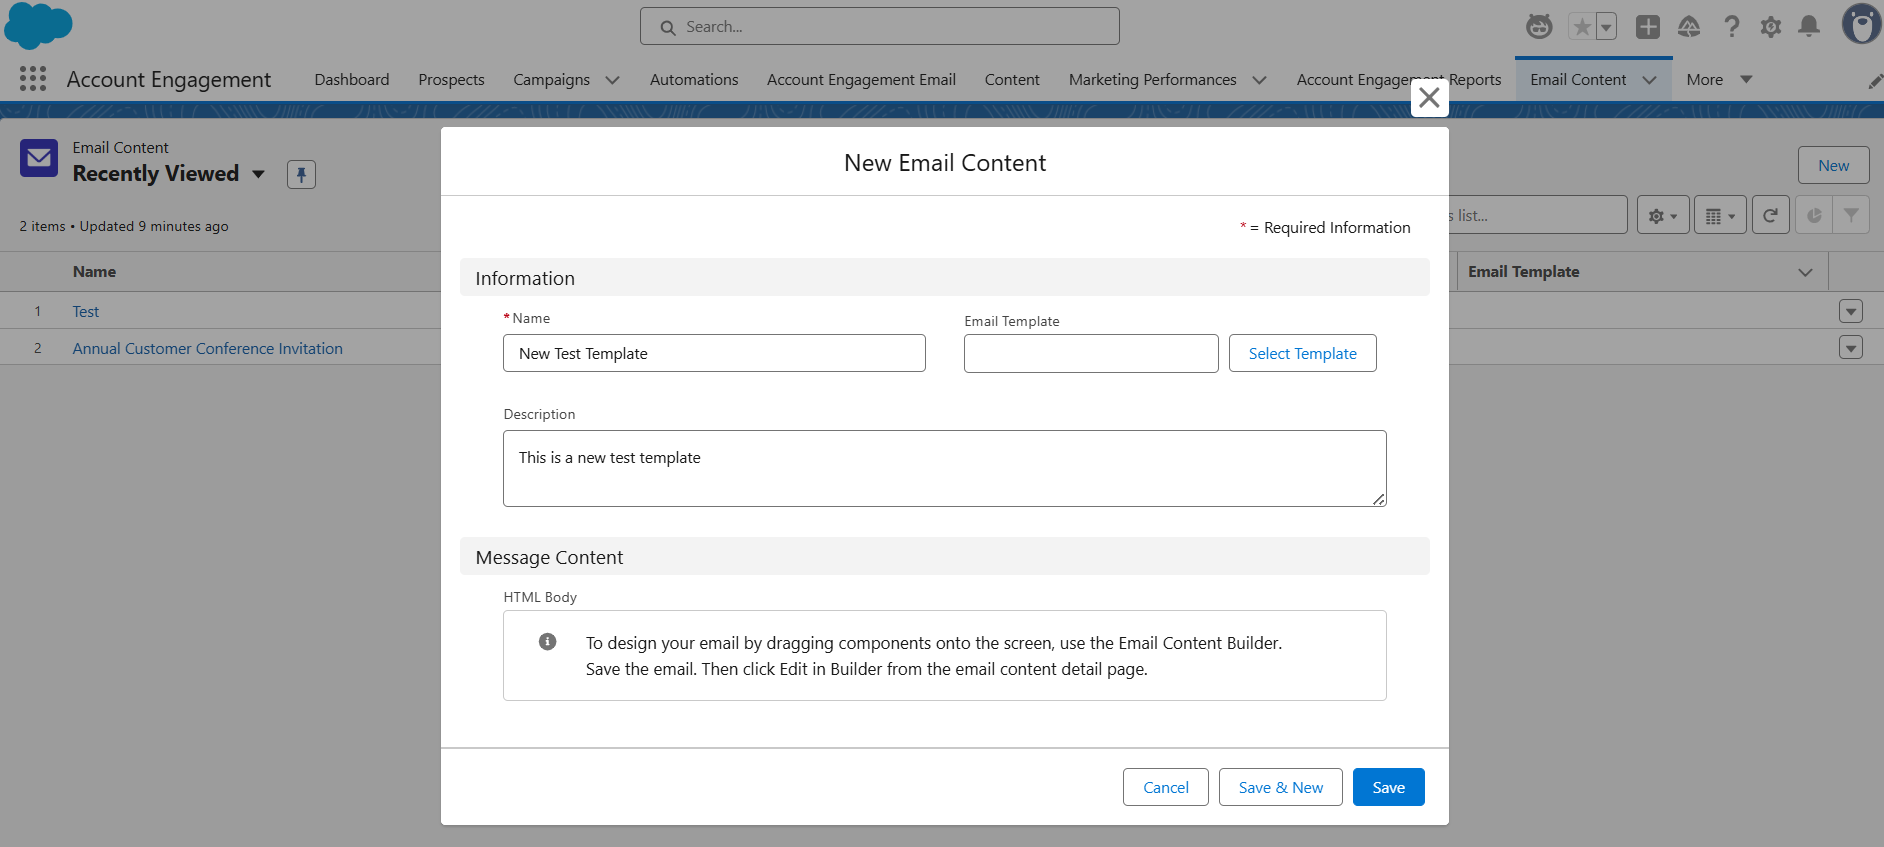
Step: 2
Start filling in the information to create a new email content as shown below. We can also select the email template which is prebuilt and reuse it. Currently we are not using any template we are building from scratch, so leave the Email Template input field as empty. Fill the name and description, then click on Save.
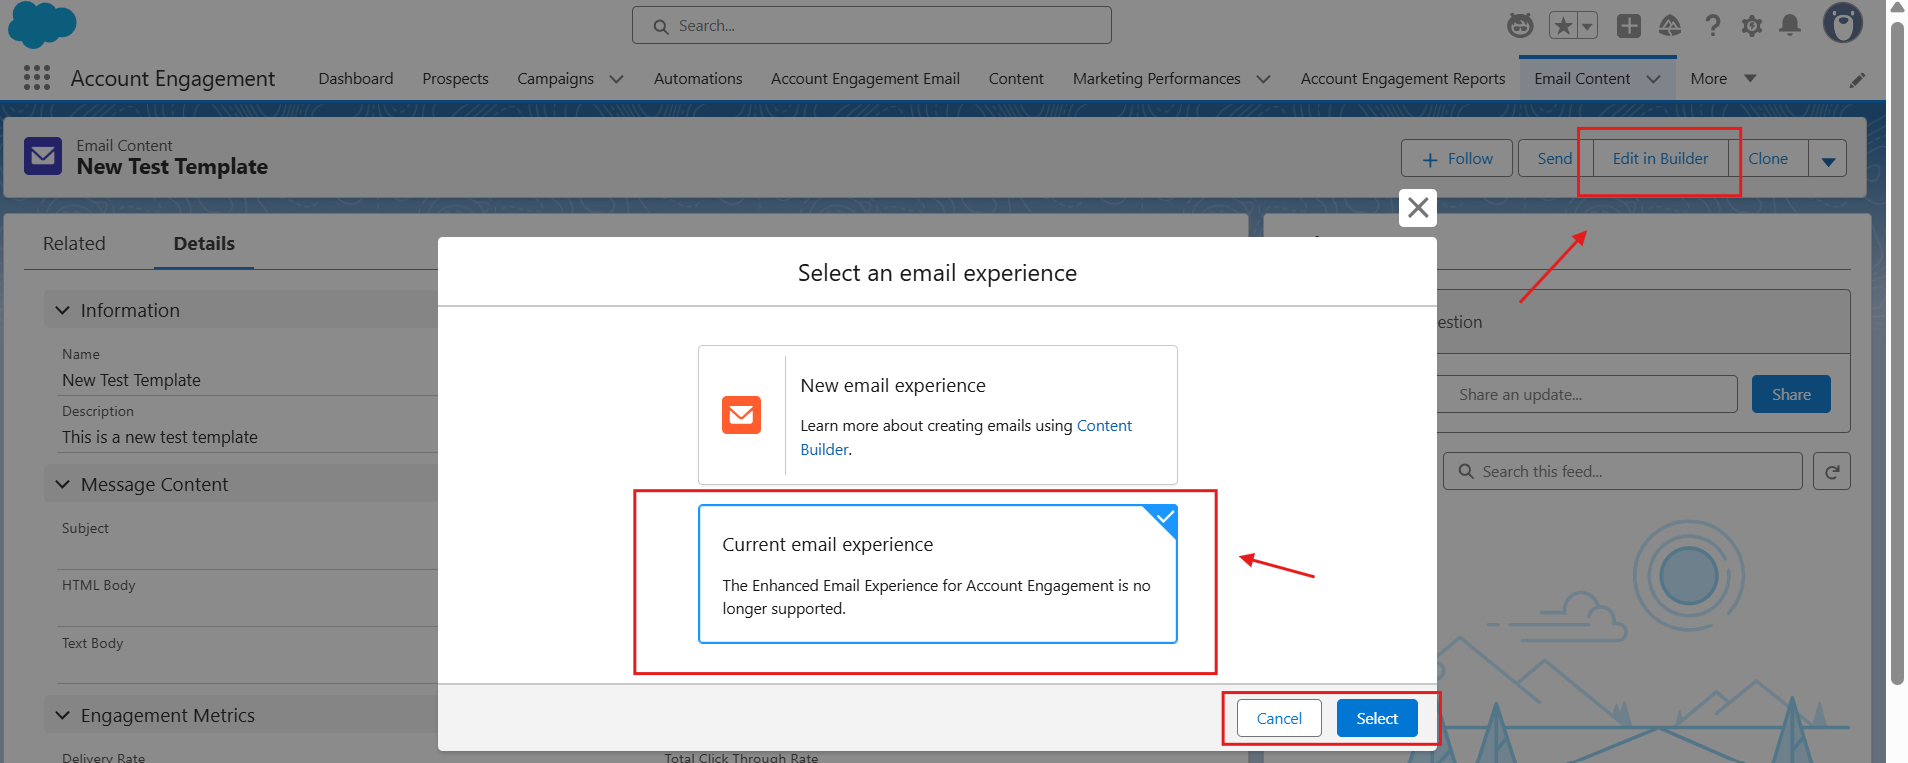
Step: 3
Click on Edit in builder after the previous step. We need to pick the current email experience. (If your Pardot is updated with the new email features, you can use new email experience). Here, I have selected the current email experience.
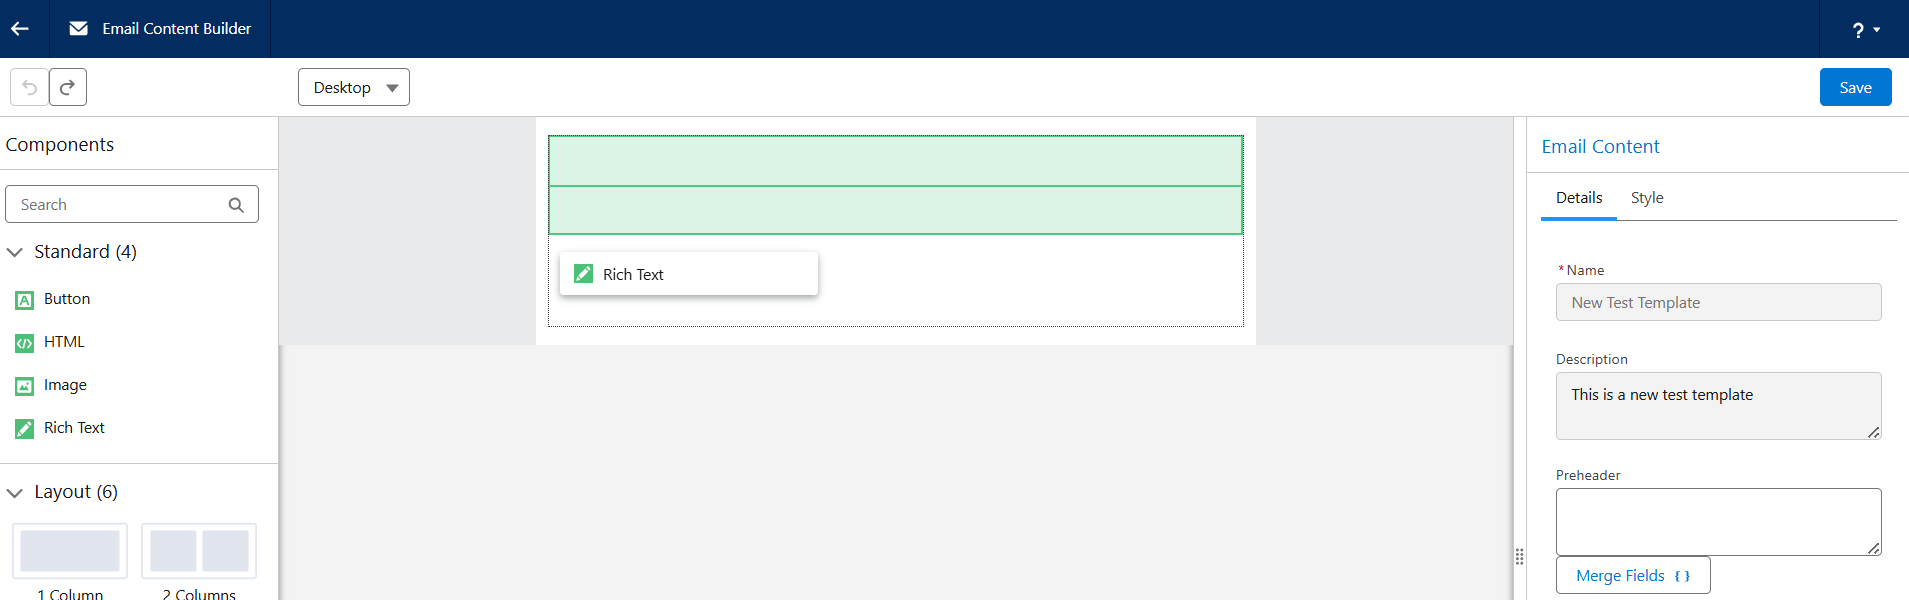
Step: 4
After clicking on Save, we can see the canvas of the Email Content Builder where we need to create our content. It is just a drag and drop functionality. Here we have some standard elements that need to be added for building our template.
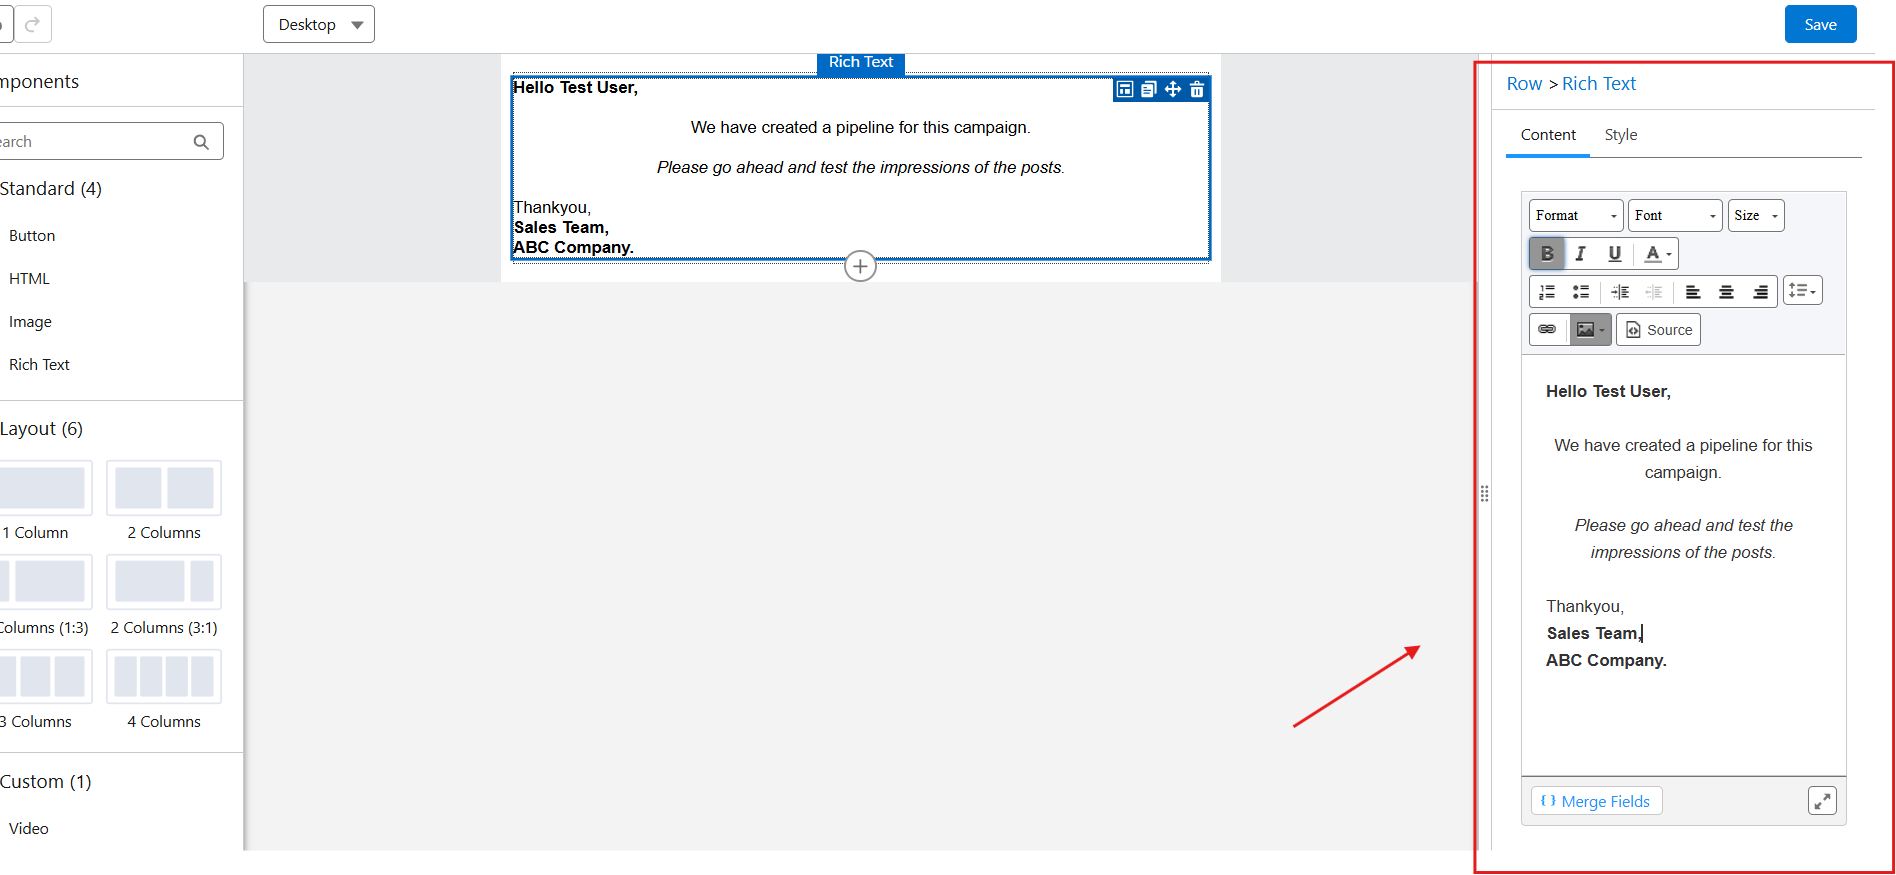
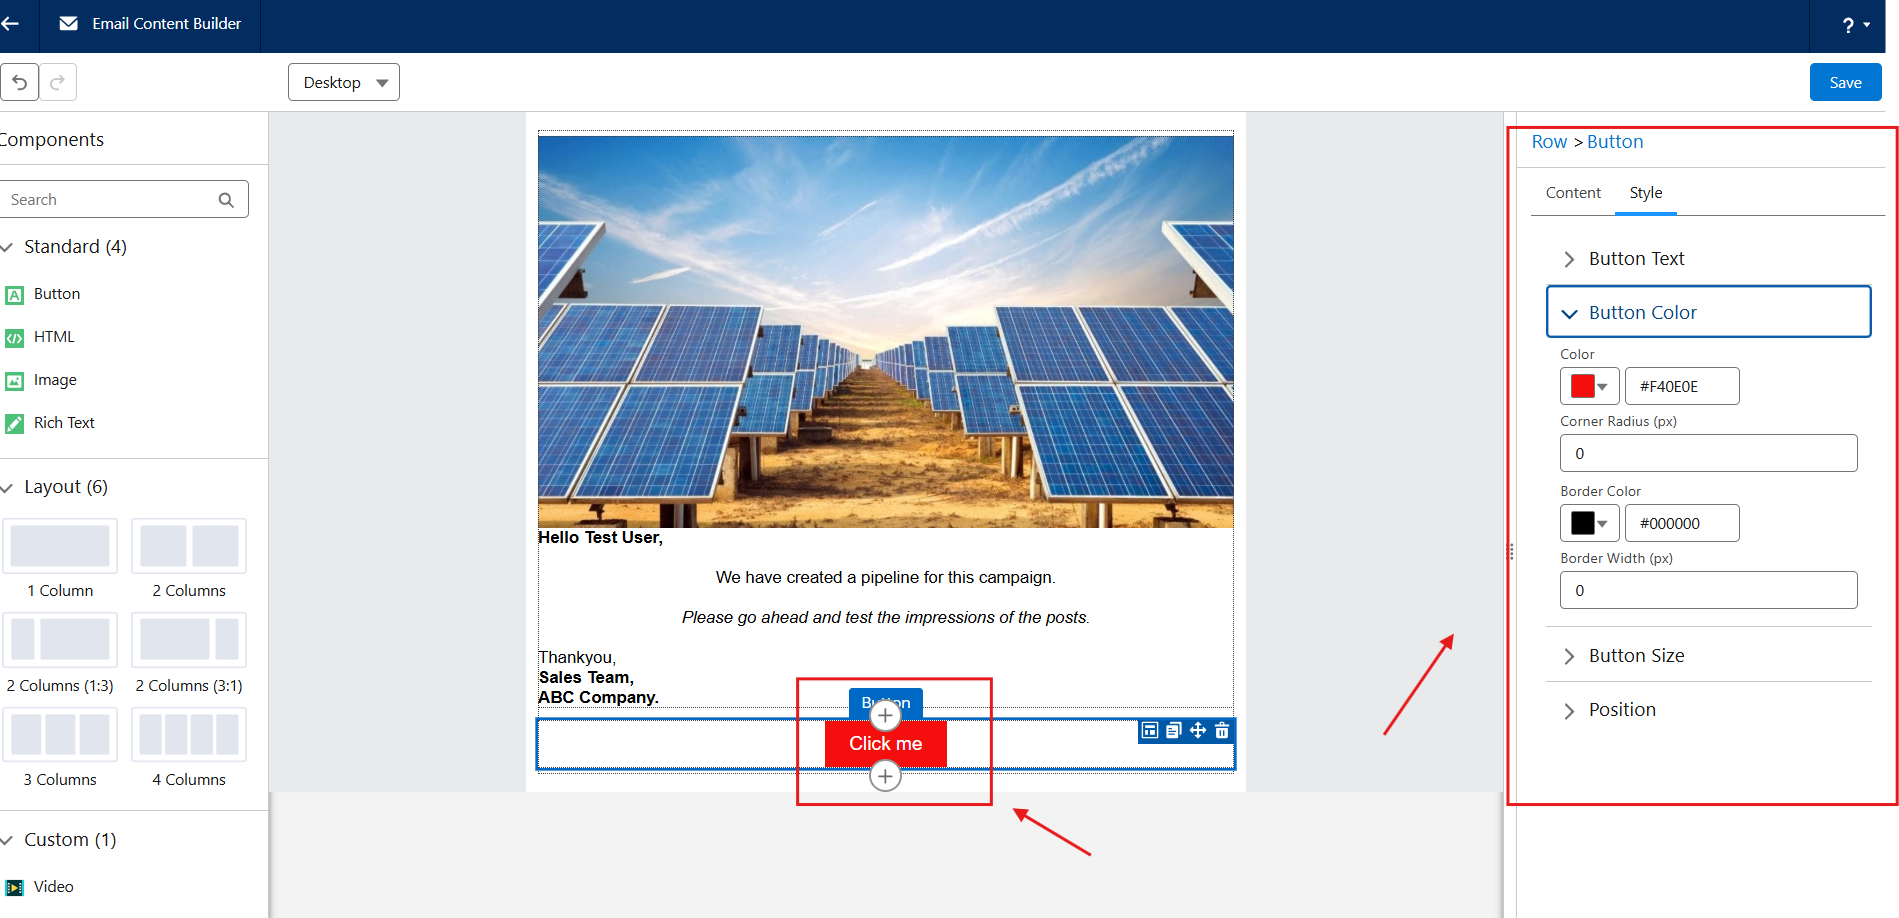
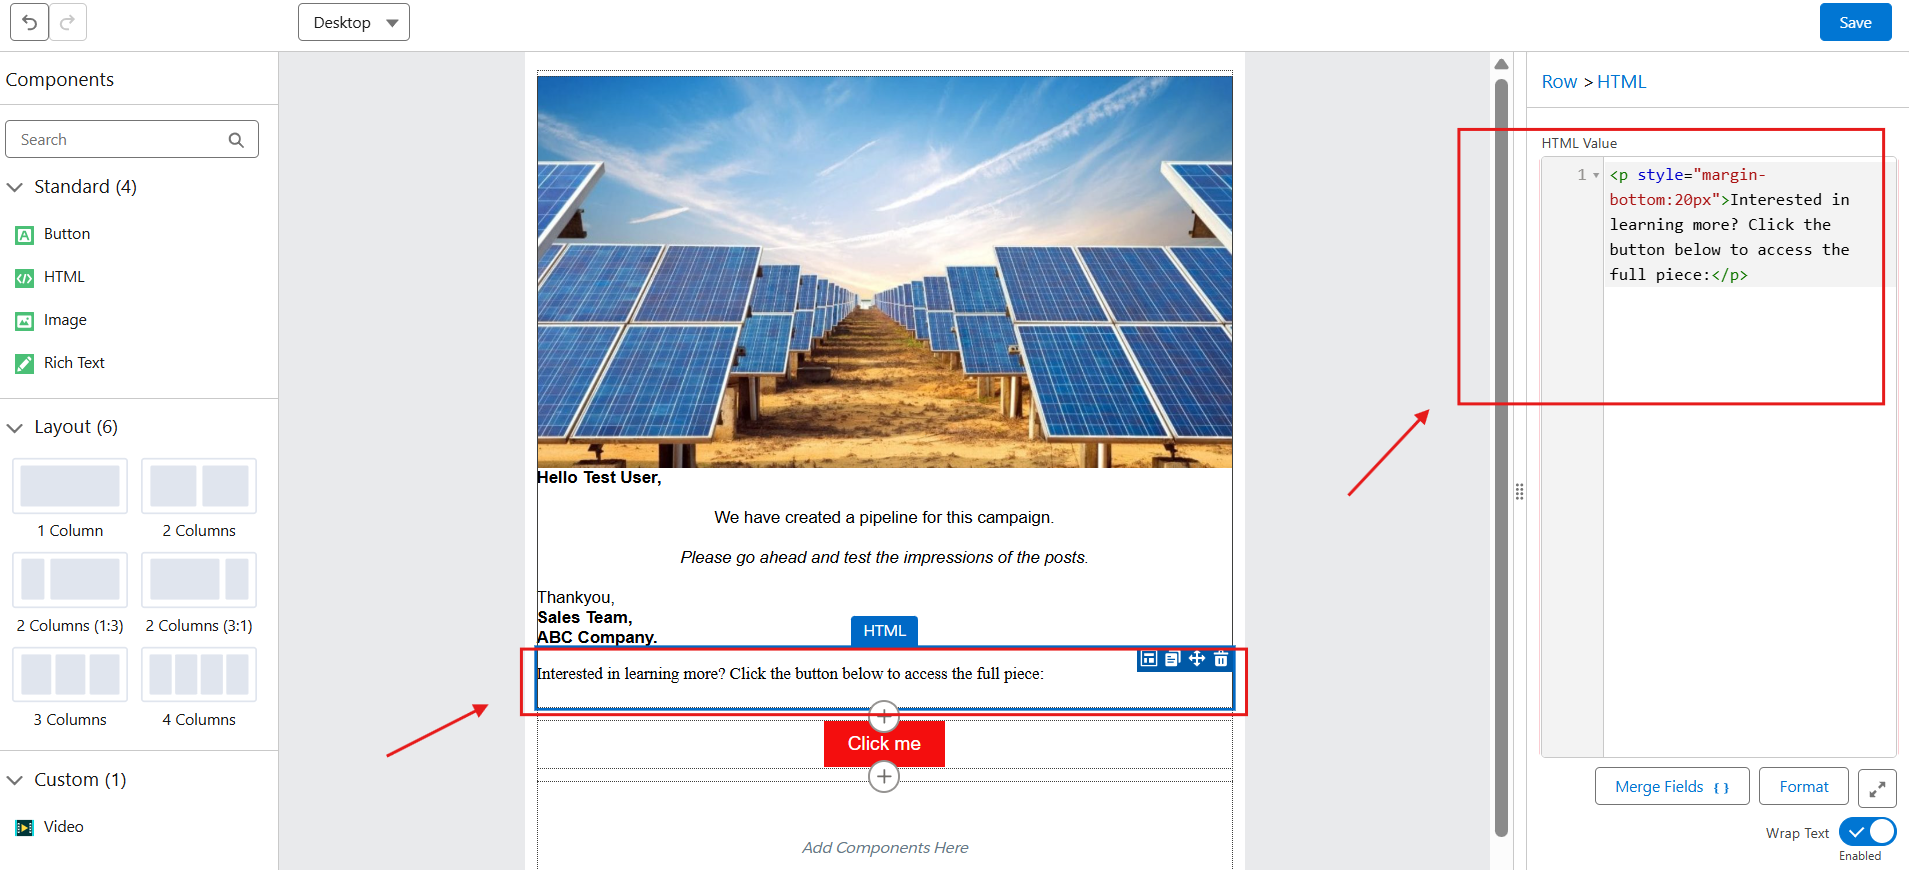
Step: 5
Drag and drop the standard components and style them. The components as per the requirements. Here, I have selected the rich text component. We can also apply styles to the component. Similarly, I have dropped an image and button, we can style the button and link to redirect links as per the requirement. To access the image, we need CMS access.
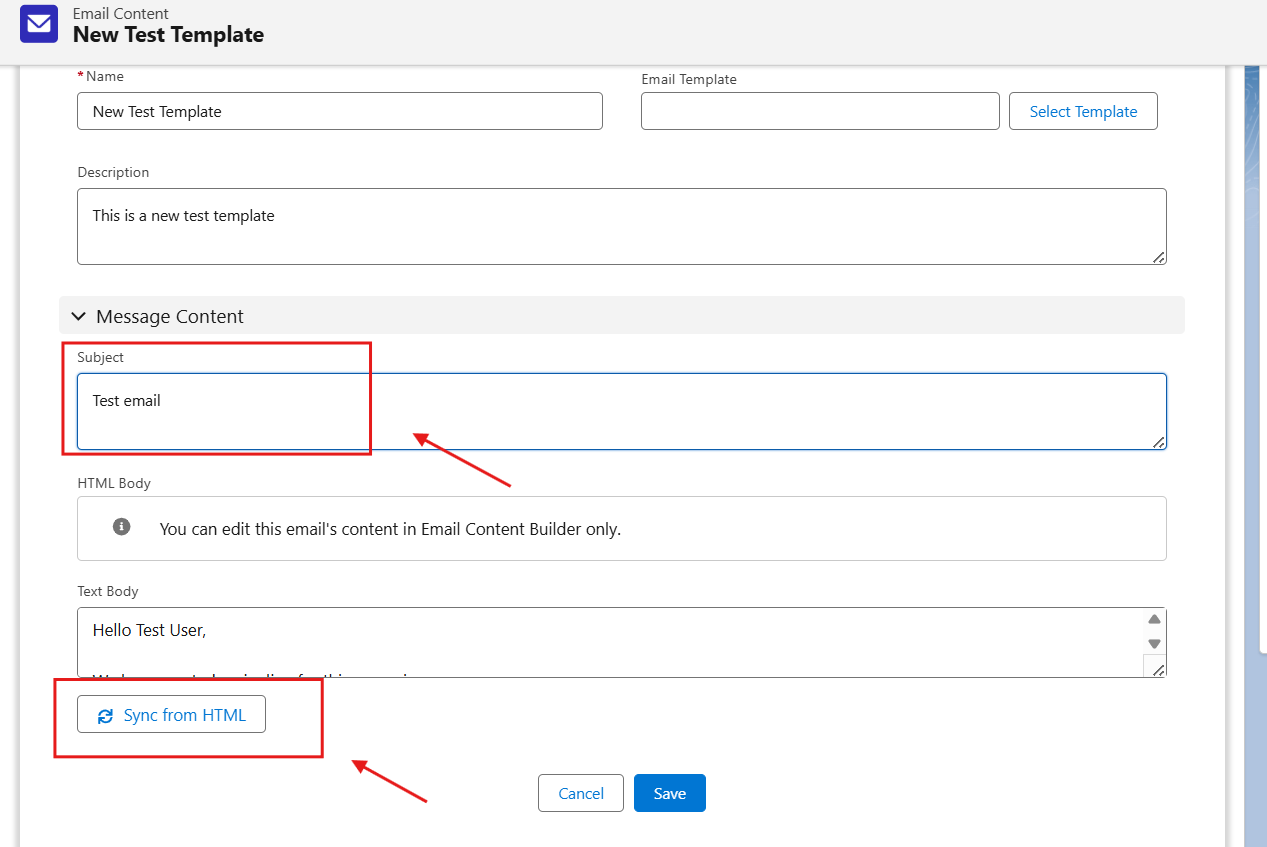
Step: 6
After building your functionalities, we need to save the changes that you have made. We need to add the subject to the draft and sync the email built with the text version. Usually, the template will be saved in the format of HTML. So, we need to sync the HTML with the text.
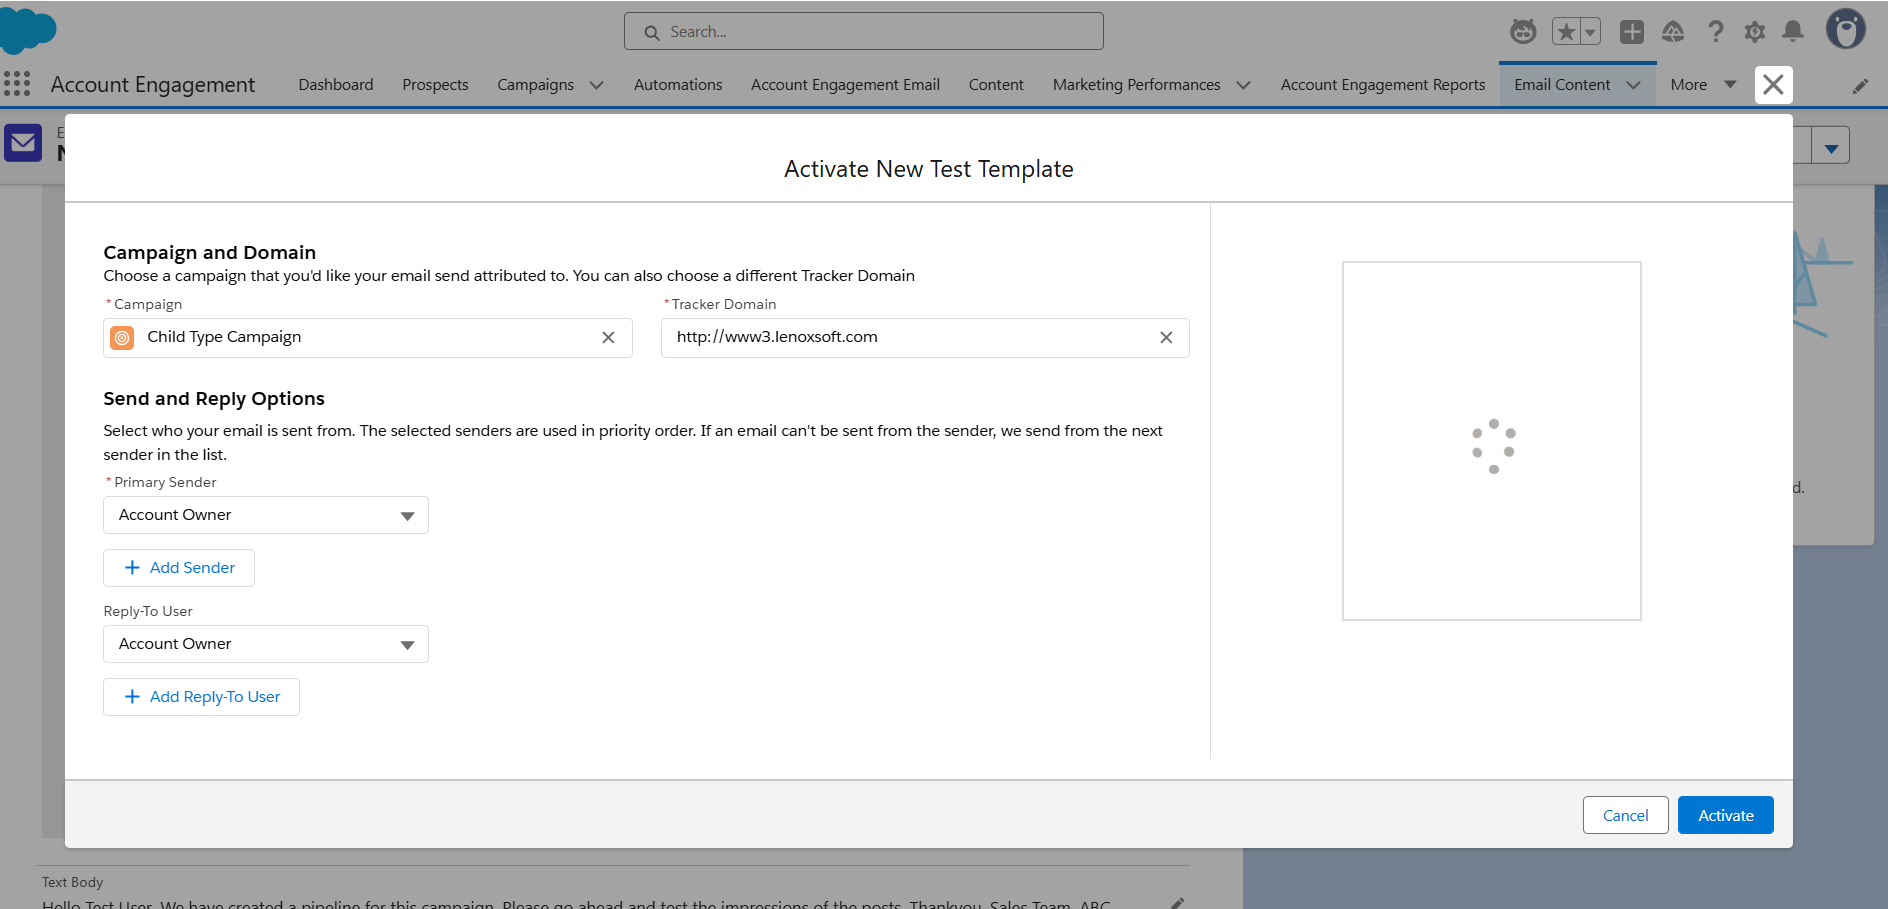
Step: 7
Activate the email (for use) which we have built. In the activation, we can set the send user details, the receiver of the replies from the email, and we can choose the campaign here. (We can choose the activation from the accordion/dropdown in the top right corner).
Step: 8
We need to send the email template to the segments as per the requirements. Just click on the send button in the top right corner and choose the marketing or Operational email as per the requirements. Here, I have chosen to market emails. Then we can choose the campaign, to list, suppression list, primary sender, reply to user, and we can optimize the time to send the email or else we schedule or send it now.
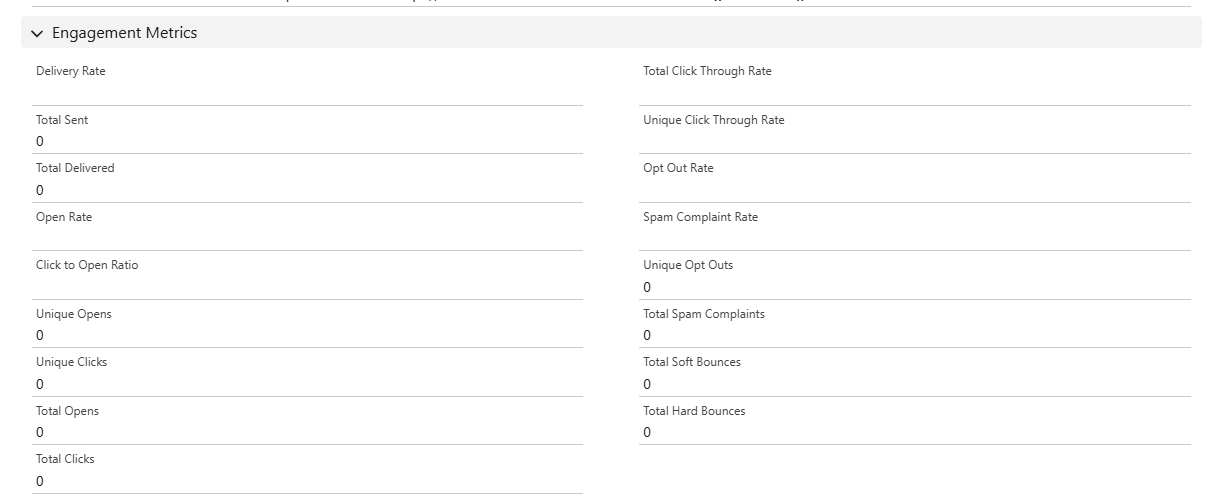
Step: 9
Finally, we can analyze the engagement metrics as shown below, in which we can track the unique clicks, click-through rate, open rate and unique click-through rate.
Conclusion
Email Builder enables a user-friendly drag-and-drop interface that requires no coding. The previews for responsive design are possible with Pardot email design. It helps in simplified resend processes, improved image management, and built-in support for custom components and Salesforce CMS. I hope this blog help you understand the technique to build the email templates in the email builder. Follow our blogs for more updates on Marketing Cloud.