

A Simple Guide To Anypoint Platform Components
A simple guide explaining key Anypoint Platform Components and how they help you design, build, manage, and secure APIs and integrations easily.
By Pradeepa Singaravelan
Associate Salesforce Developer
A Simple Guide To Anypoint Platform Components
I wrote this blog to help others understand the Anypoint Platform and its main components. When I started learning Anypoint Platform, I couldn’t find clear documentation except in the Salesforce documentation and Trailhead. Since there were no detailed resources available on the internet, I decided to write this blog.
This blog is just an introduction to the Anypoint Platform. I have explained the most commonly used components in a simple way so beginners can understand them easily. First, we will see how to create an Anypoint Platform account, and then we will look at the other components. Let's dive in...
Create the Anypoint Platform Account
Step 1: Open a web browser and navigate to the Anypoint Platform sign-up page or click this link: Anypoint Platform Login.
Step 2: Enter your Name, Email, and other required details on the sign-up page.
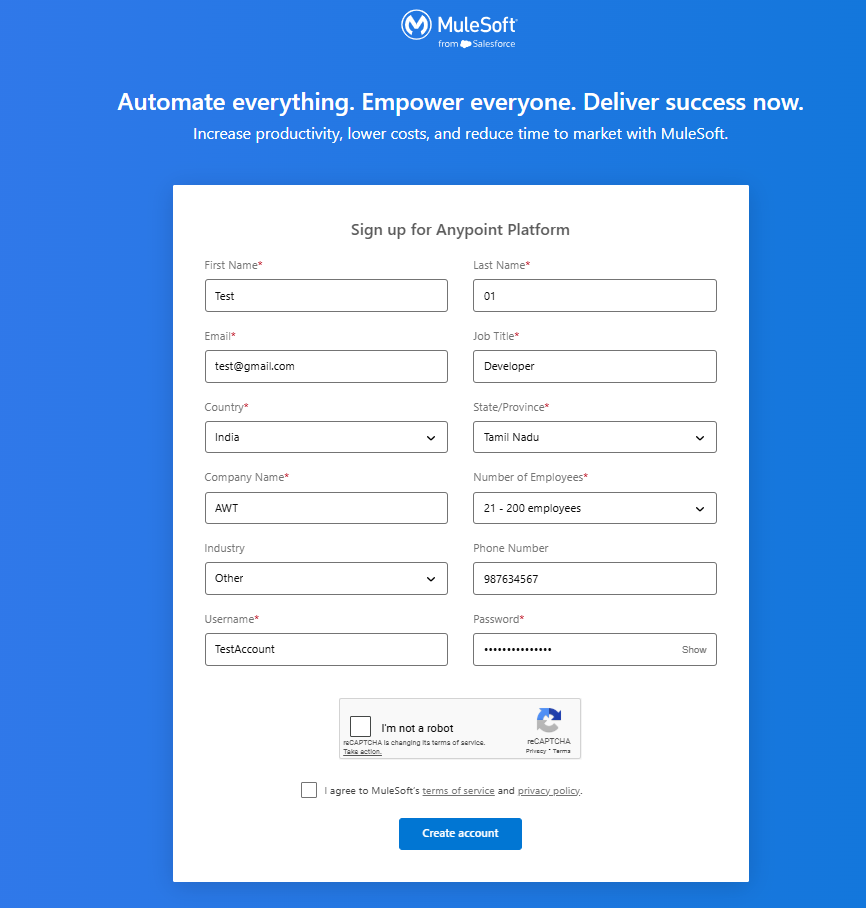
Step 3: After completing all the fields, click the "I agree to MuleSoft's terms of service and privacy policy" checkbox and click "Create Account."
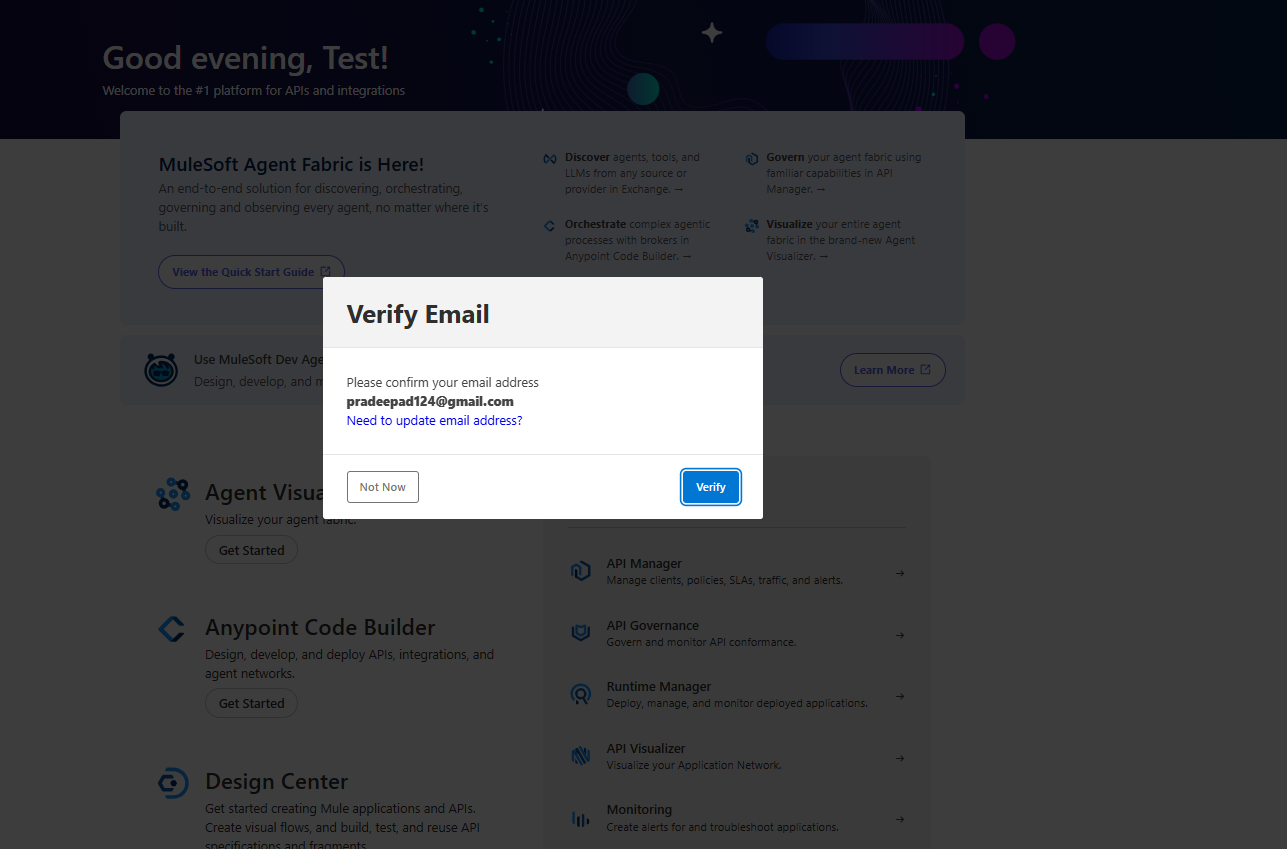
Step 4: Once the Anypoint Platform account is ready, you will be asked to verify your email. Click the Verify button.
Step 5: You will receive a verification email. Open the email, copy the verification code, and enter it on the verification page. Then click OK to log in to your account.
Step 6: Now your Anypoint Platform account is successfully created.
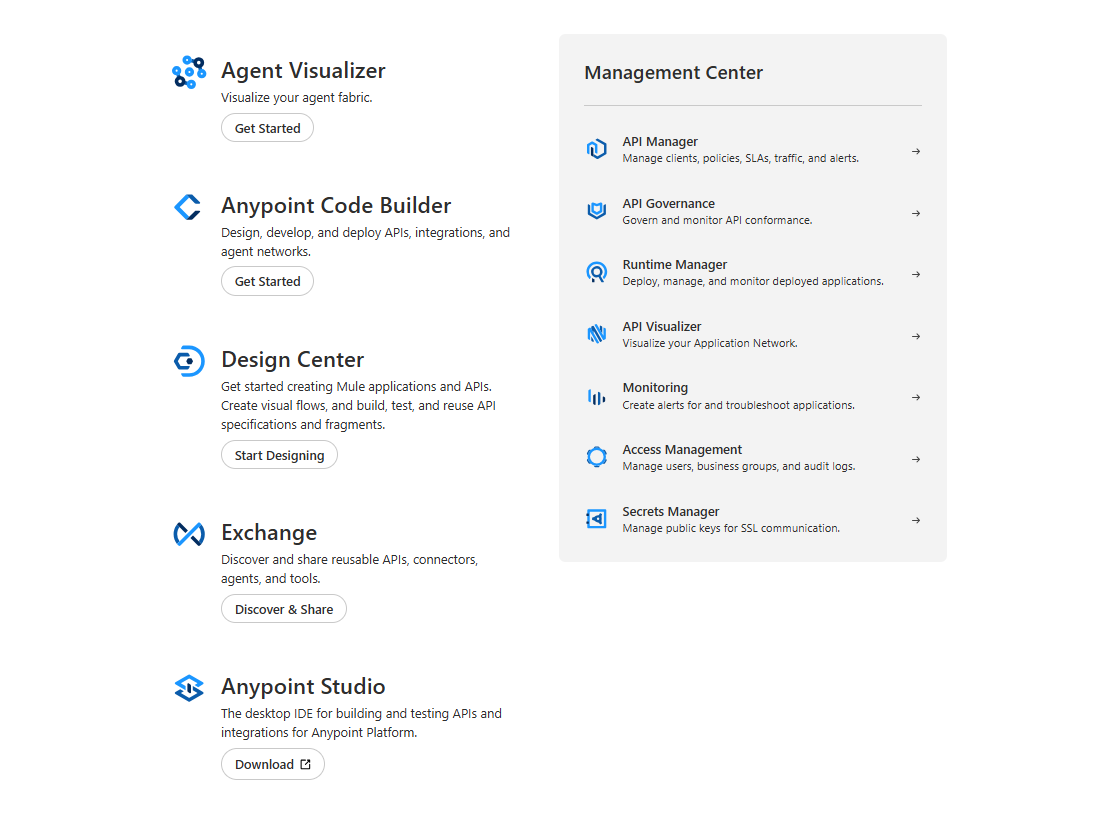
Anypoint Platform Components
After you successfully log in, you will see the main components of the platform by redirecting the page like below,
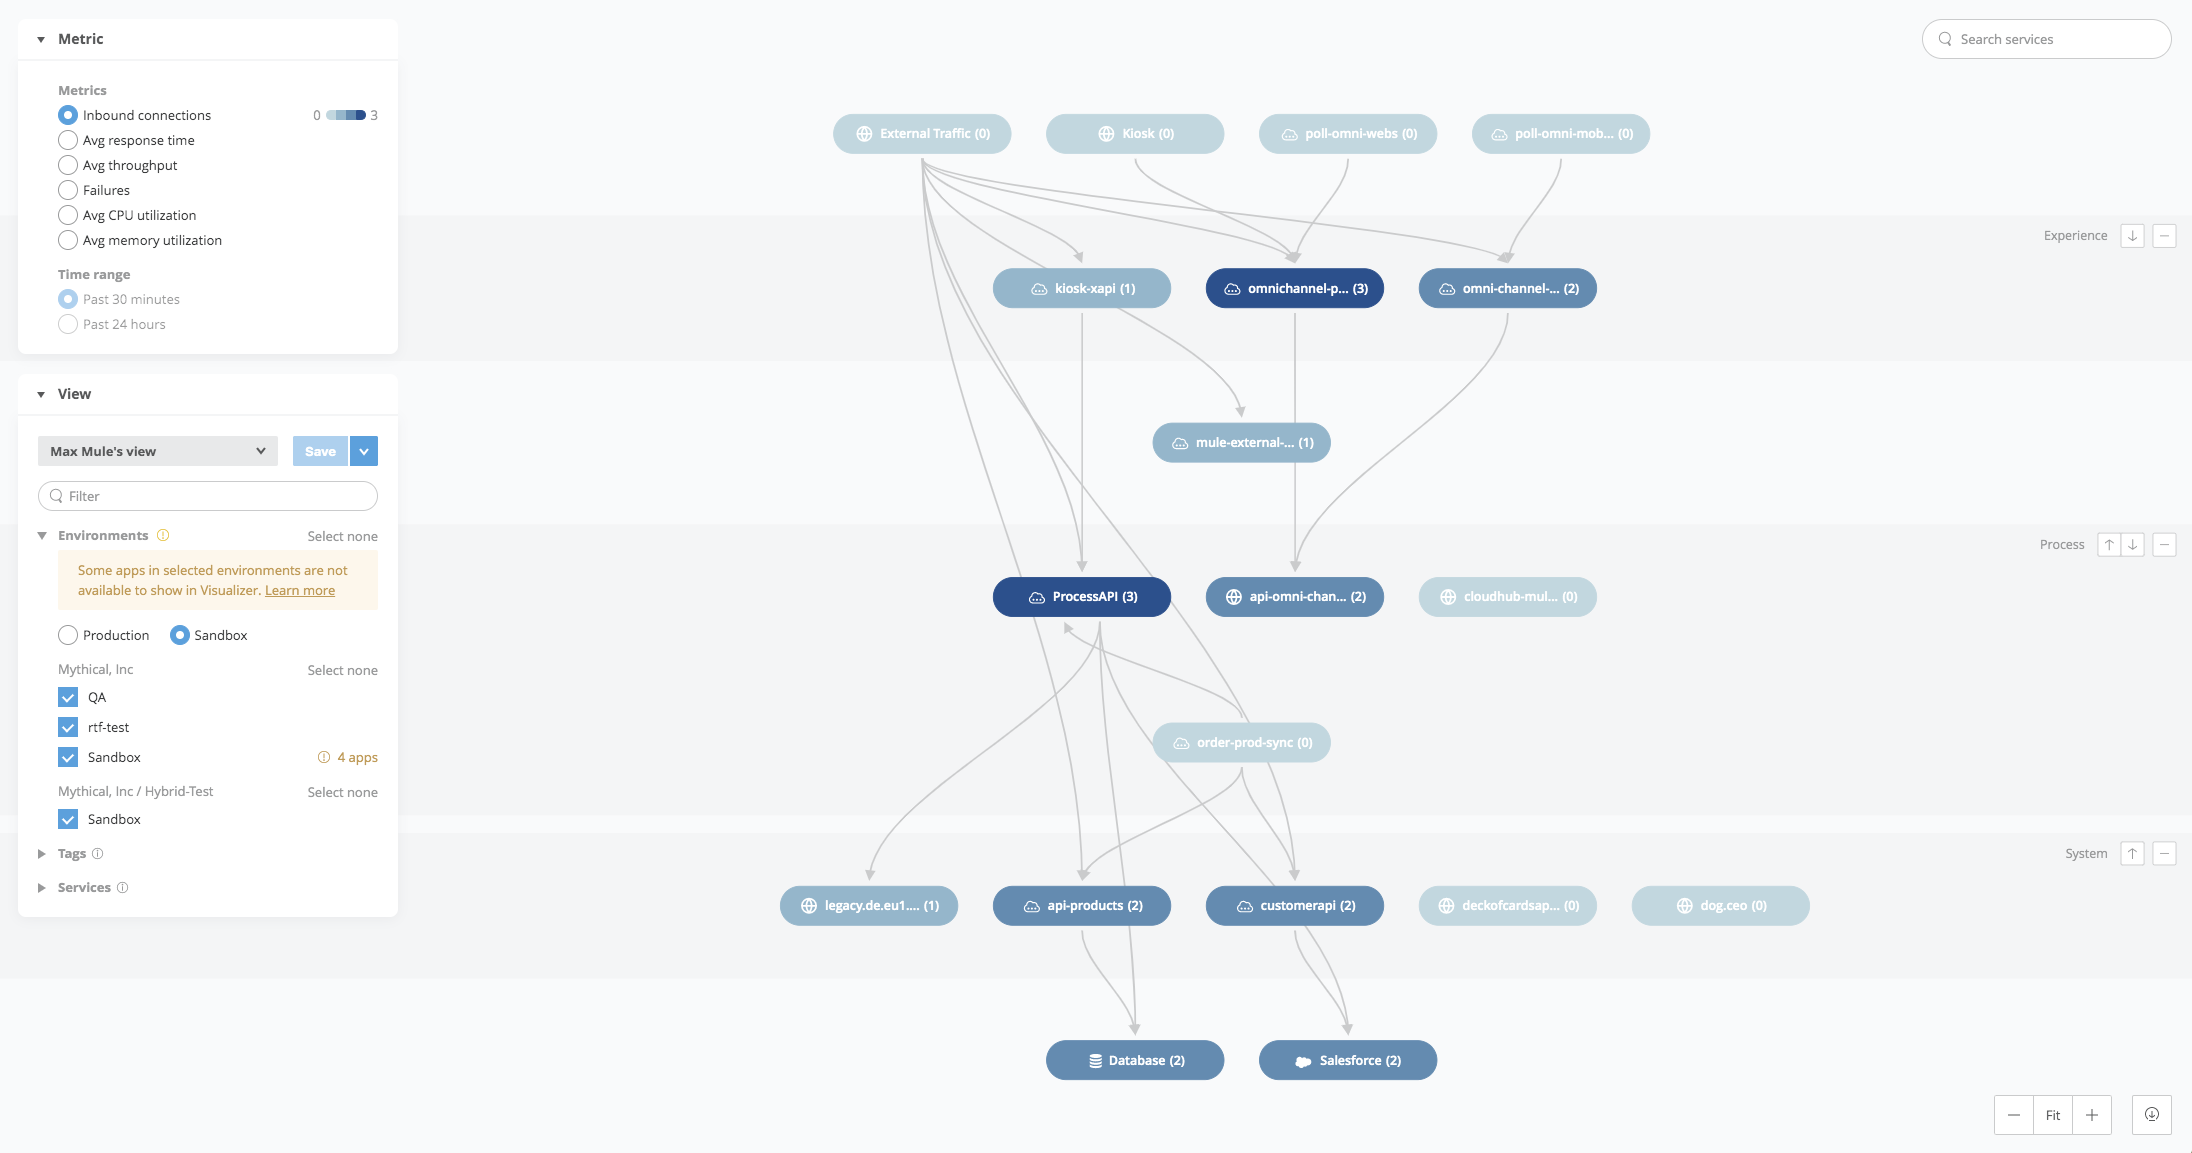
API Visualizer
API Visualizer shows all your APIs and systems in one simple diagram. It helps you see how everything is connected (here you can see System, Process, & Experience API layers and what are all the API's comes in which layer & how it is connected), how data flows, and where issues may occur. This makes it easier to understand, manage, and improve your integrations.
Anypoint Code Builder
Anypoint Code Builder is MuleSoft’s modern development environment for building APIs and integrations. Built on Visual Studio Code, it provides a fast, lightweight, cloud-enabled workspace where developers can write, test, and deploy Mule applications. Unlike the desktop-based Anypoint Studio, Code Builder supports teamwork through Git-based workflows. You can import API designs from Design Center or Exchange, and it also provides smart suggestions to speed up development.
Features of Anypoint Code Builder
Cloud-Enabled IDE: Works in the cloud and on desktop.
Built on VS Code: Familiar interface with smart suggestions and AI-assisted coding.
Import API Designs: Import specifications directly from Design Center or Exchange.
Git Integration: Easy team collaboration and version control.
Supports Mule 4: Build modern APIs and integrations.
Set Up the Anypoint Code Builder
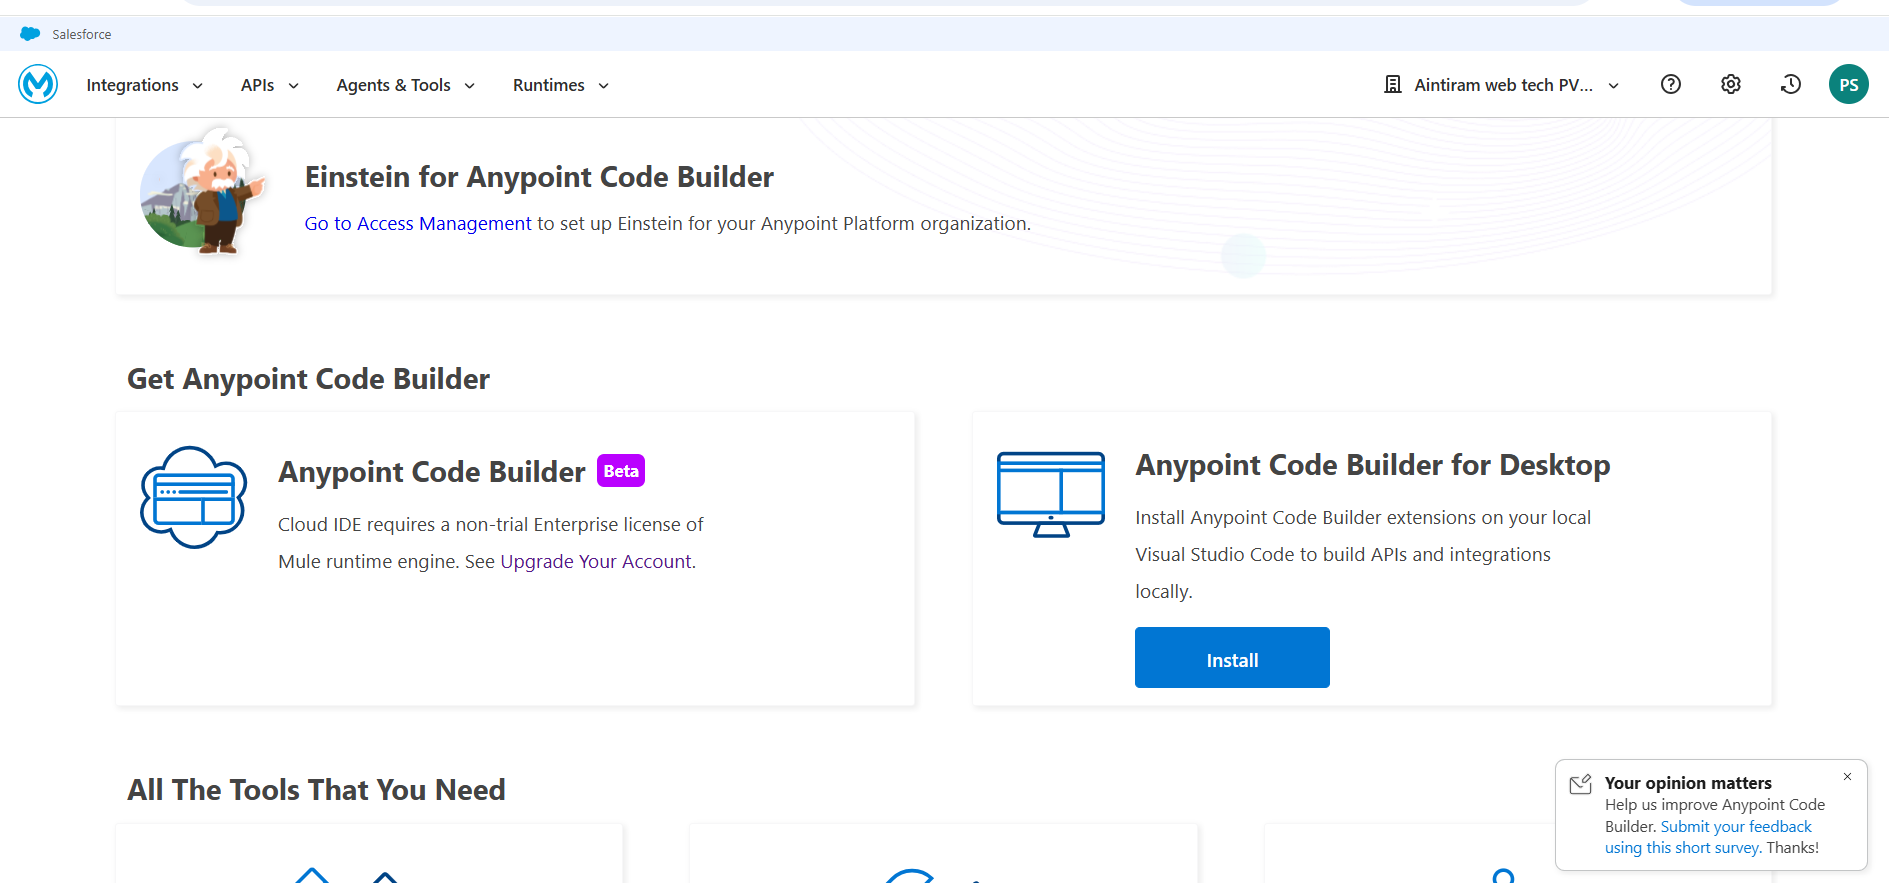
Step 1: Log in to your Anypoint Platform account, and in Anypoint Code Builder, click Get Started.
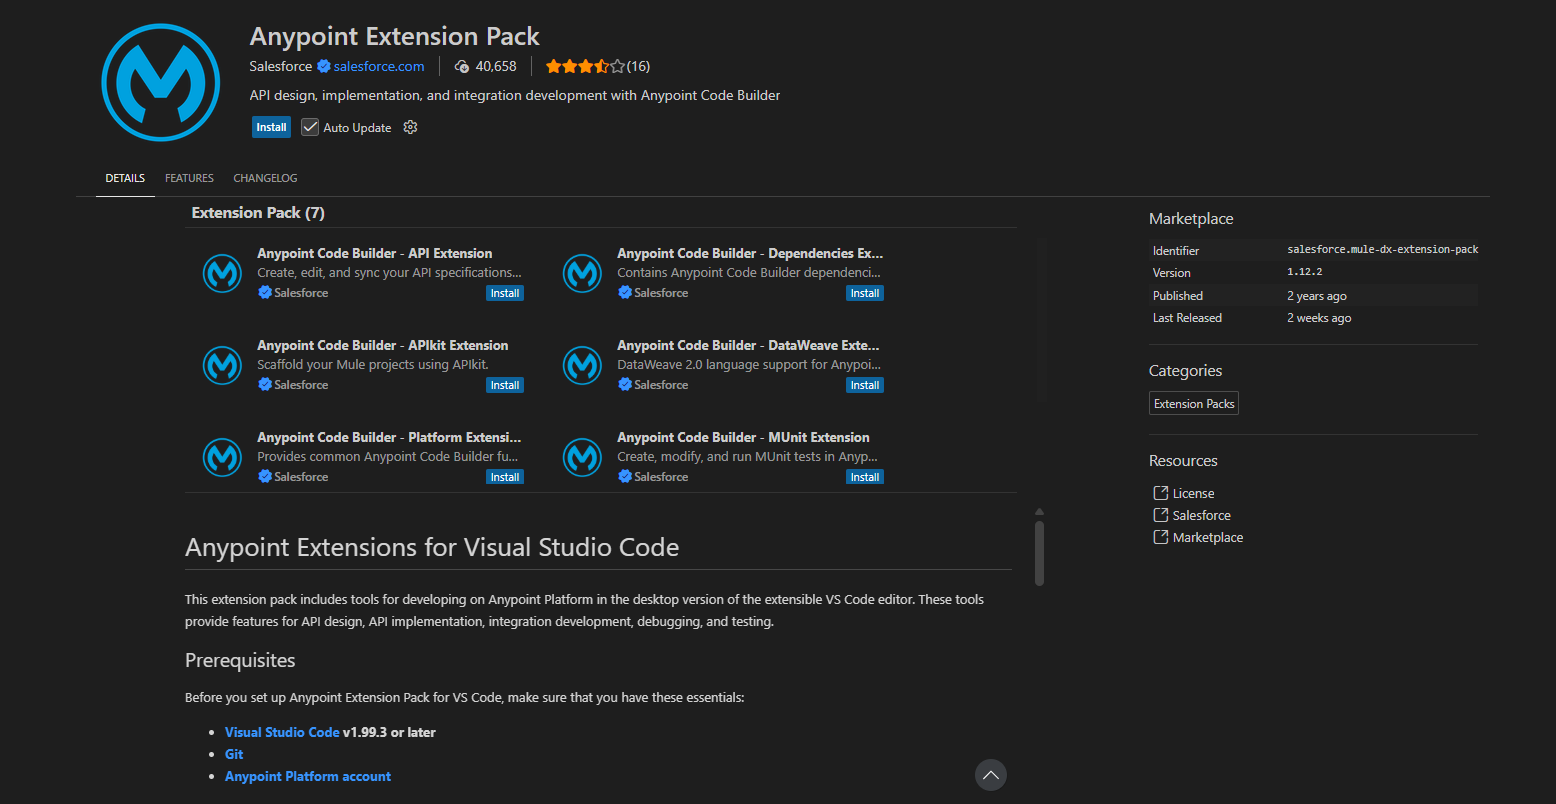
Step 2: You will be redirected to the Code Builder landing page. Under Anypoint Code Builder for Desktop, click the Install button.
Step 3: You will be redirected to the Visual Studio Marketplace, where you will see the Install and Prerequisites steps. Complete all the prerequisites before proceeding.
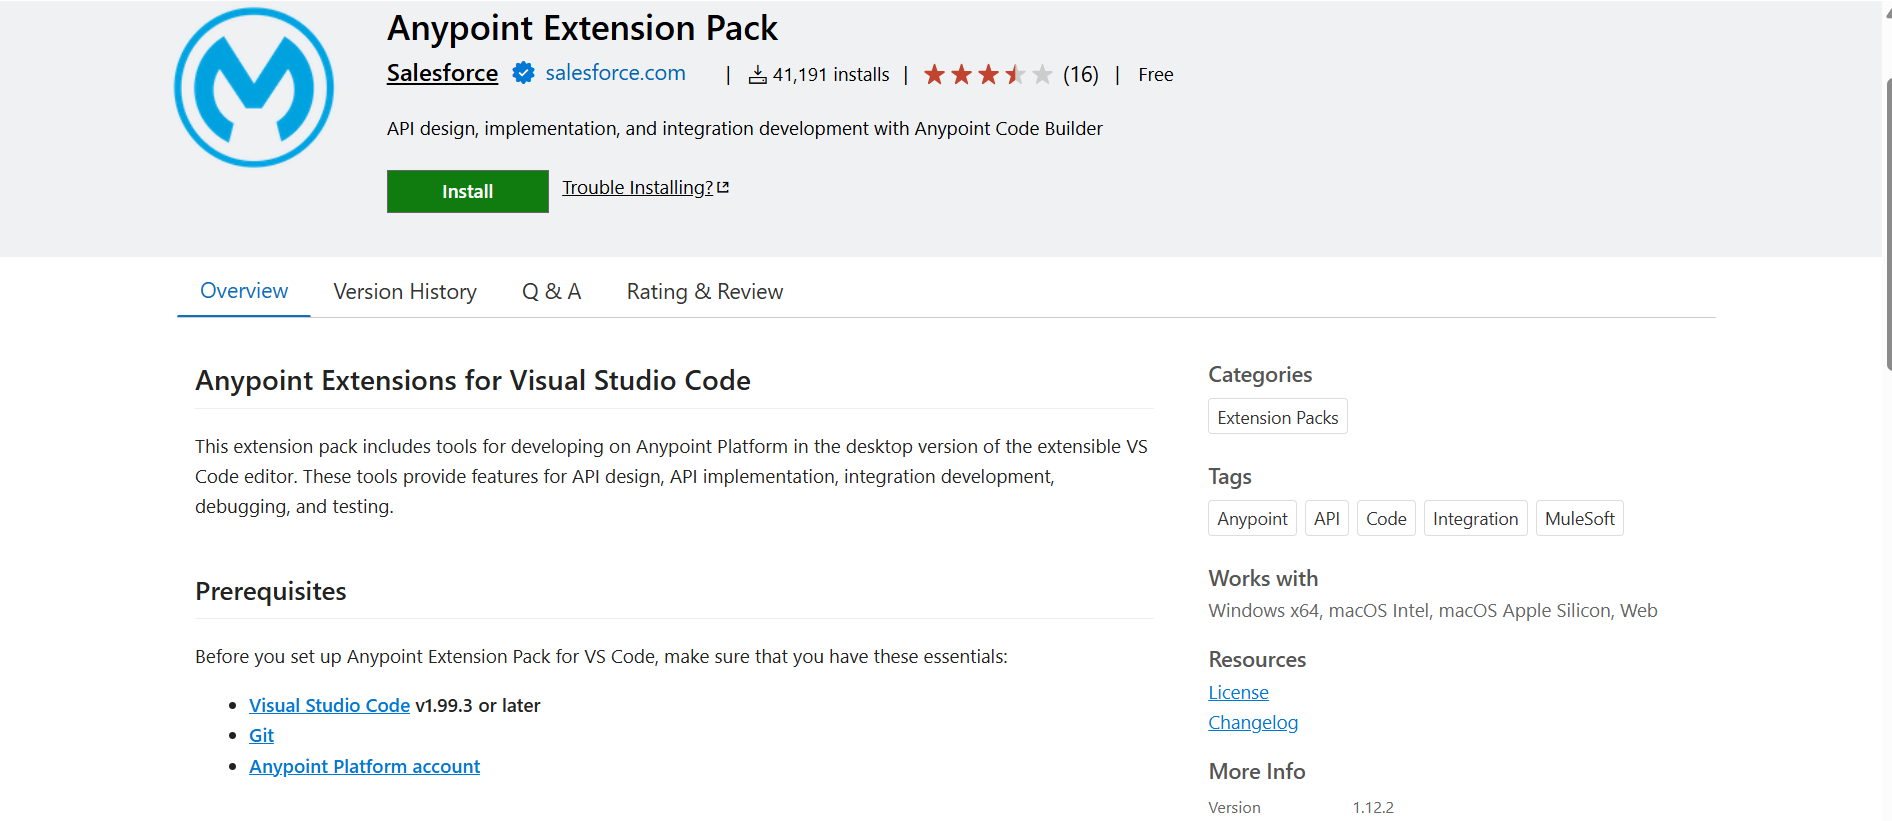
Step 4: In the Prerequisites section, click on Visual Studio Code. Click the link to download it. If it is already installed, check the version and continue.

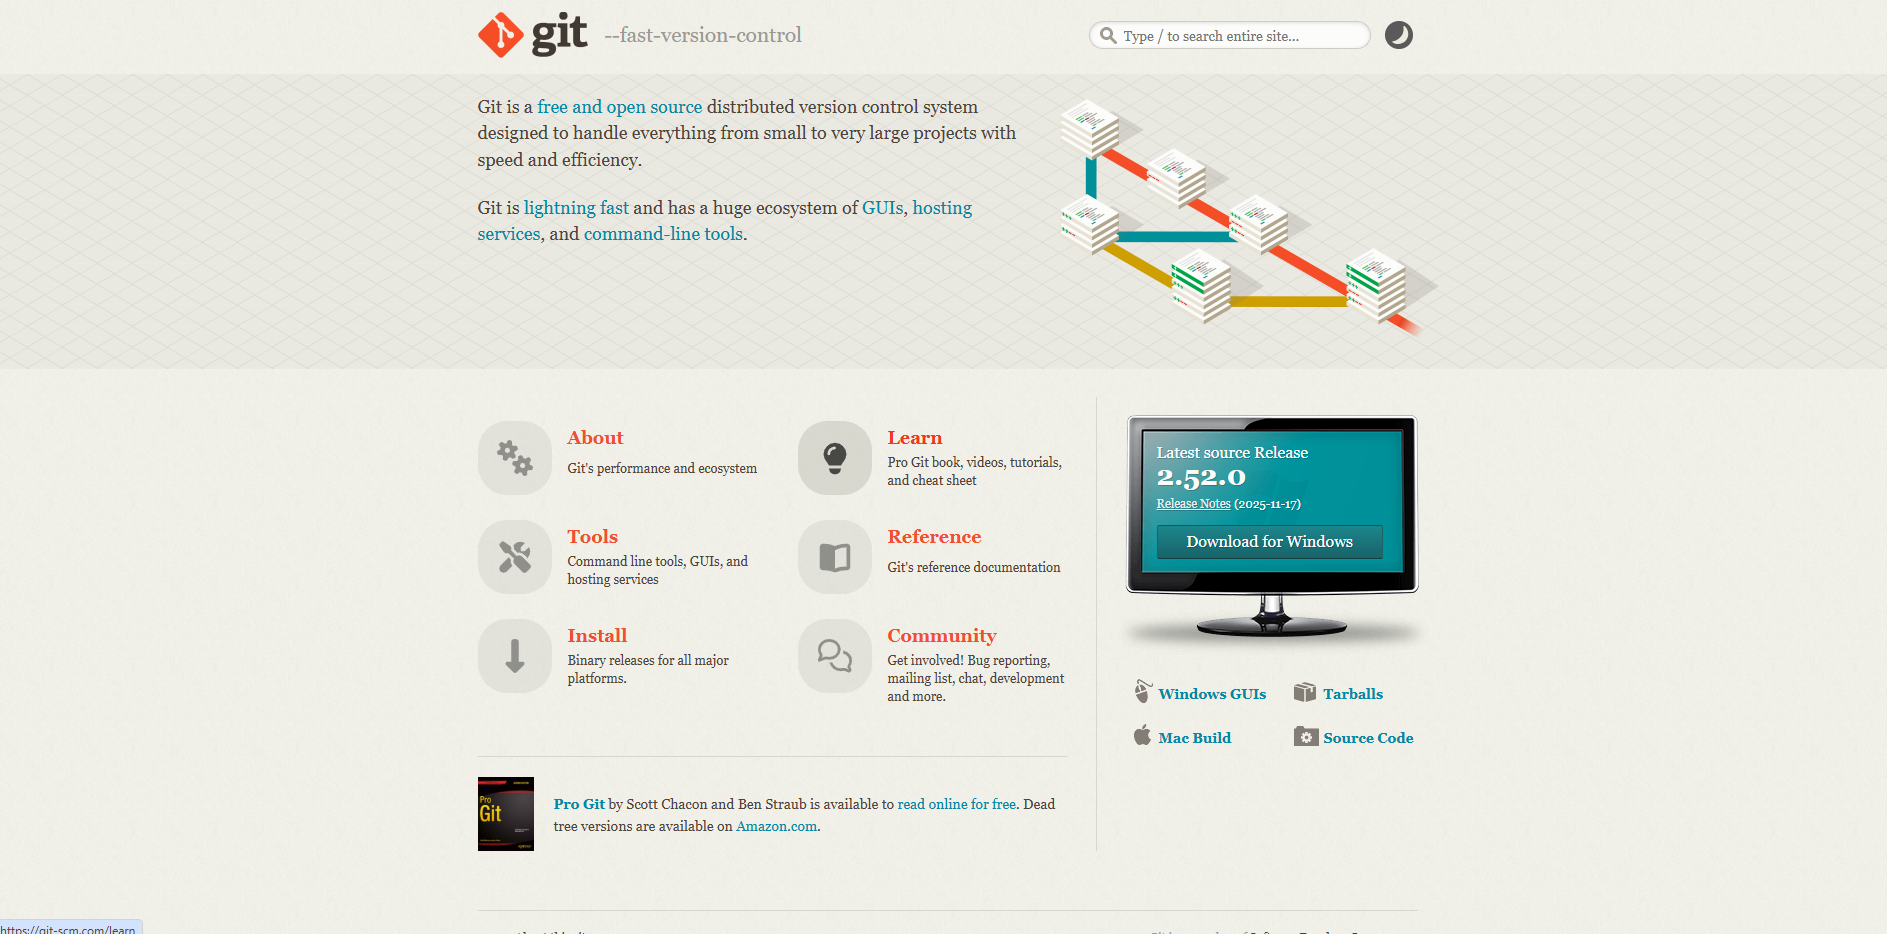
Step 5: Next, click on GIT in the Prerequisites section. You will be redirected to the GIT download site. Click Download for Windows to download GIT.
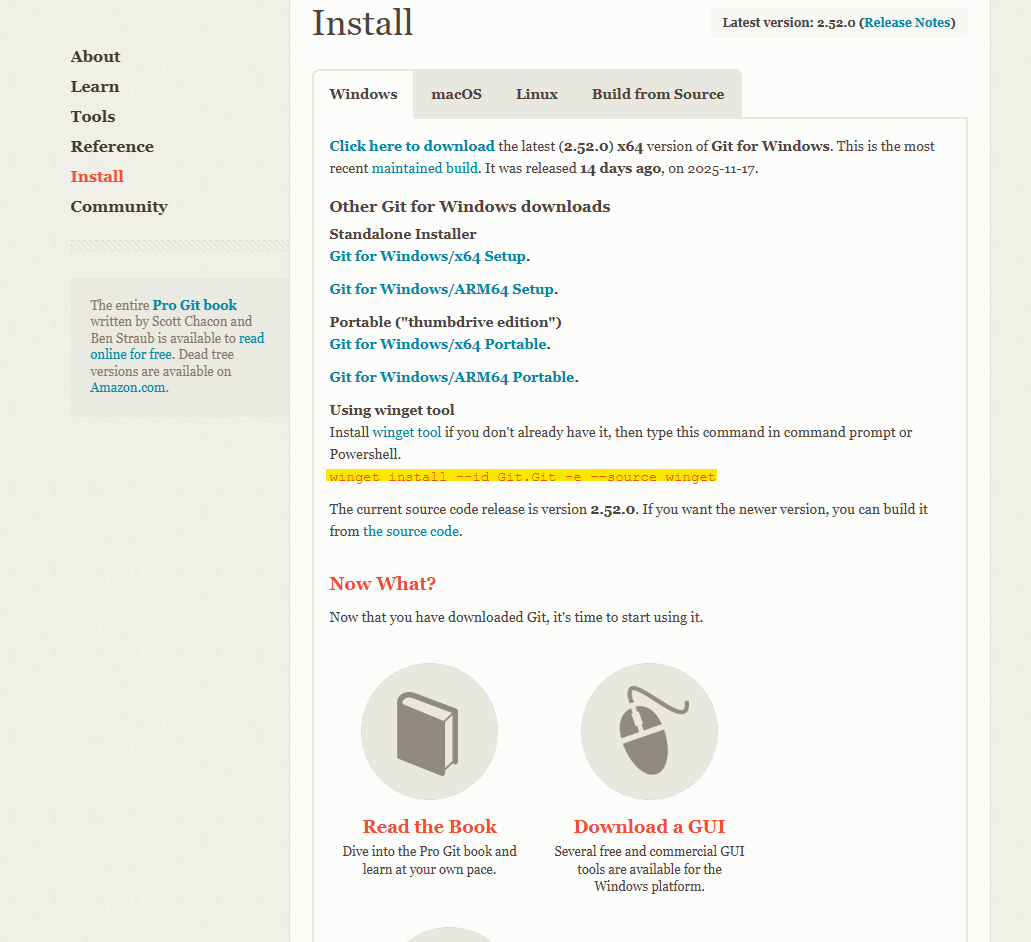
Step 6: After clicking Download, you will be redirected to the installation page. Open your Terminal and run the highlighted command. GIT will be installed successfully.
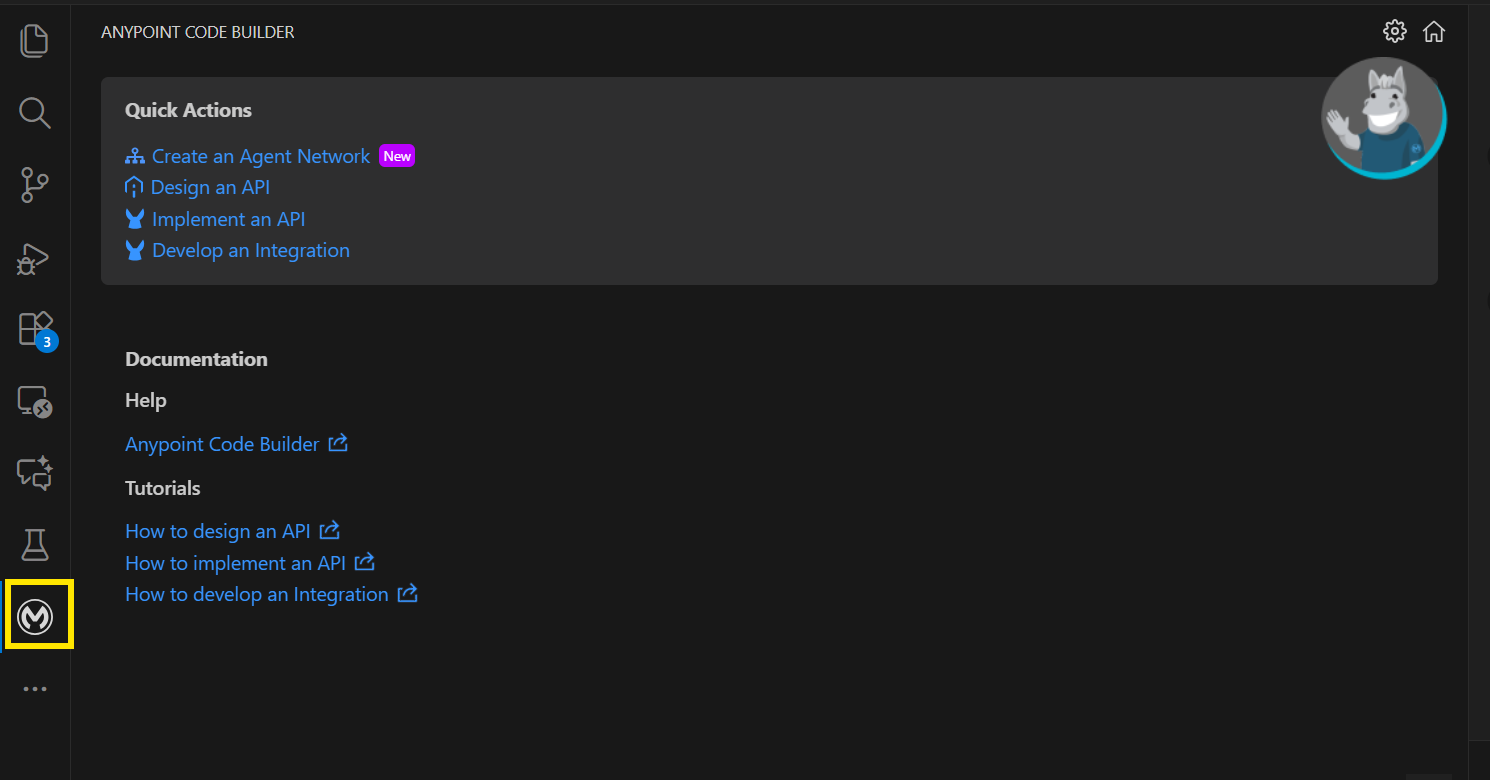
Step 7: Open VS Code and install the required extensions. This includes all your Anypoint-related extensions.
Step 8: Once installed, you will see this icon on the left panel. Click the icon.
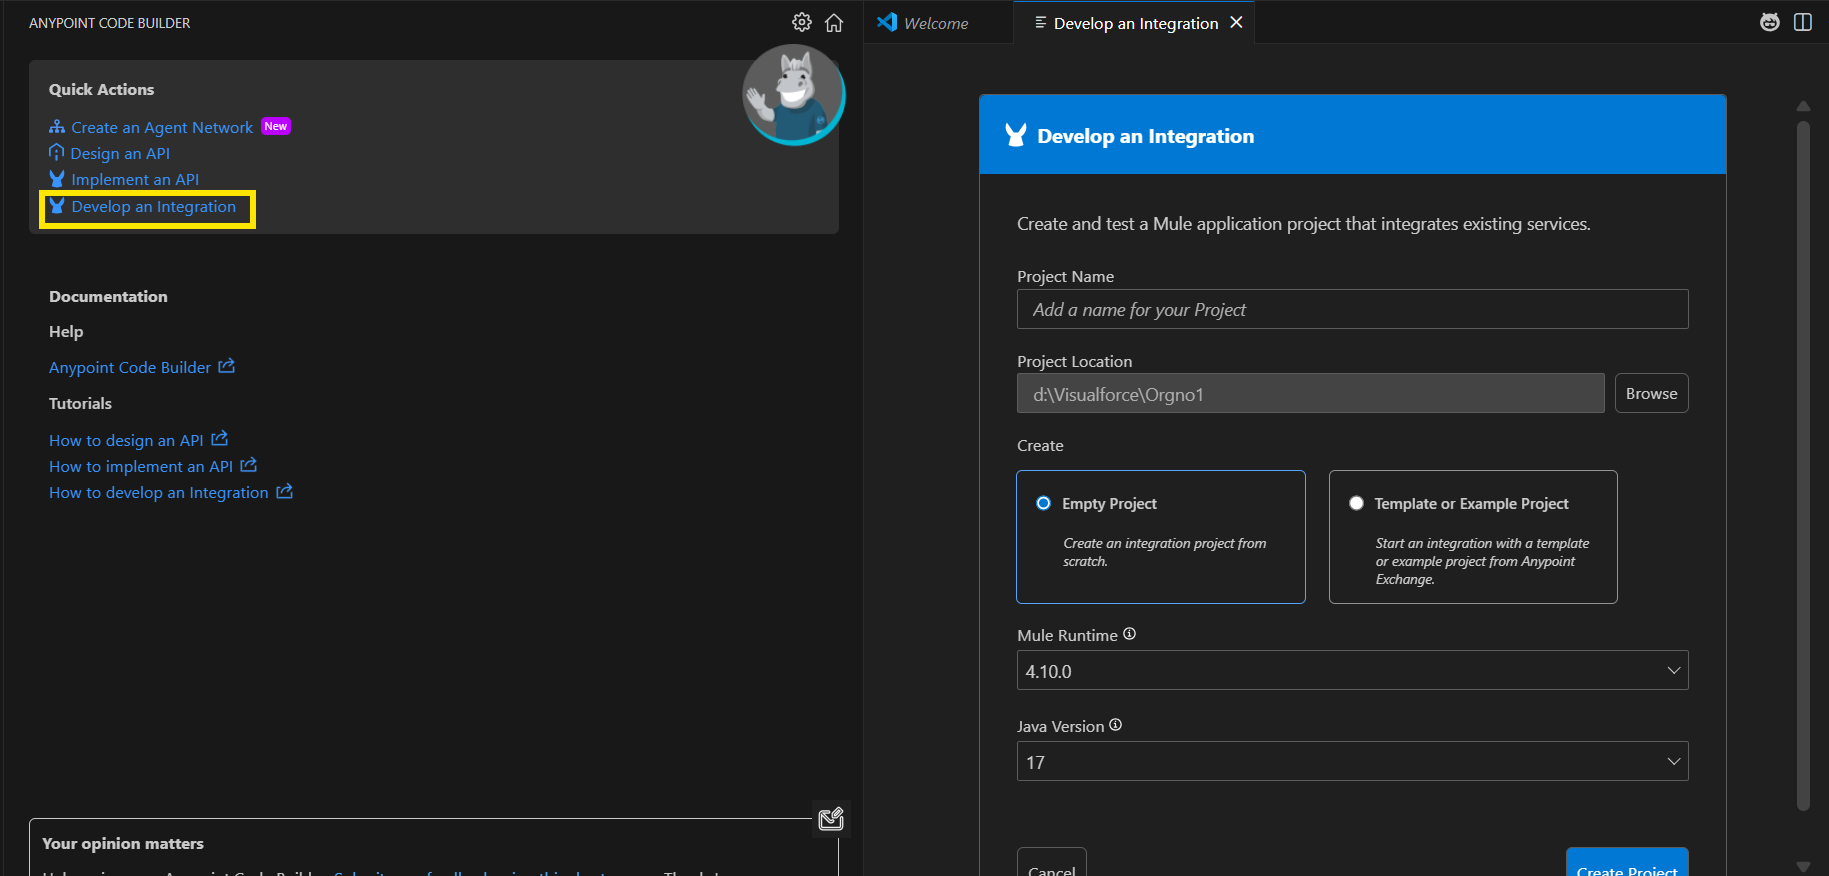
Step 9: Click Develop an Integration, fill in your project name and other details, and then click Create Project.
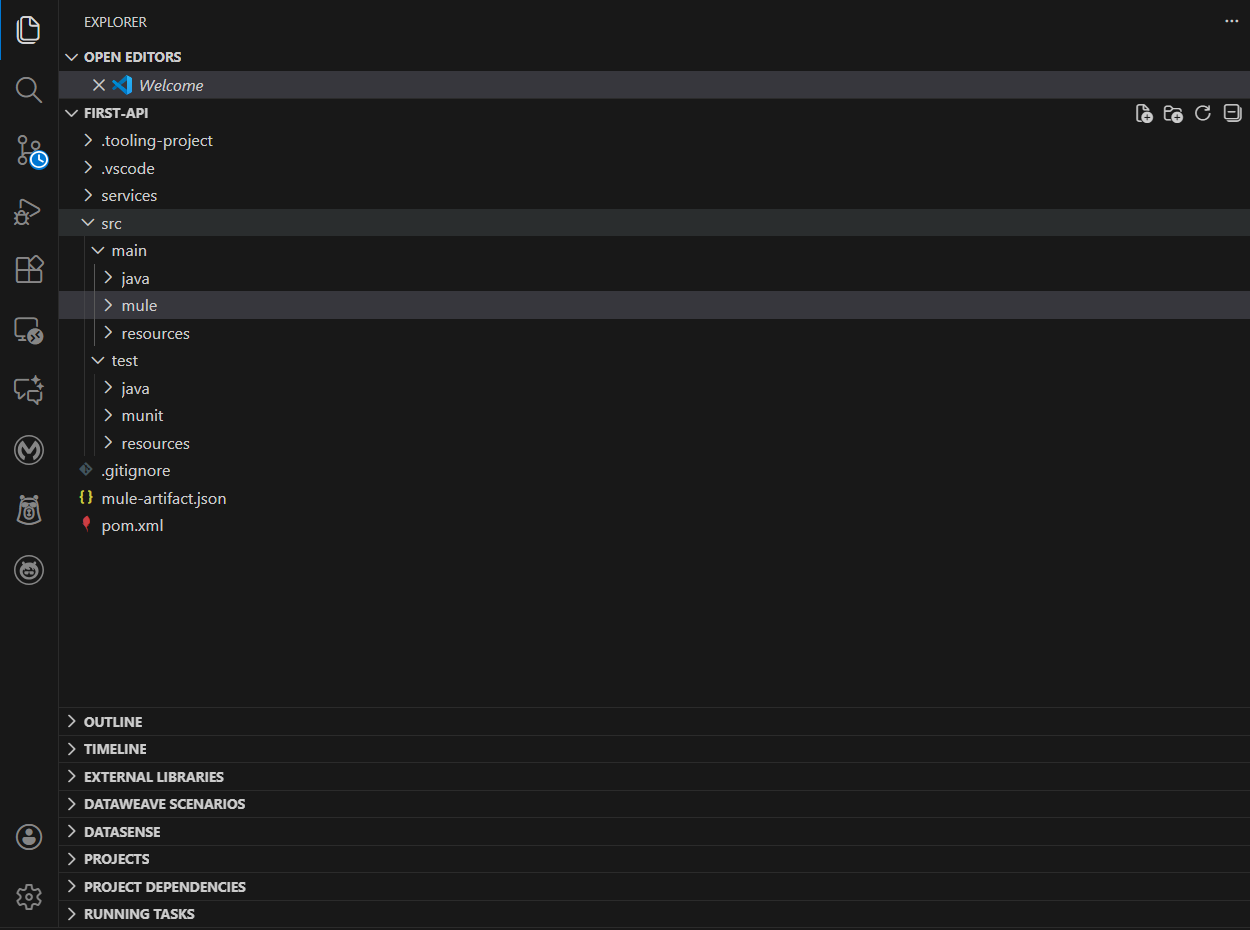
Step 10: The project will be created, and the files shown in the image will appear in your project.
Step 11: Right-click the Mule folder and click Create File. Enter your file name, and after the name, add .xml. Press Enter, and the file will be created. Then click the Add button to begin building your API.
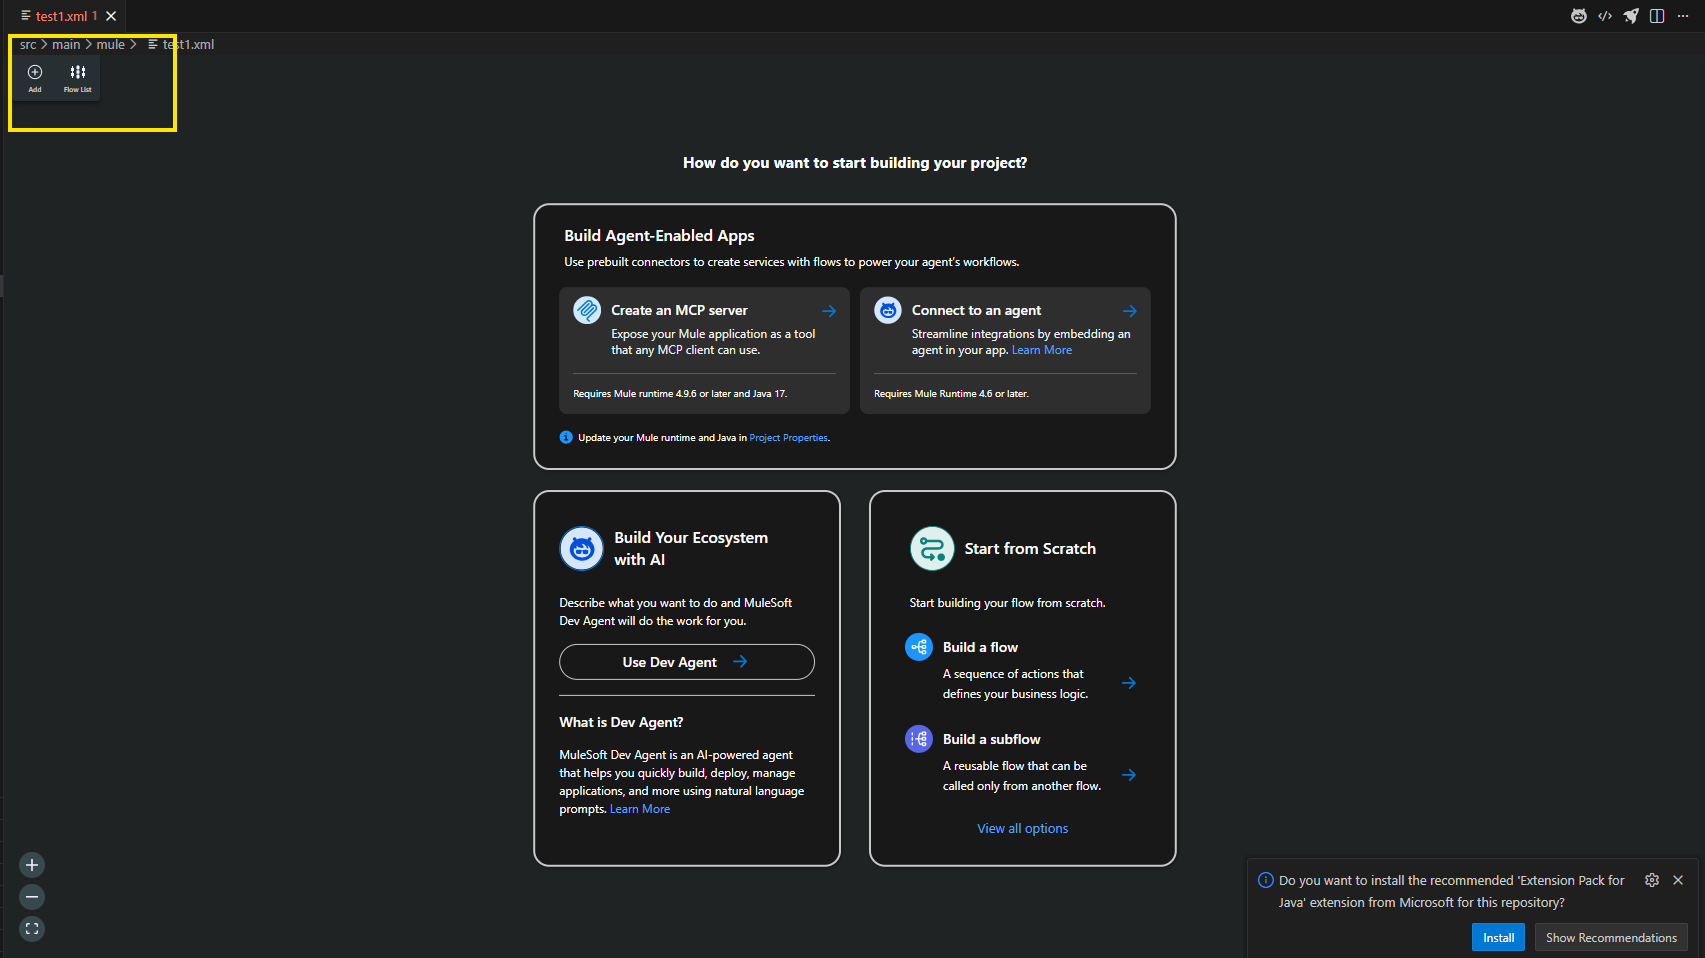
Step 12: Add the components you need for your API. The final design will look like the model shown in the image.

Anypoint Studio
Anypoint Studio is MuleSoft’s Integrated Development Environment (IDE) used to build, test, and deploy APIs and integrations. It gives developers a simple, visual, and user-friendly way to create flows, connect systems, transform data, and apply business logic.
Features of Anypoint Studio
Drag and Drop Design: Build flows visually.
Easy System Connectivity: Built-in connectors for Salesforce, SAP, databases, HTTP, FTP, files, and more.
DataWeave Transformations: Transform data between JSON, XML, CSV, Java objects, etc.
Local Testing and Debugging: Test and debug apps locally before deploying.
How to Install AnyPoint Studio
Step 1: Open a web browser and search for Download Anypoint Studio or click this link: Download Anypoint Studio & Mule.
Step 2: You will be redirected to the download page. Fill out the form if required and select the version compatible with your operating system.
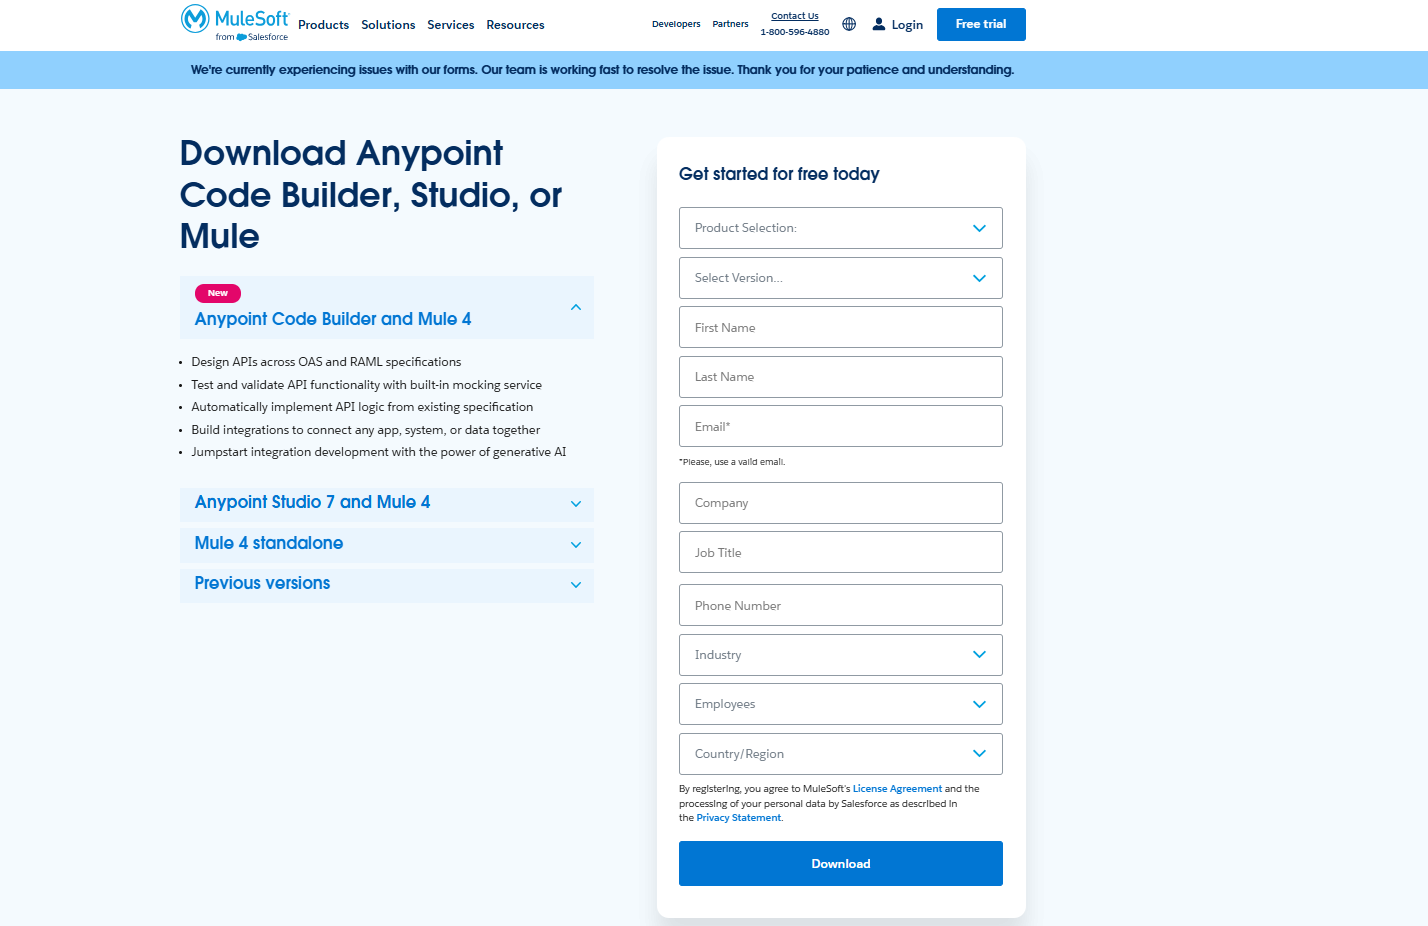
Step 3: Select Product Selection as Anypoint Studio and Mule. Choose the latest version available. Select your operating system and fill in all the required details.
Step 4: Click Download and wait until the file is downloaded.
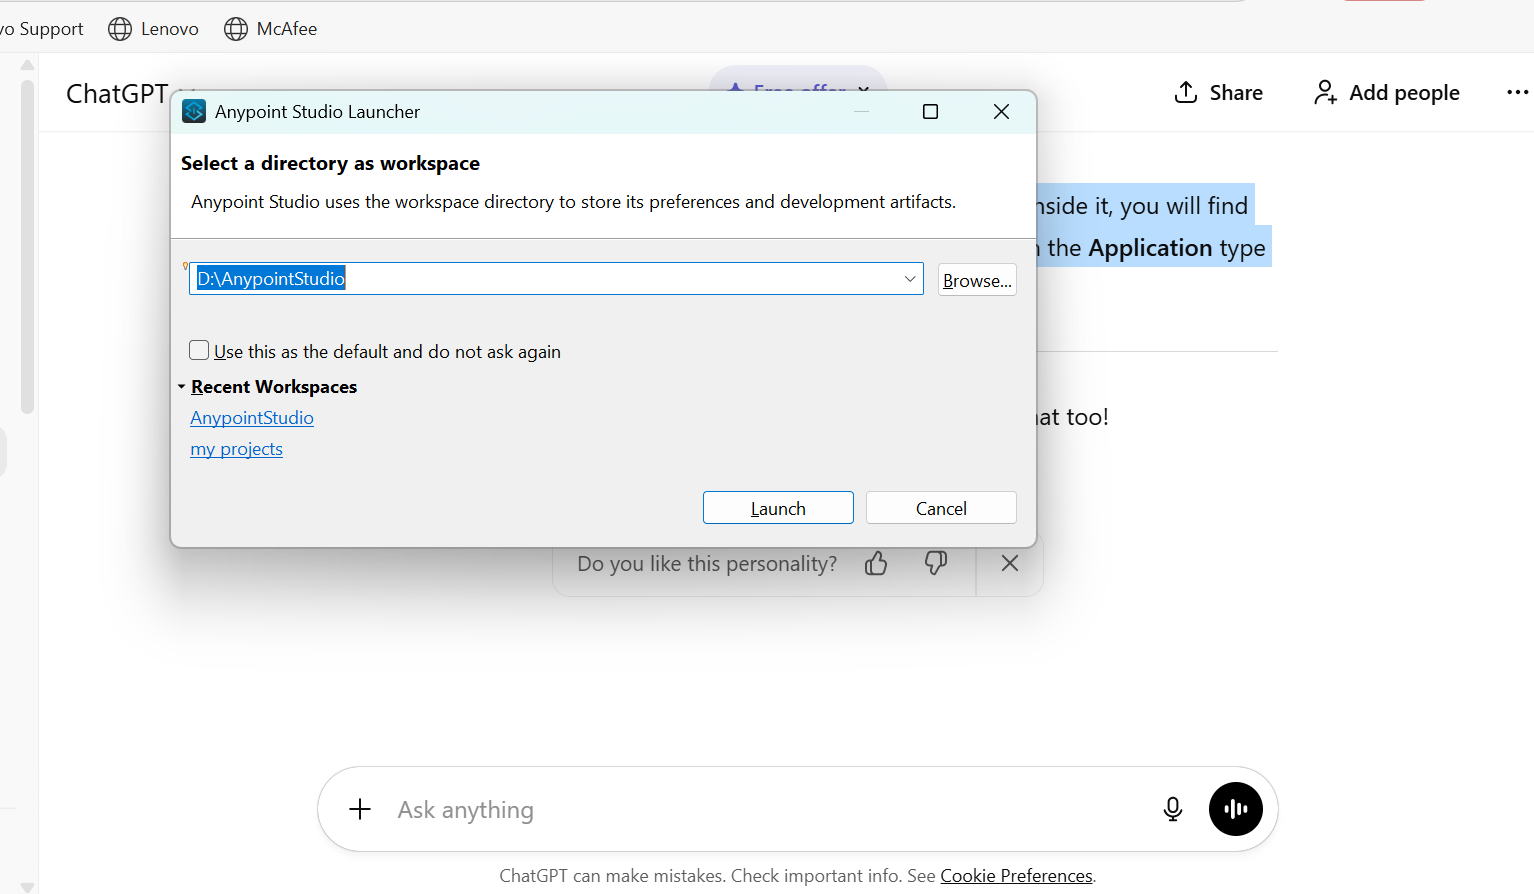
Step 5: Open the downloaded folder and click on the Anypoint Studio file. Inside it, you will find another file with the same name. Select the AnypointStudio file with the Application type and click to open it. The file will start loading.

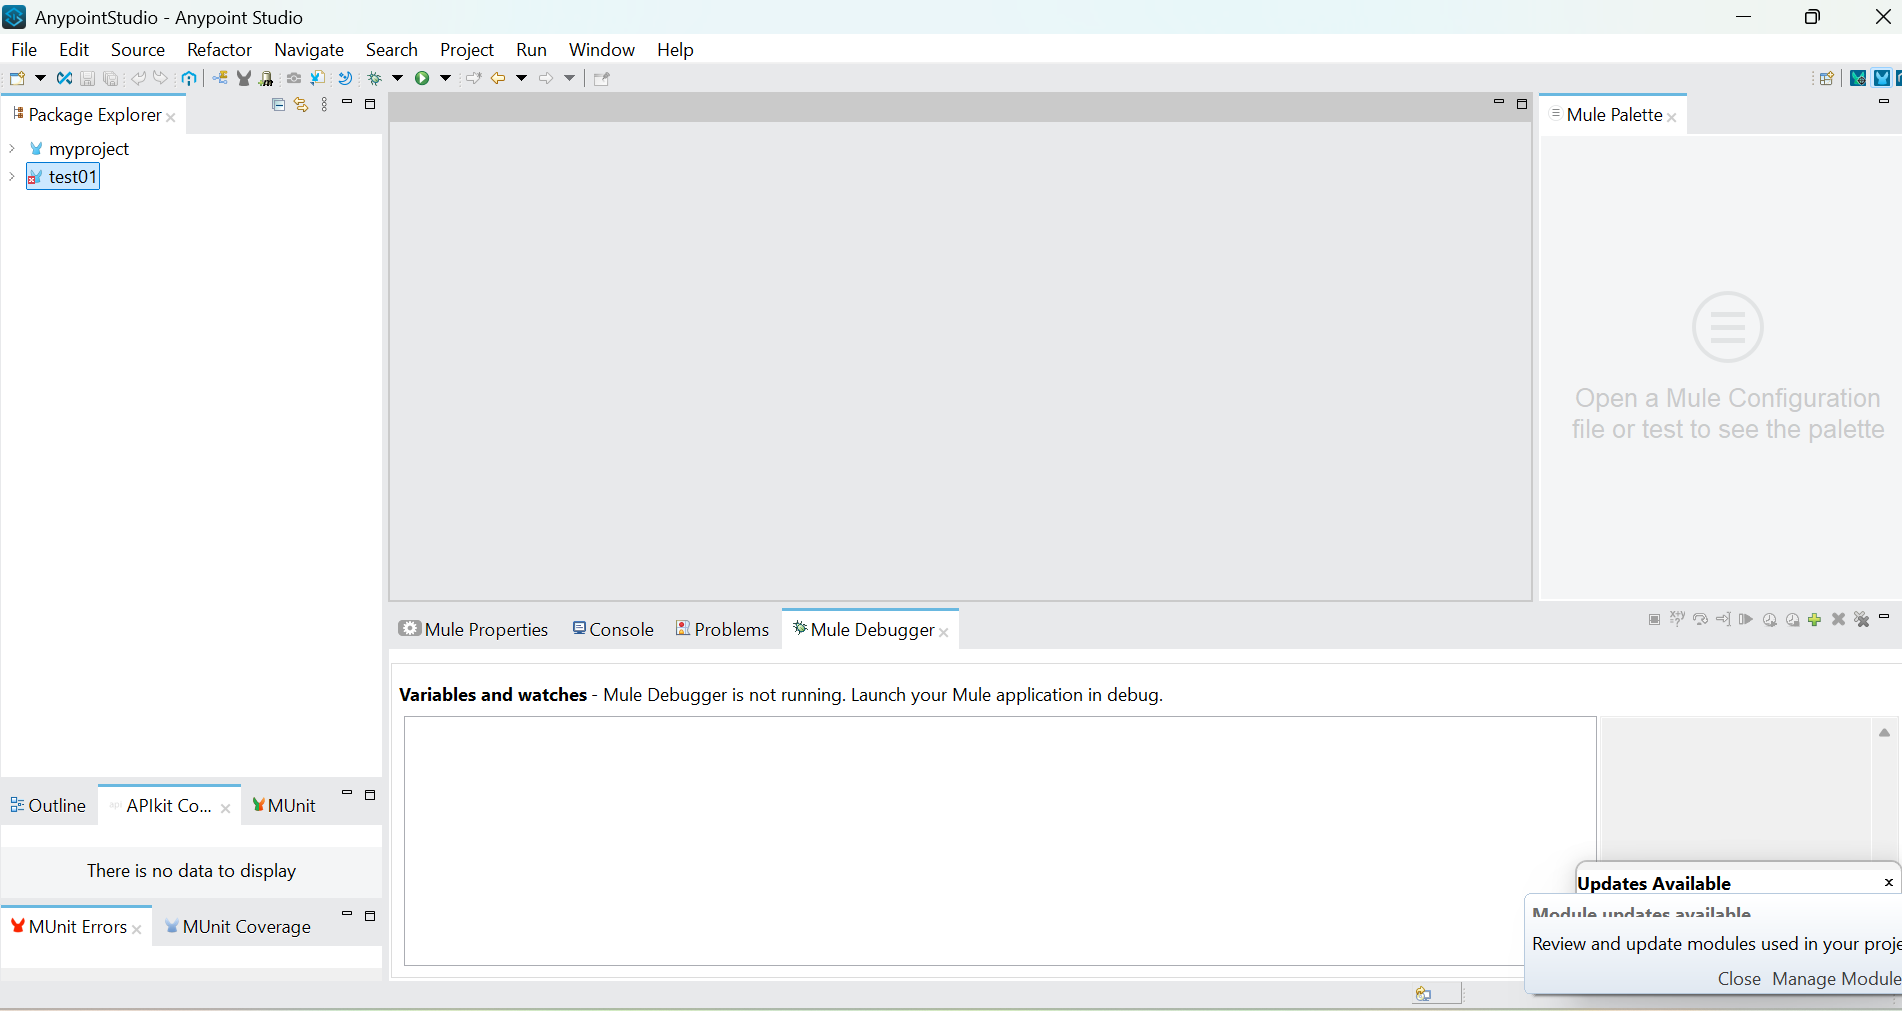
Step 6: Click the Launch button and then Anypoint Studio will open.
Step 7: Once Anypoint Studio opens successfully, you can create a new project and begin your development.
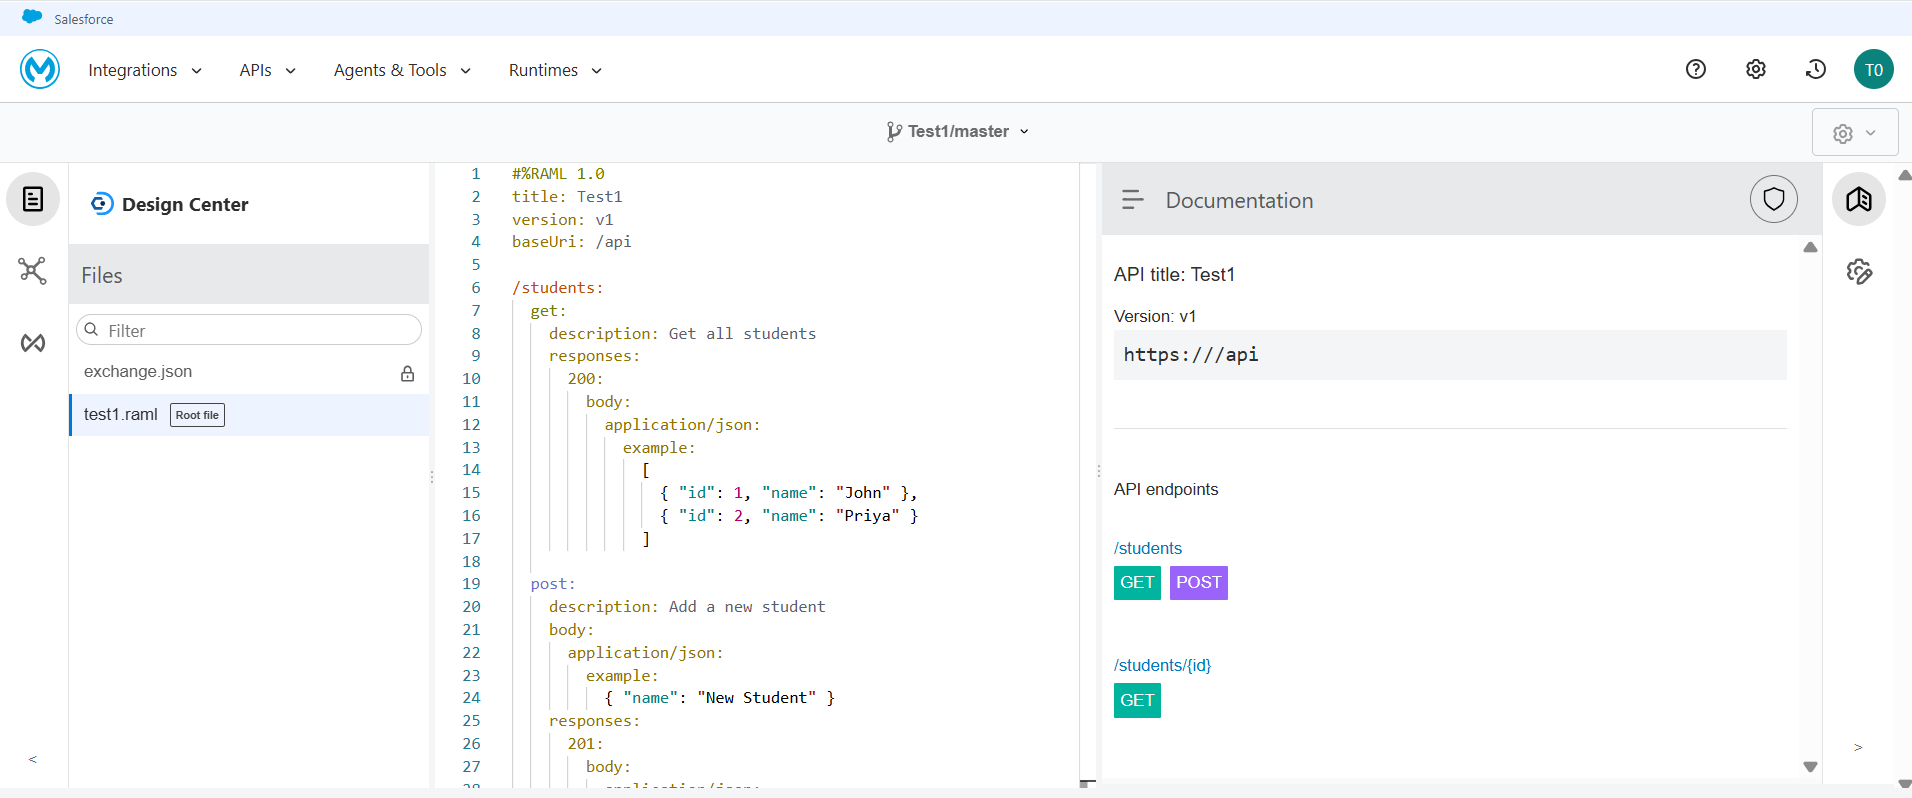
Design Center
Design Center lets you design an API like creating a blueprint before building it. You define what the API should do, what data it will return, and how users or systems will interact with it. In the Design Center, APIs are created using RAML (RESTful API Modeling Language), which allows you to clearly define endpoints like GET, POST, PUT, DELETE and describe request and response formats (JSON, XML, etc.) in a structured, human-readable way.
Anypoint Platform also includes a powerful API mocking service, which lets you test the RAML-based API design even before implementation. It helps teams validate the design, check responses, and improve the API early.
Developers can import the RAML design into Anypoint Studio or Code Builder to start implementation. This design-first approach makes development faster, more consistent, and easier for teams.
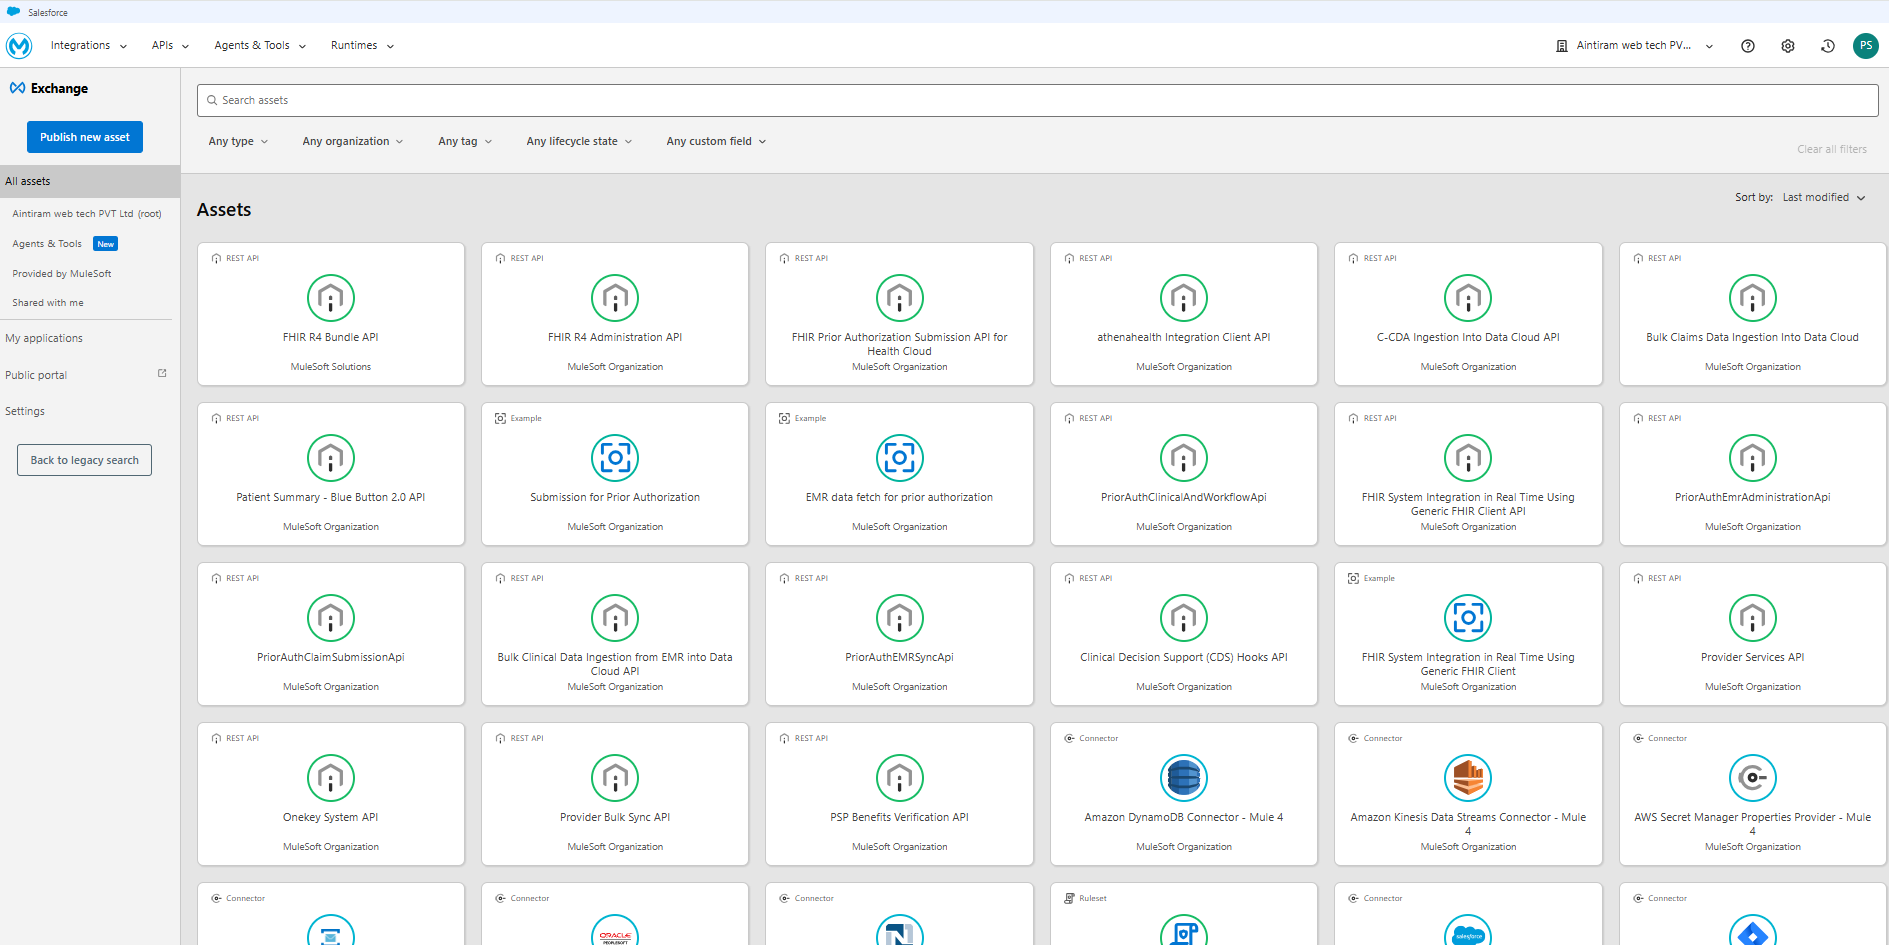
Exchange
Anypoint Exchange is a central hub where developers and teams can find or share reusable APIs, connectors, templates, and other integration assets. It works like a marketplace for integration resources. You can use prebuilt components instead of building everything from scratch. Exchange also helps maintain best practices and improves collaboration.
Teams can publish their APIs and connectors to Exchange. Others can search, view documentation, check examples, and import these assets into Anypoint Studio or Code Builder. Exchange also supports version control and access permissions, ensuring everyone uses the correct and updated assets.
Conclusion
I hope this blog helps everyone clearly understand the Anypoint Platform’s key components and features, along with the steps to create an account using both the Anypoint Platform and Anypoint Studio. In the upcoming blogs, we will explore the Anypoint Platform in more detail and learn how to create and connect APIs effectively. Stay tune!