

How to Create Bulk Custom Metadata Records?
Learn how to create bulk Custom Metadata records in Salesforce by using the Visual Studio Code scripts, all in just a single click with straightforward steps.
By Sanjai Sasi Kumar
Asst. Software Developer
How to Create Bulk Custom Metadata Records?
I recently worked on a project, which is a Railway Ticket Booking System application using Salesforce. In that application, I wanted to handle "FROM" and "TO" locations using Custom Metadata Types, because I wanted it to be dynamic. I had the scenario that I wanted to add the Railway Stations between Chennai and Mumbai, but there are almost 150+ locations, and how tough it is to add this many records manually is a high-effort and time-consuming task, so I struggle a lot. I know there are no free data manipulation tools in Salesforce, but none of these tools will allow me to insert records in Custom Metadata Types.
It is a little tough logic to handle. After multiple searches, I found a way to handle it better, and I have succeeded multiple times on that, so I have decided to share that secret with you. Let's dive into this blog.
Steps to be Involved
As I said, I have referred multiple forums and I didn't get any clear steps to load bulk metadata records into Salesforce system. For that, I have provided the clear steps to below to rectify the challenges that I faced.
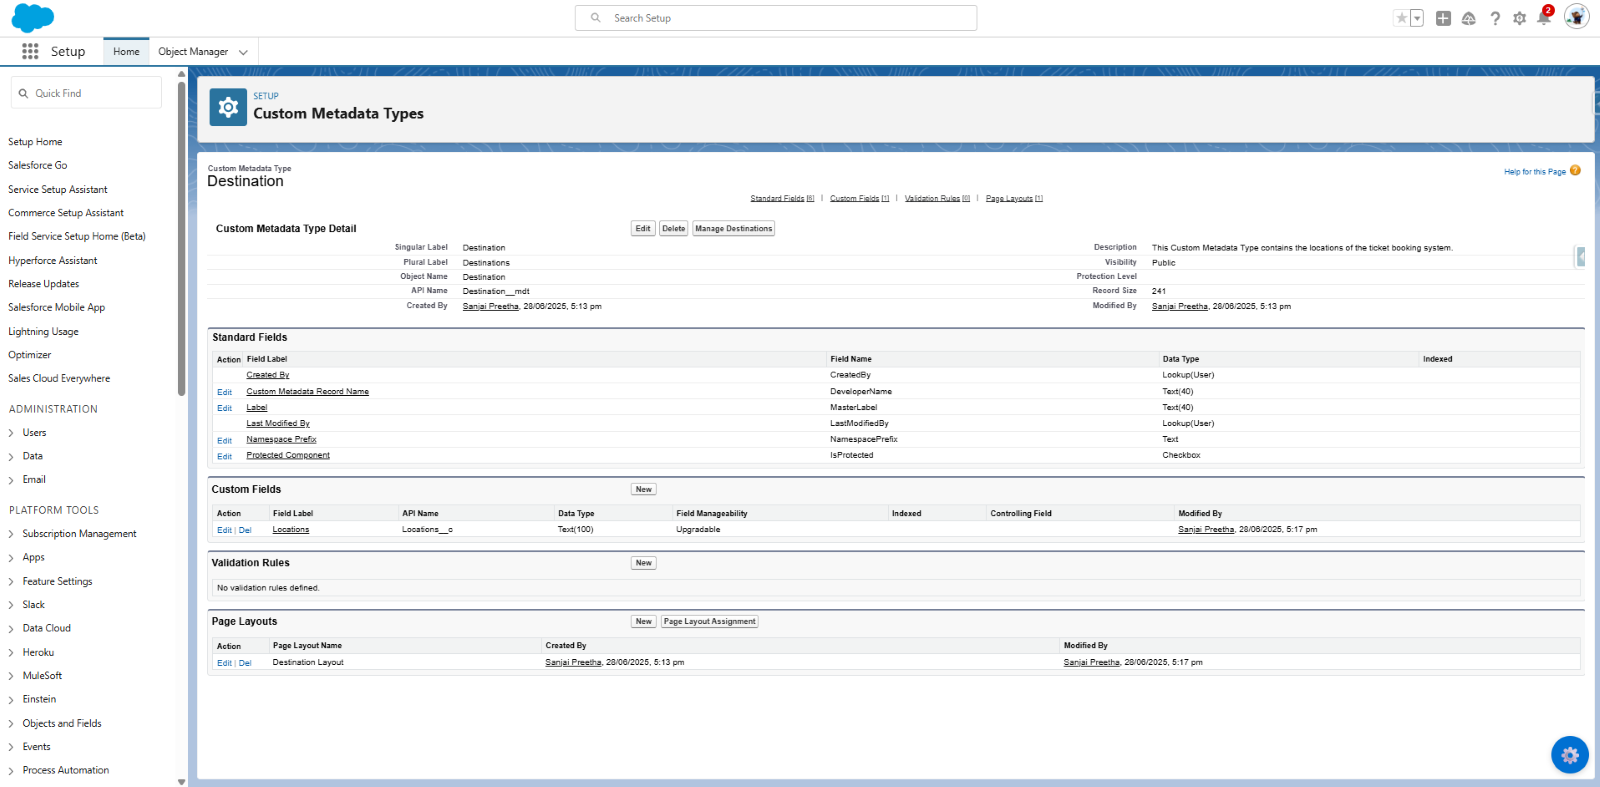
Step 1: Creating the custom metadata to store the From & To location details.
Create a Custom Metadata called Destination to store the From & To Location details which i need to use in the application.
Create a Text field named Location to store the location details.
By creating the records manually like below,
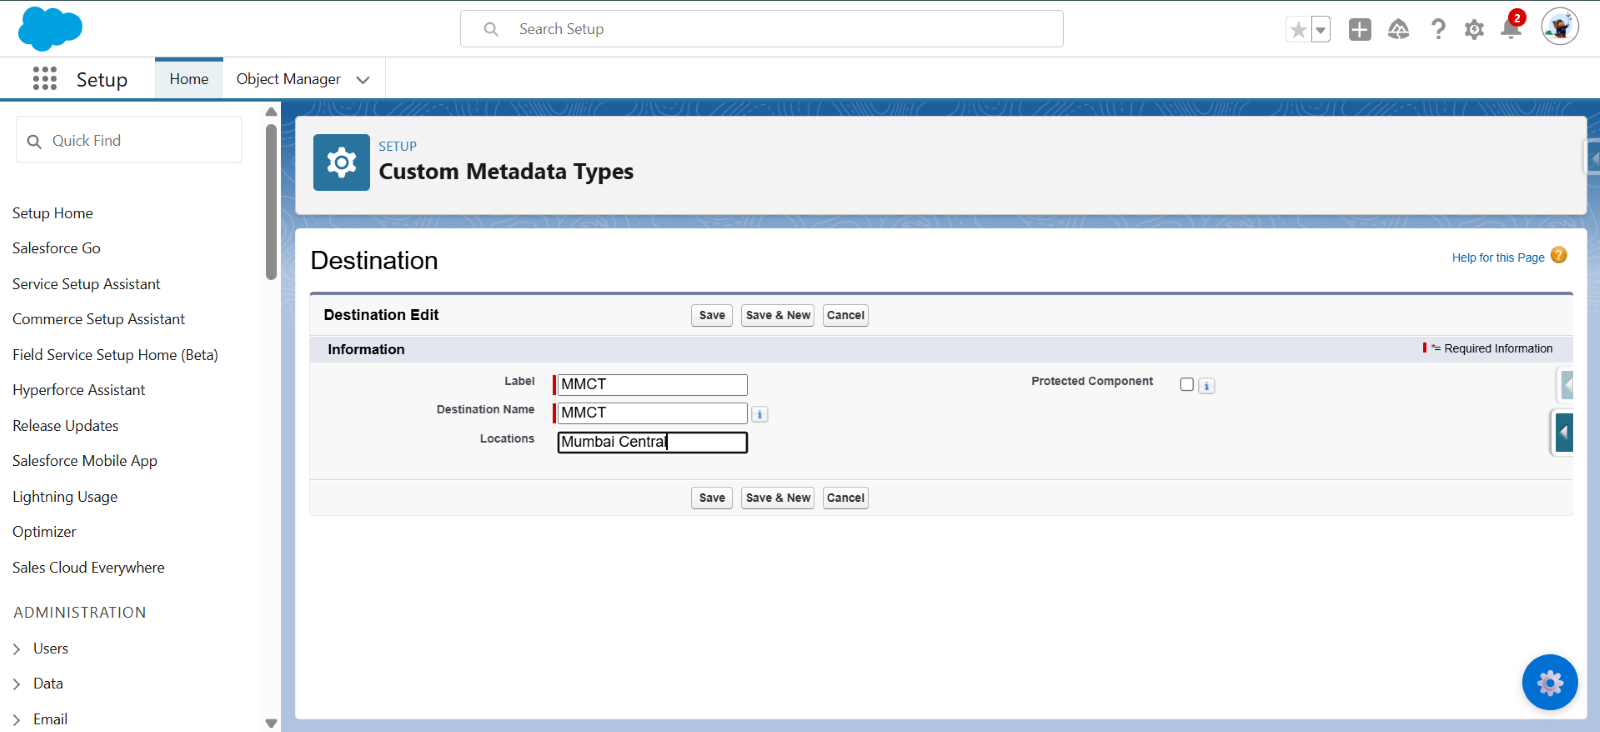

Adding a single record manually. Now, it is a single location, but I have more than 150+ locations. You know adding the records one by one is how much difficult. So, I have worked some days and found this approach. The below steps make it easier for you.
Step 2: Open the VS Code IDE and follow the steps for project creation.
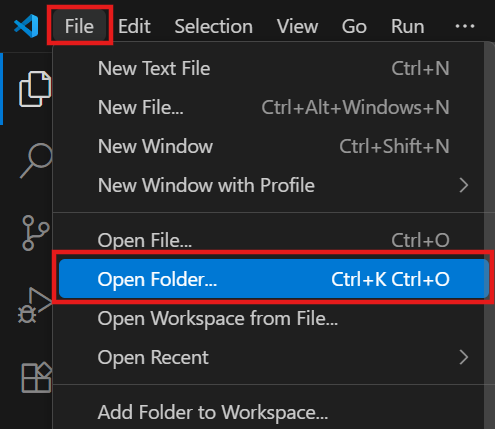
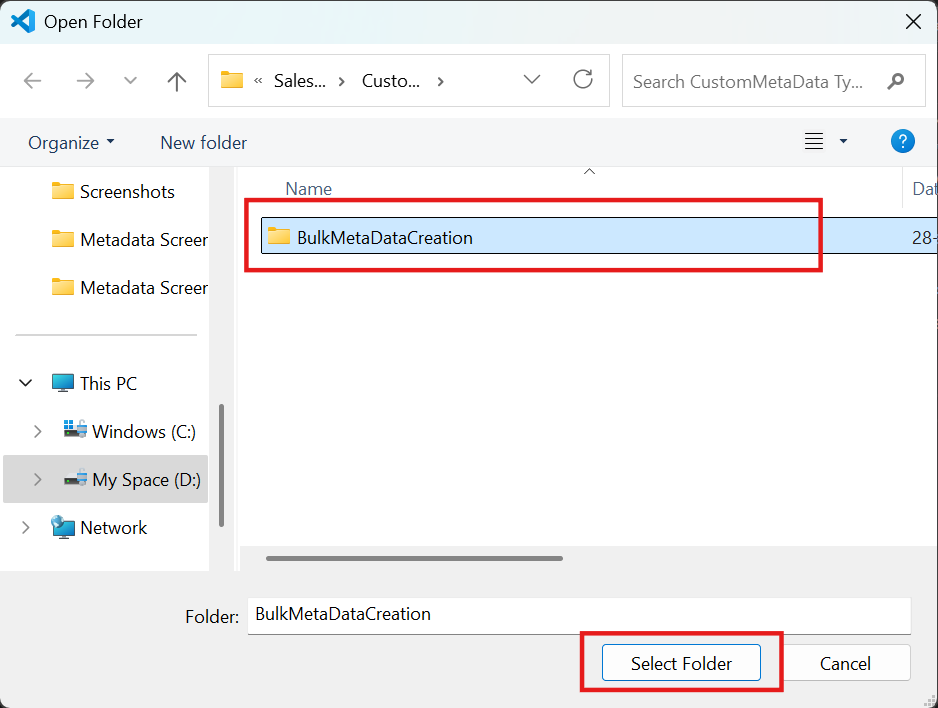
Select the folder you want to create the project in.
Command: >SFDX: Create Project with Manifest
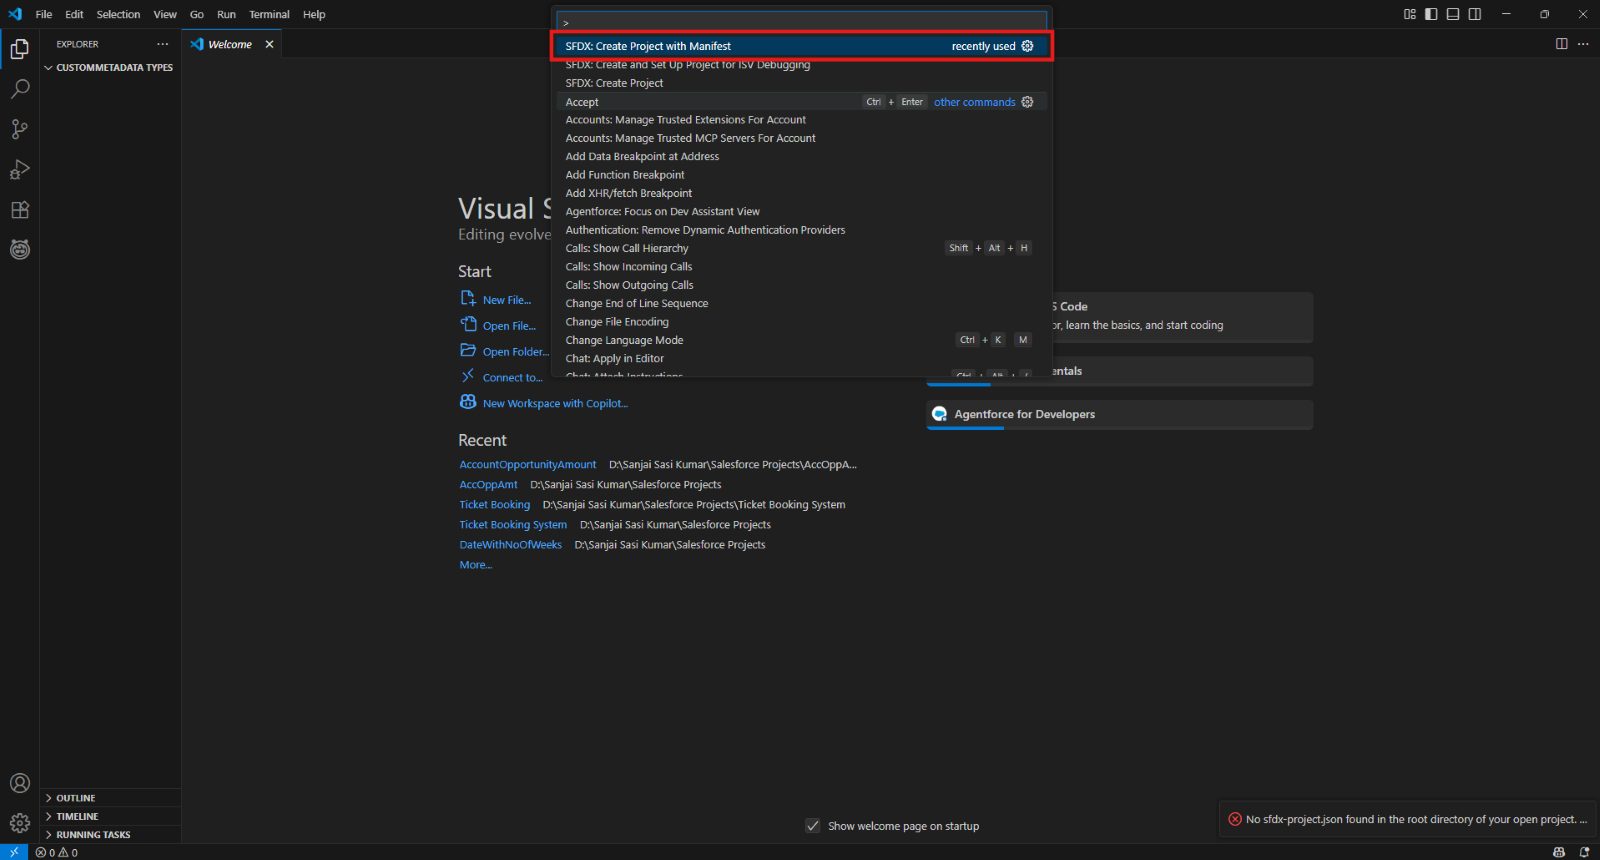

Give a meaningful project name for your new project.

Step 3: Then you must Authorize your Org, Choose the org carefully that you have created a Custom Metadata type.
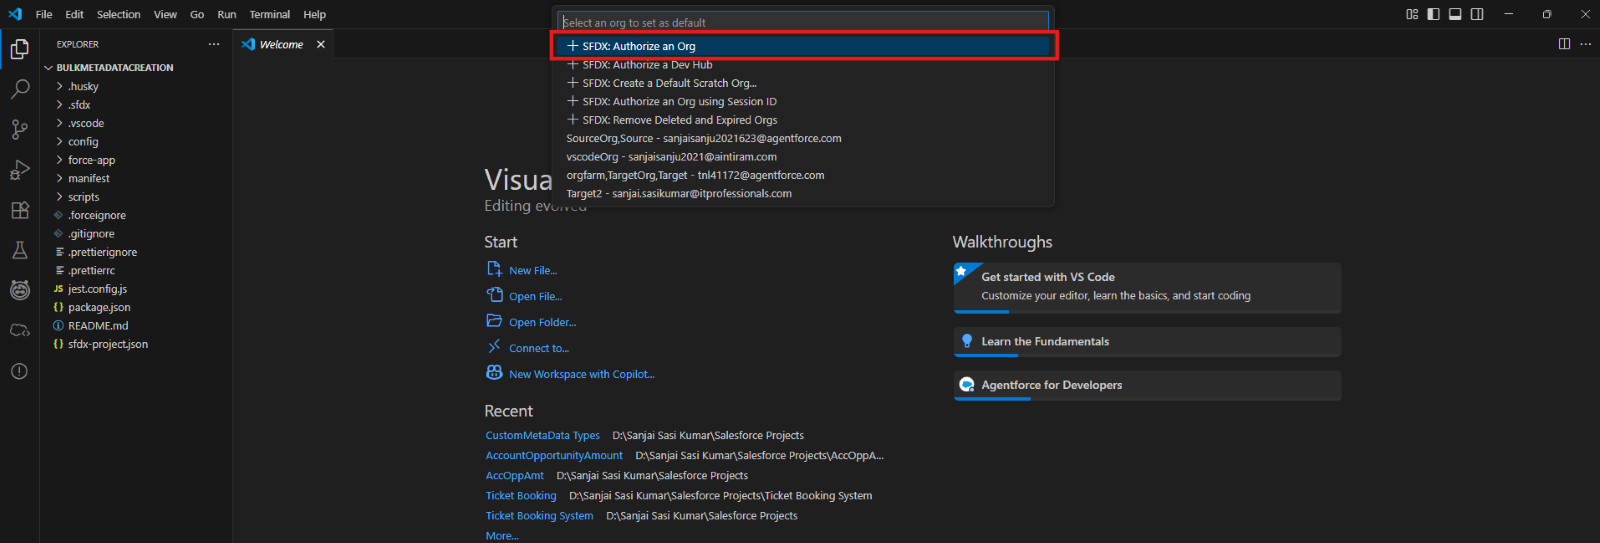
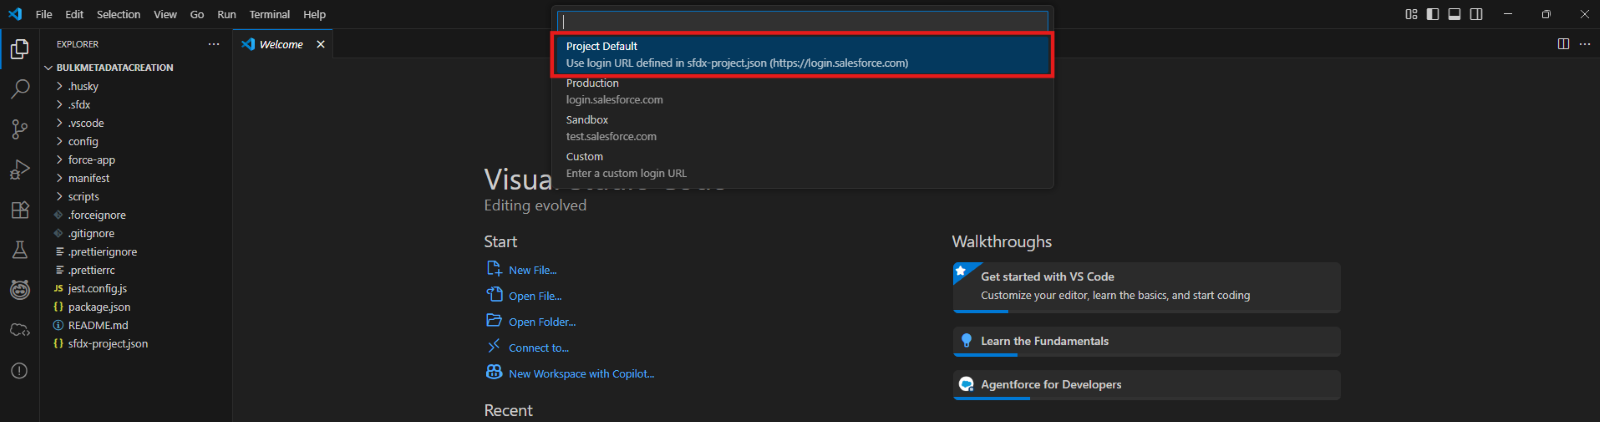
If you want to choose an alias name or else leave it blank, it will redirect you to the Salesforce login page.

Org Authorized successfully.

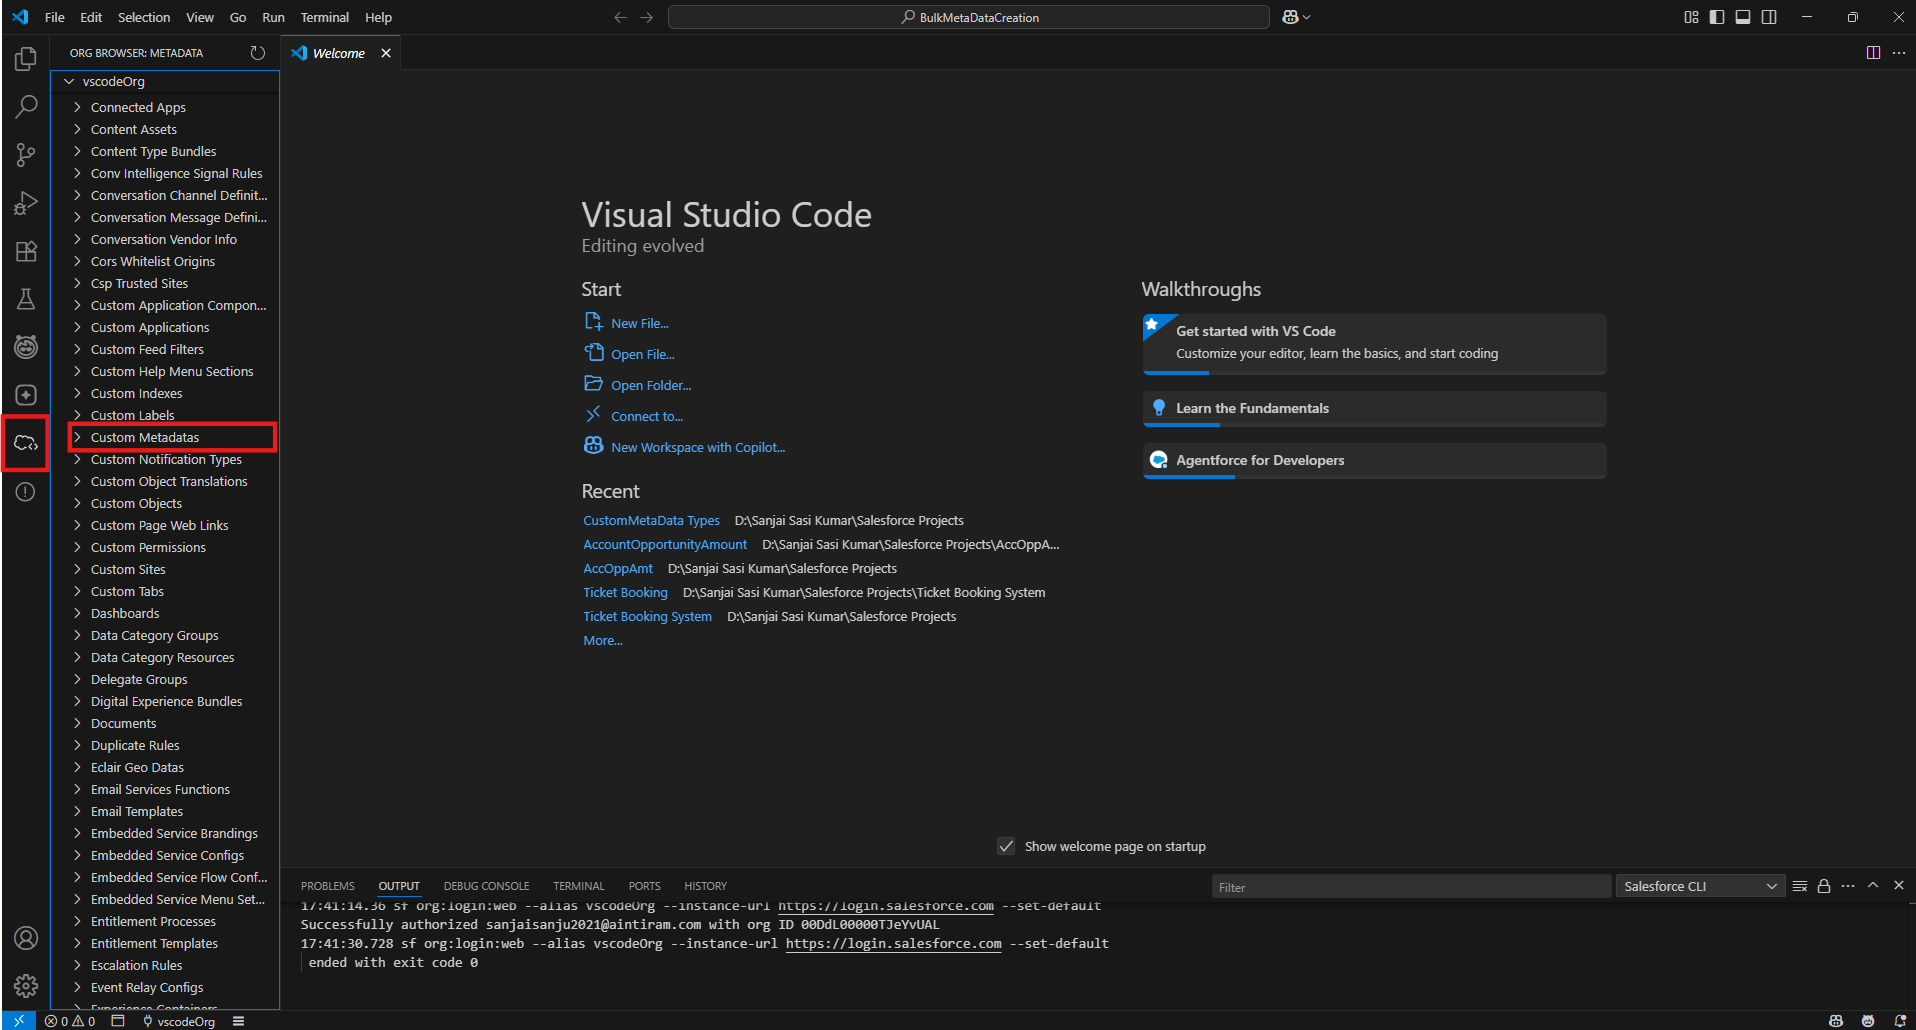
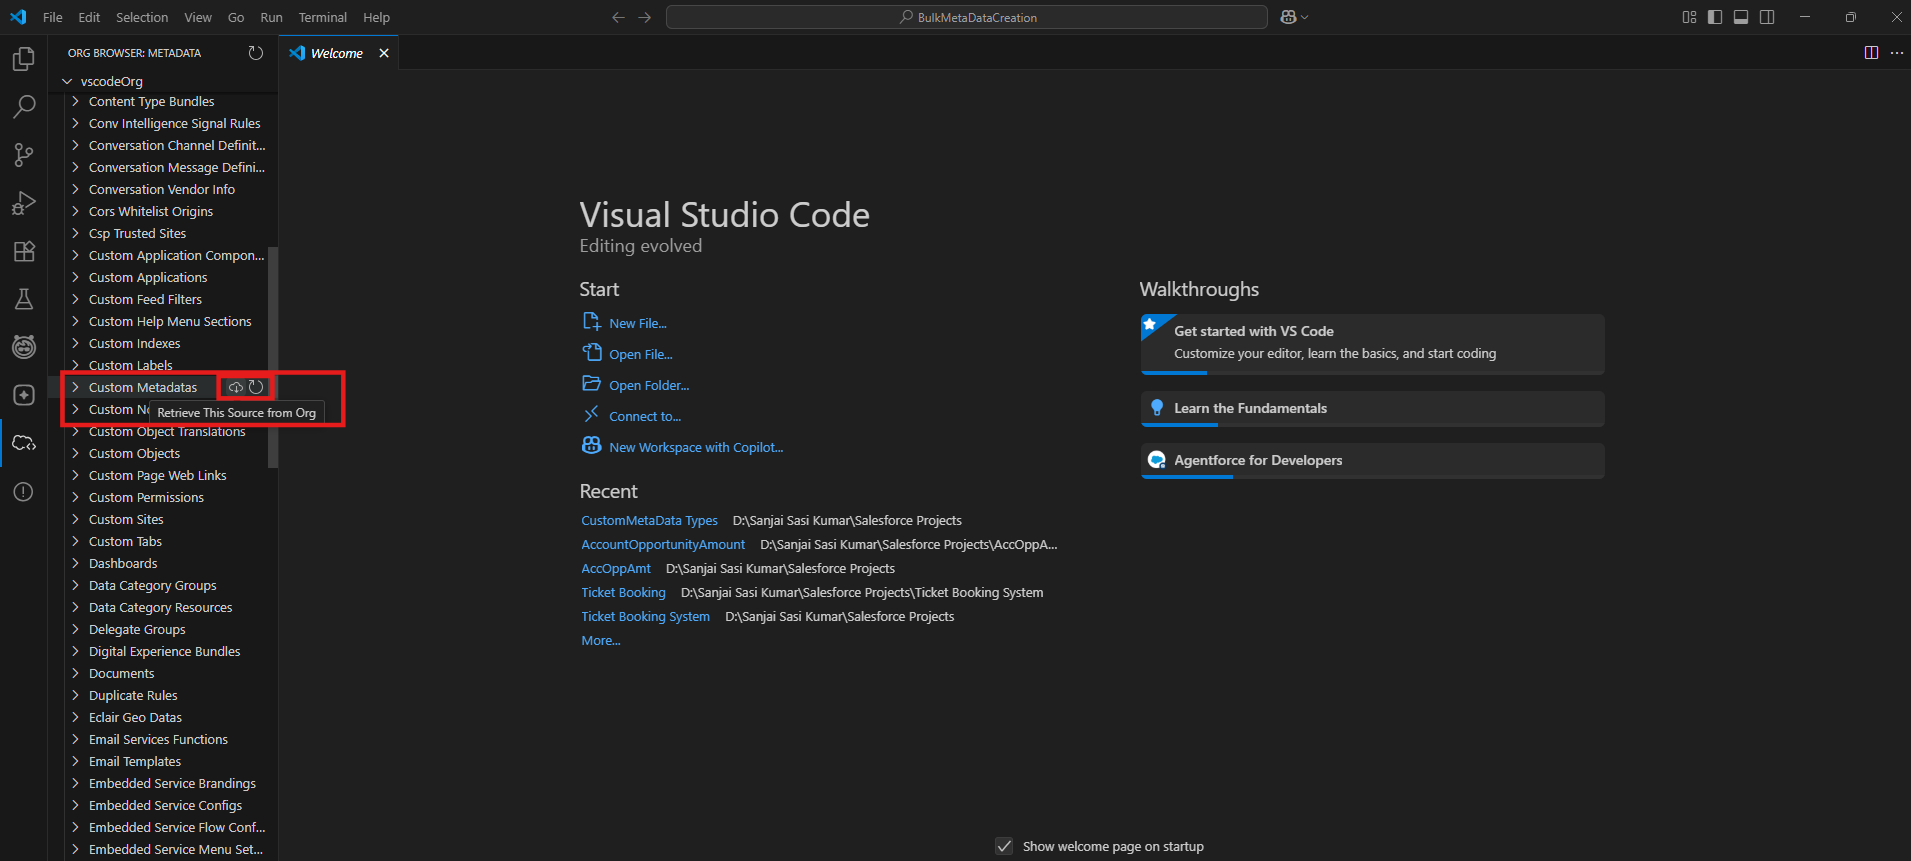
Step 4: You must retrieve your existing data first. (SFDX: Retrieve Source in Manifest from Org)
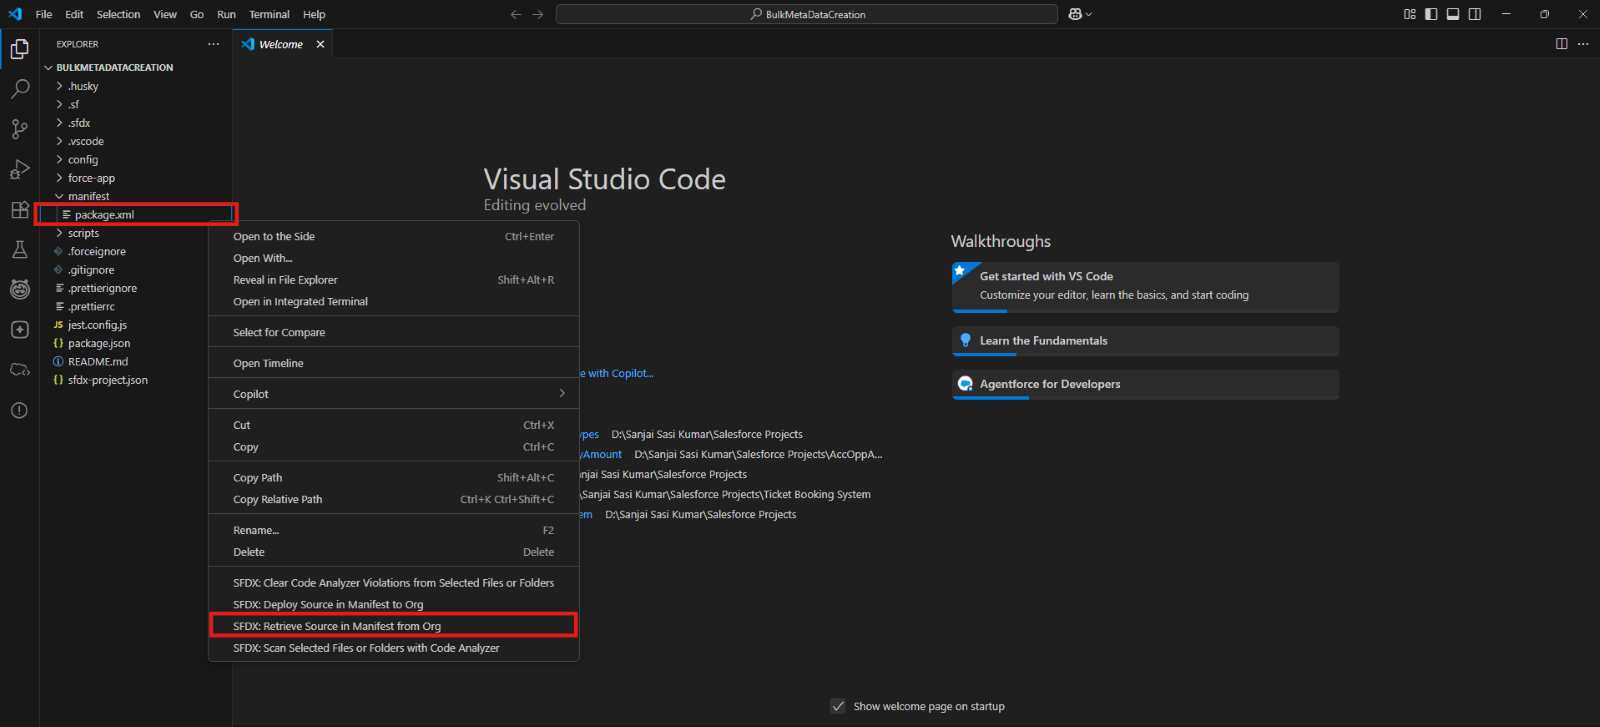
For the Custom Metadata Retrieve you need an extension in VS Code. I have used the Org Browser Extension.
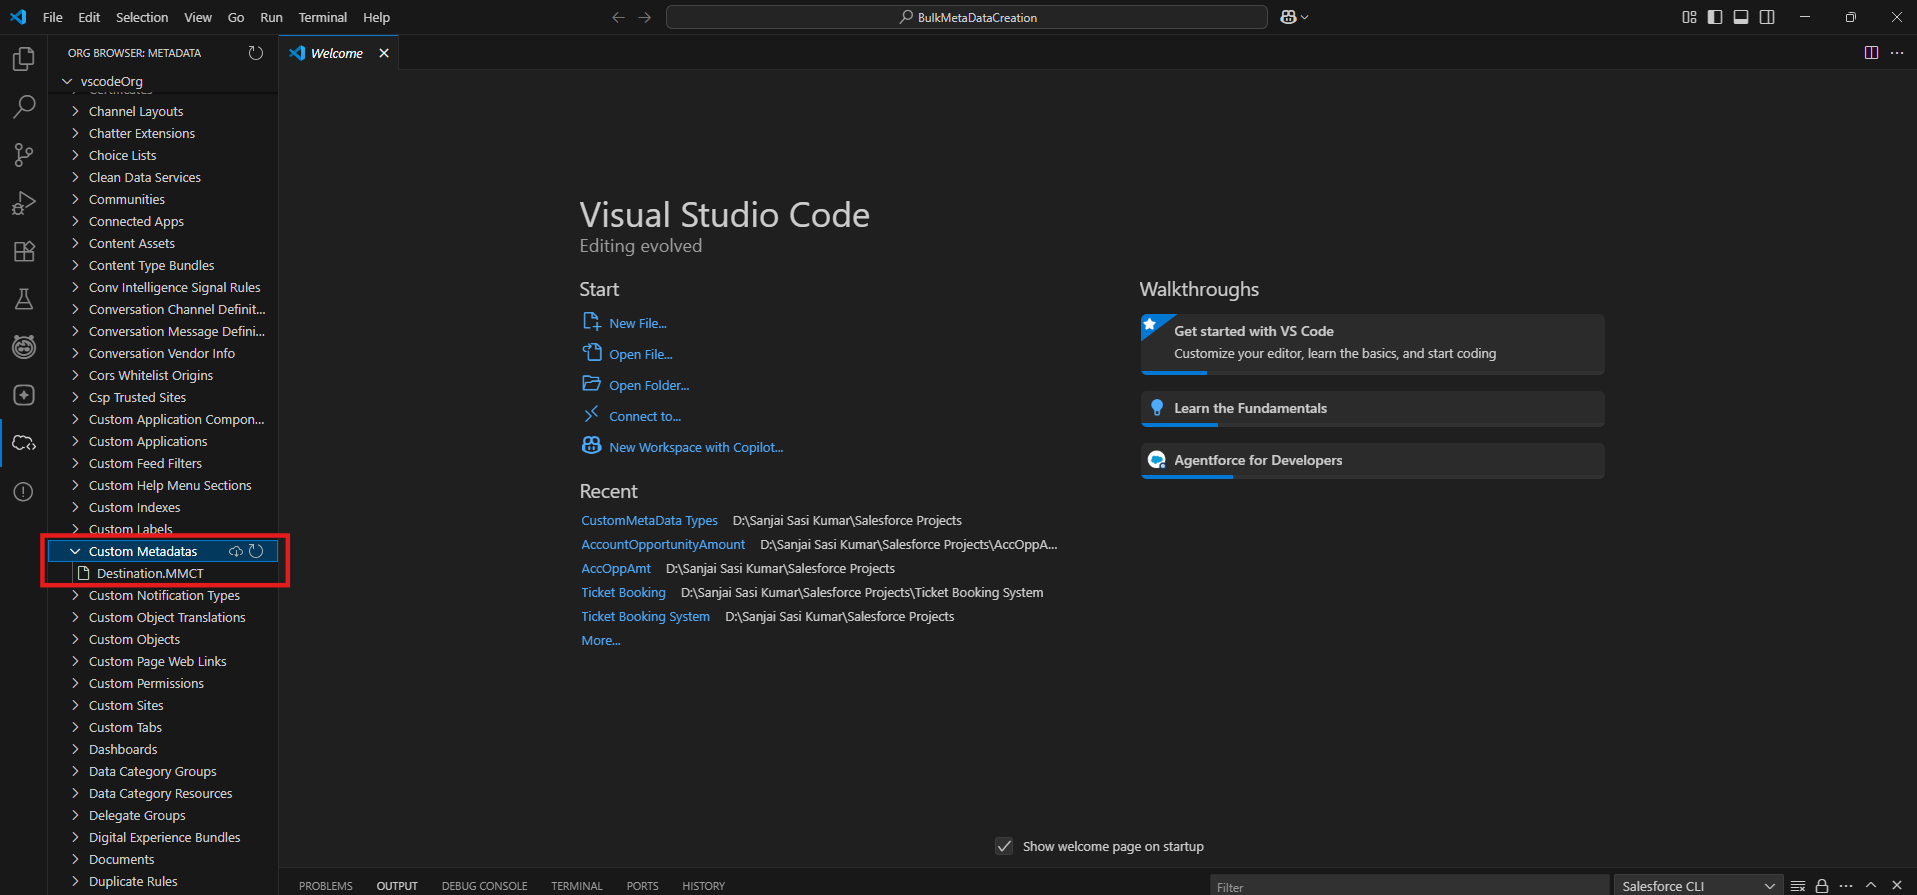
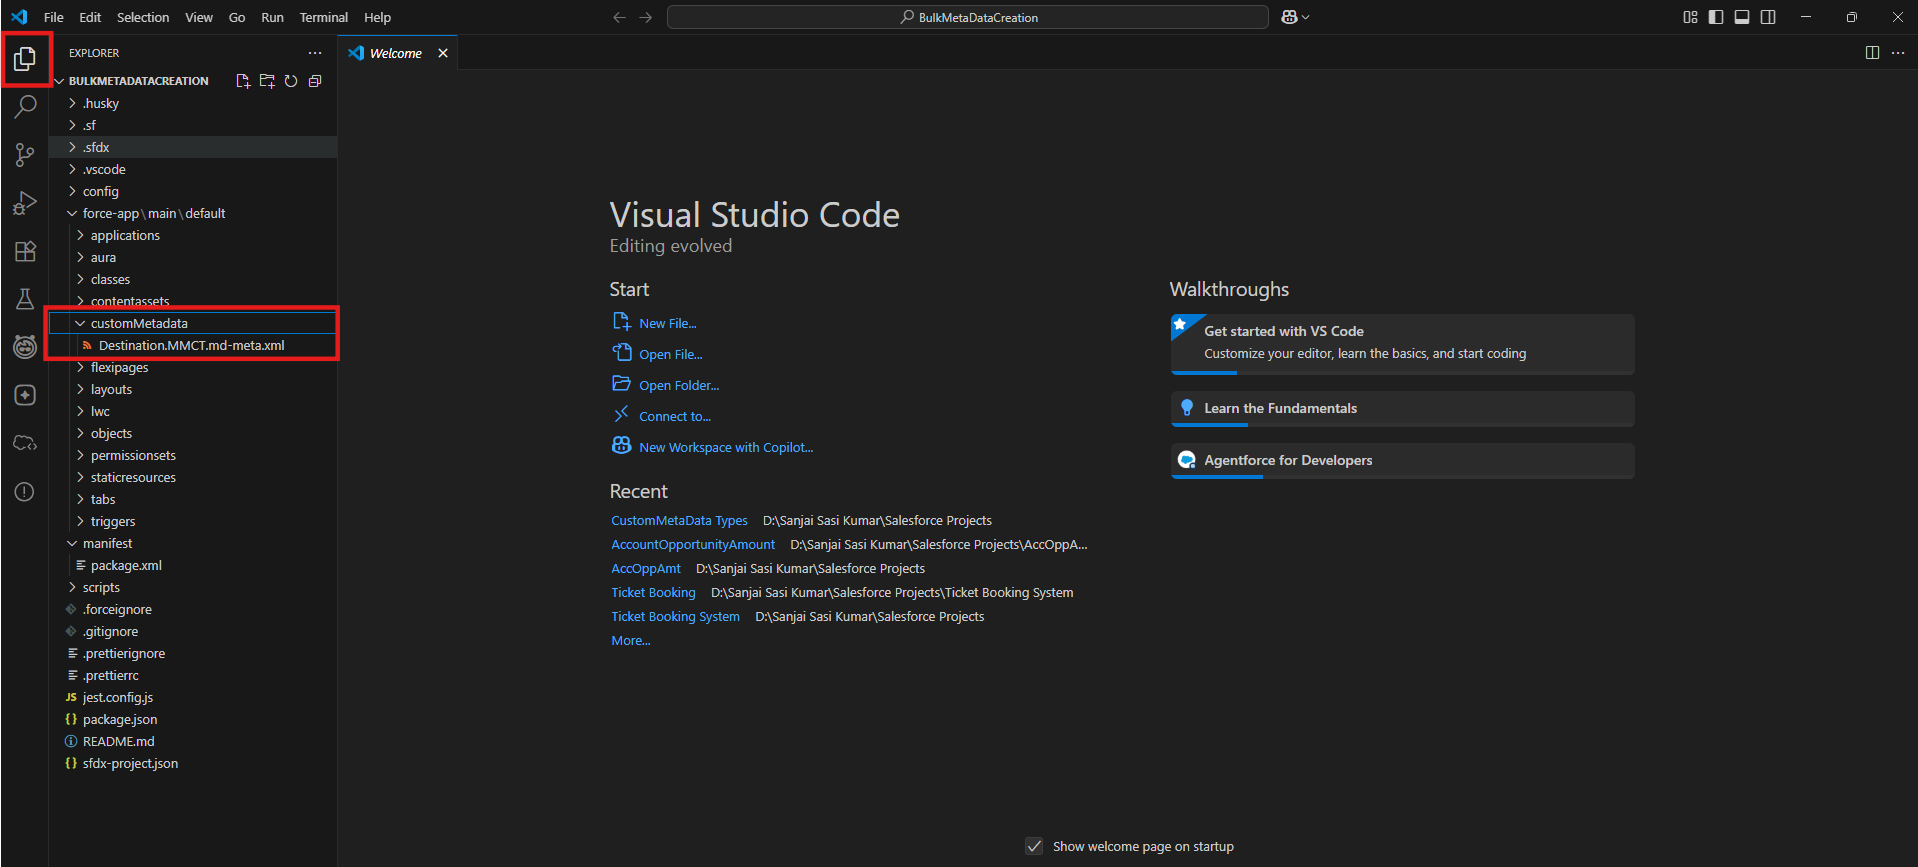
- Custom Metadata folder retrieved successfully.
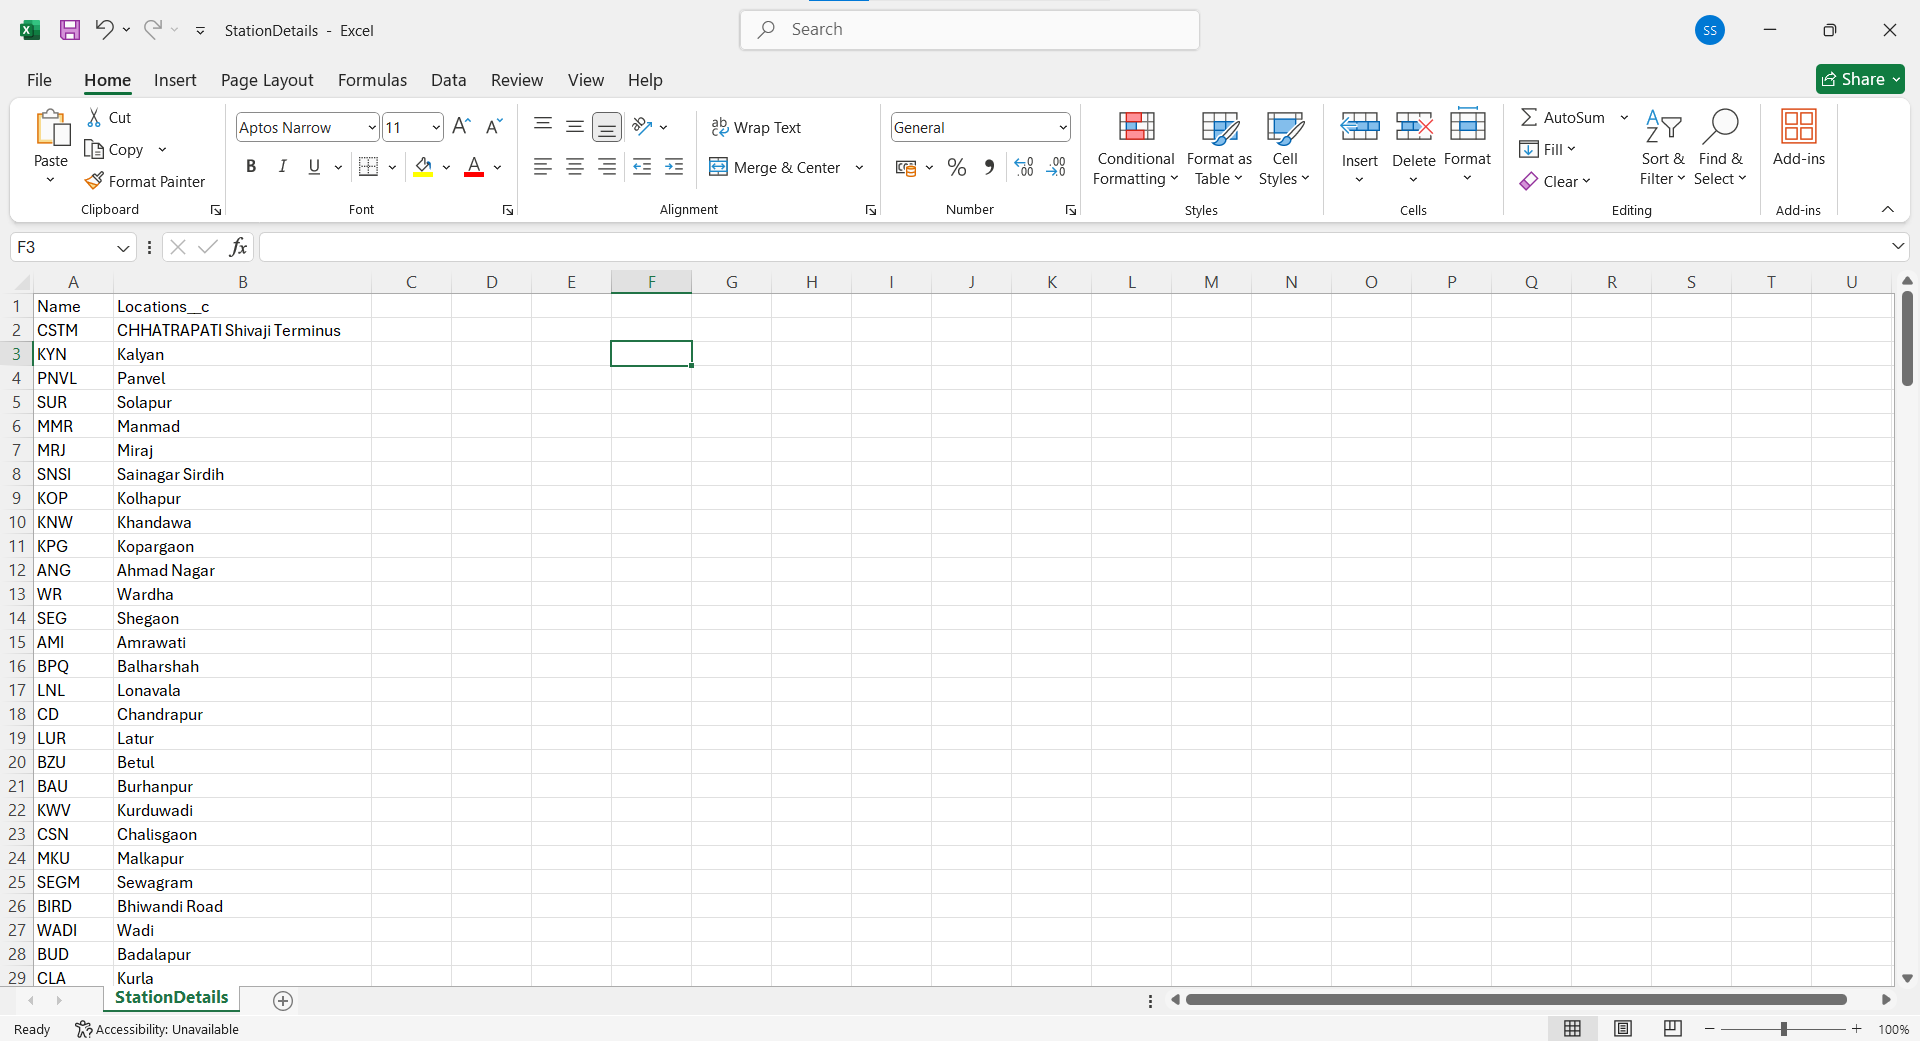
Step 5: Prepare your .csv file, clean it, and store it in the folder where you want it or else in the project folder.
- Give the column name the same as the field's API name.
- Keep the label name as Name API name must be unique, and sometimes it contains underscores and alphanumeric characters.
- If your column name contains any space, it means just replace it with the underscore.
- Here I am dealing with the Text data type. If you are using a picklist, the values must be unique. It must be there in the picklist values.
- And the label names also must be unique. Custom metadata doesn't accept the duplicate values.
Step 6: Open Terminal in the VS Code and follow the steps.
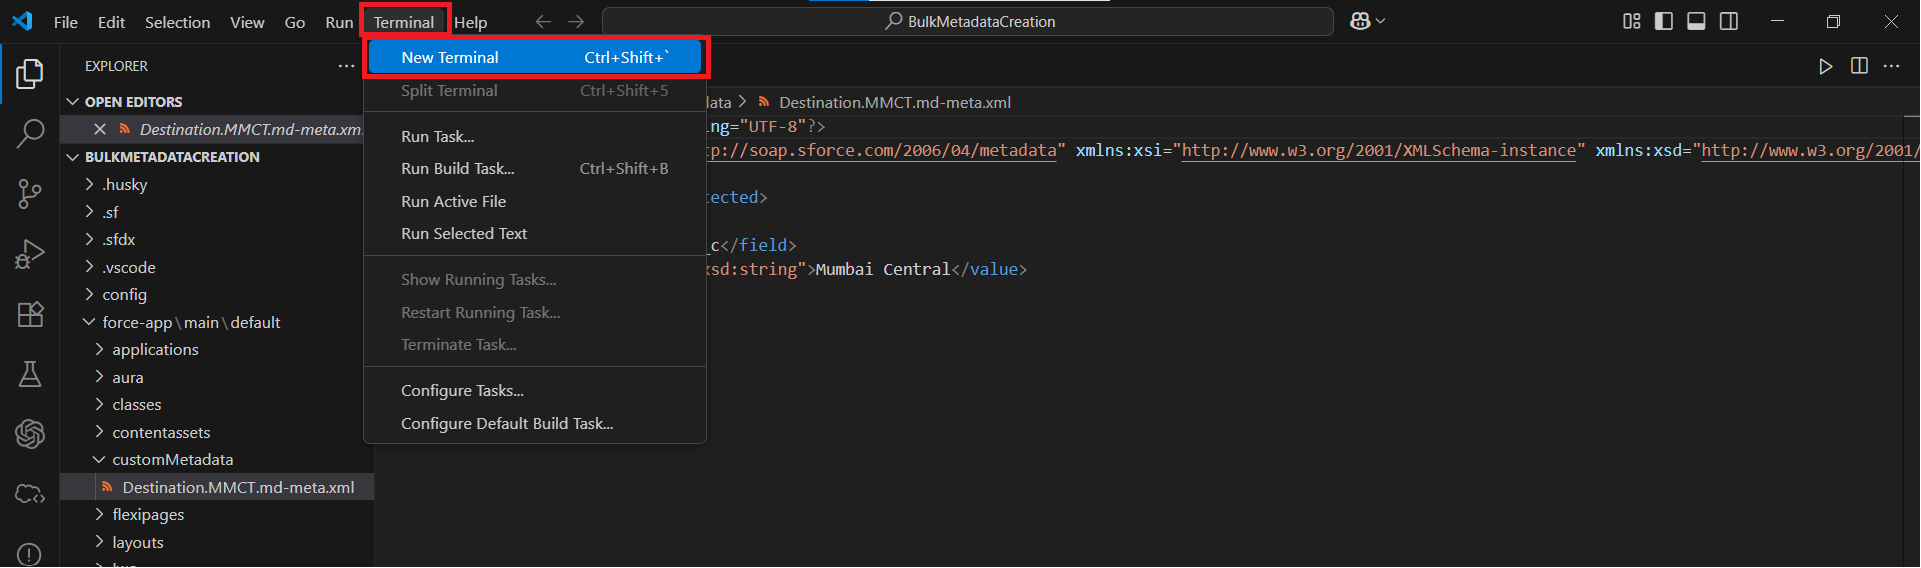
Execute these cmd commands.
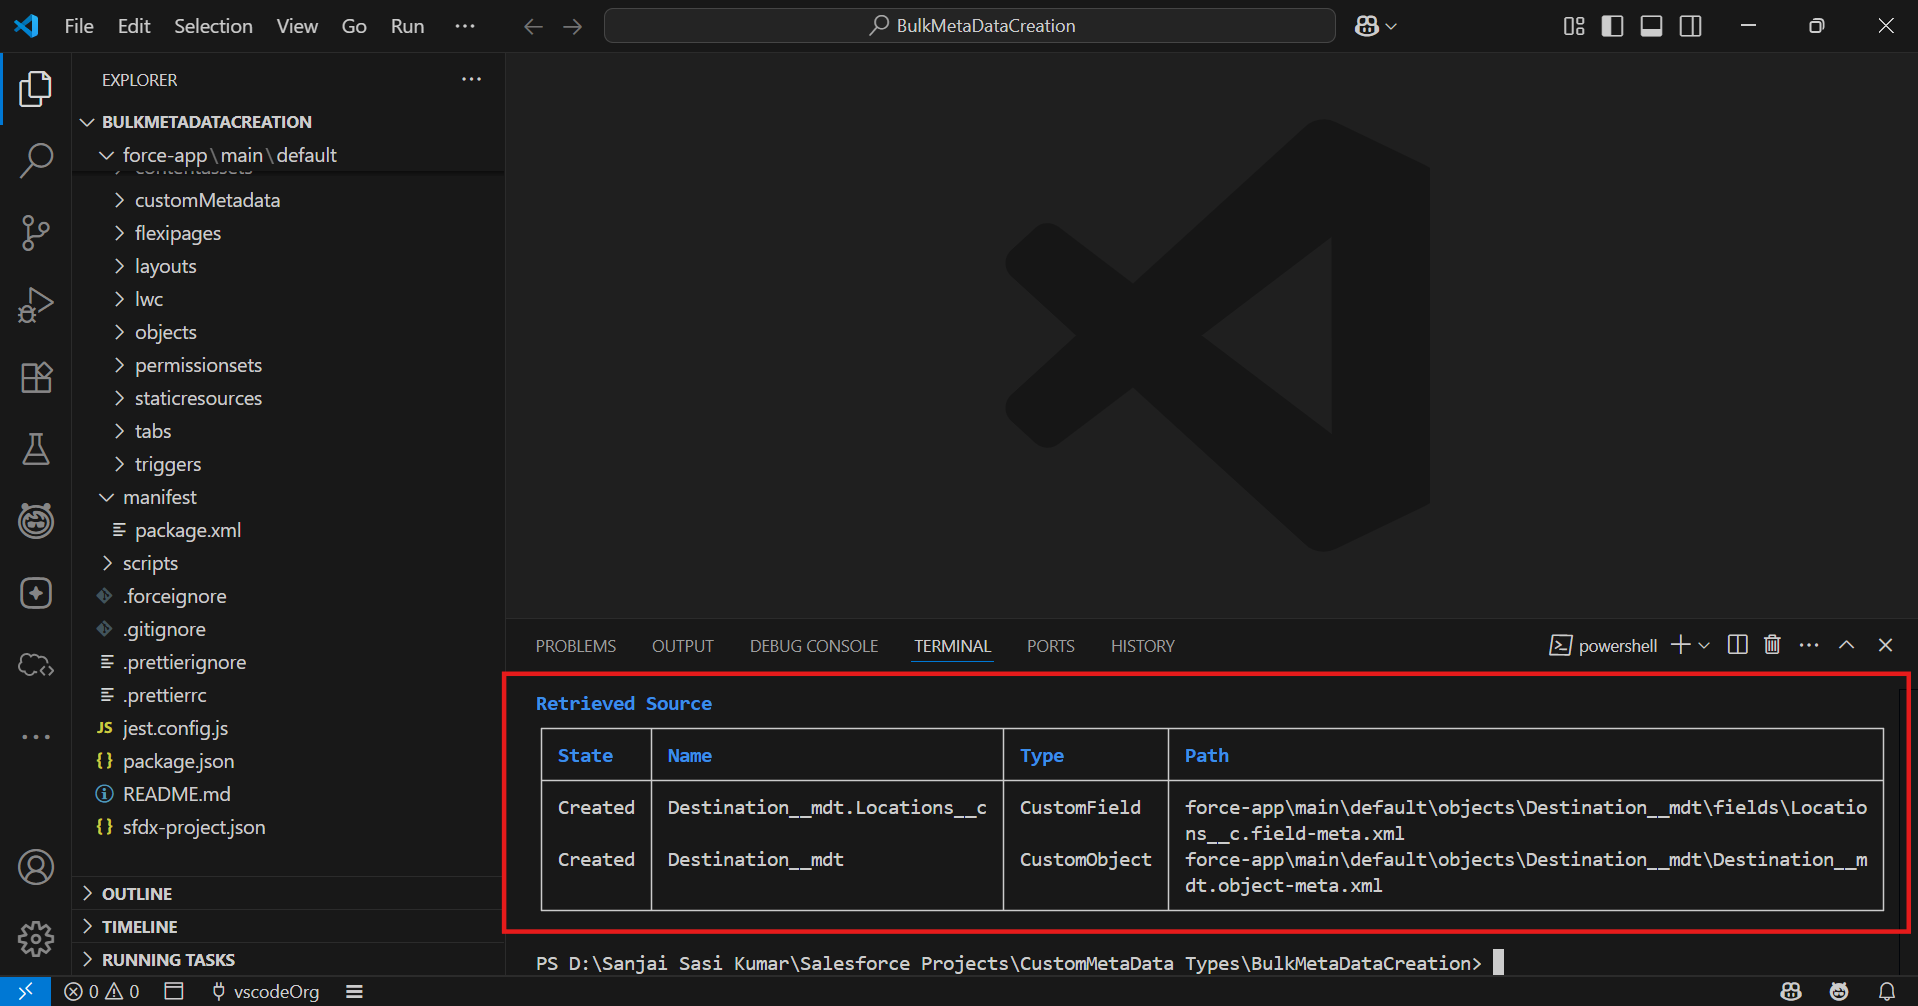
sf project retrieve start --metadata CustomObject:Destination__mdt- Execute this command compulsorily because it will retrieve Custom Metadata Information and field information. Here in this example, I have used my Metadata obj Destination__mdt, you can replace it with yours.
- Here, I am giving my file source command as an example; you can replace your file path and use the command.
Example:
sf cmdt record insert --filepath "E:\Project\New Salesforce Project\Ticket Booking System\StationDetails.csv" --typename Destination__mdt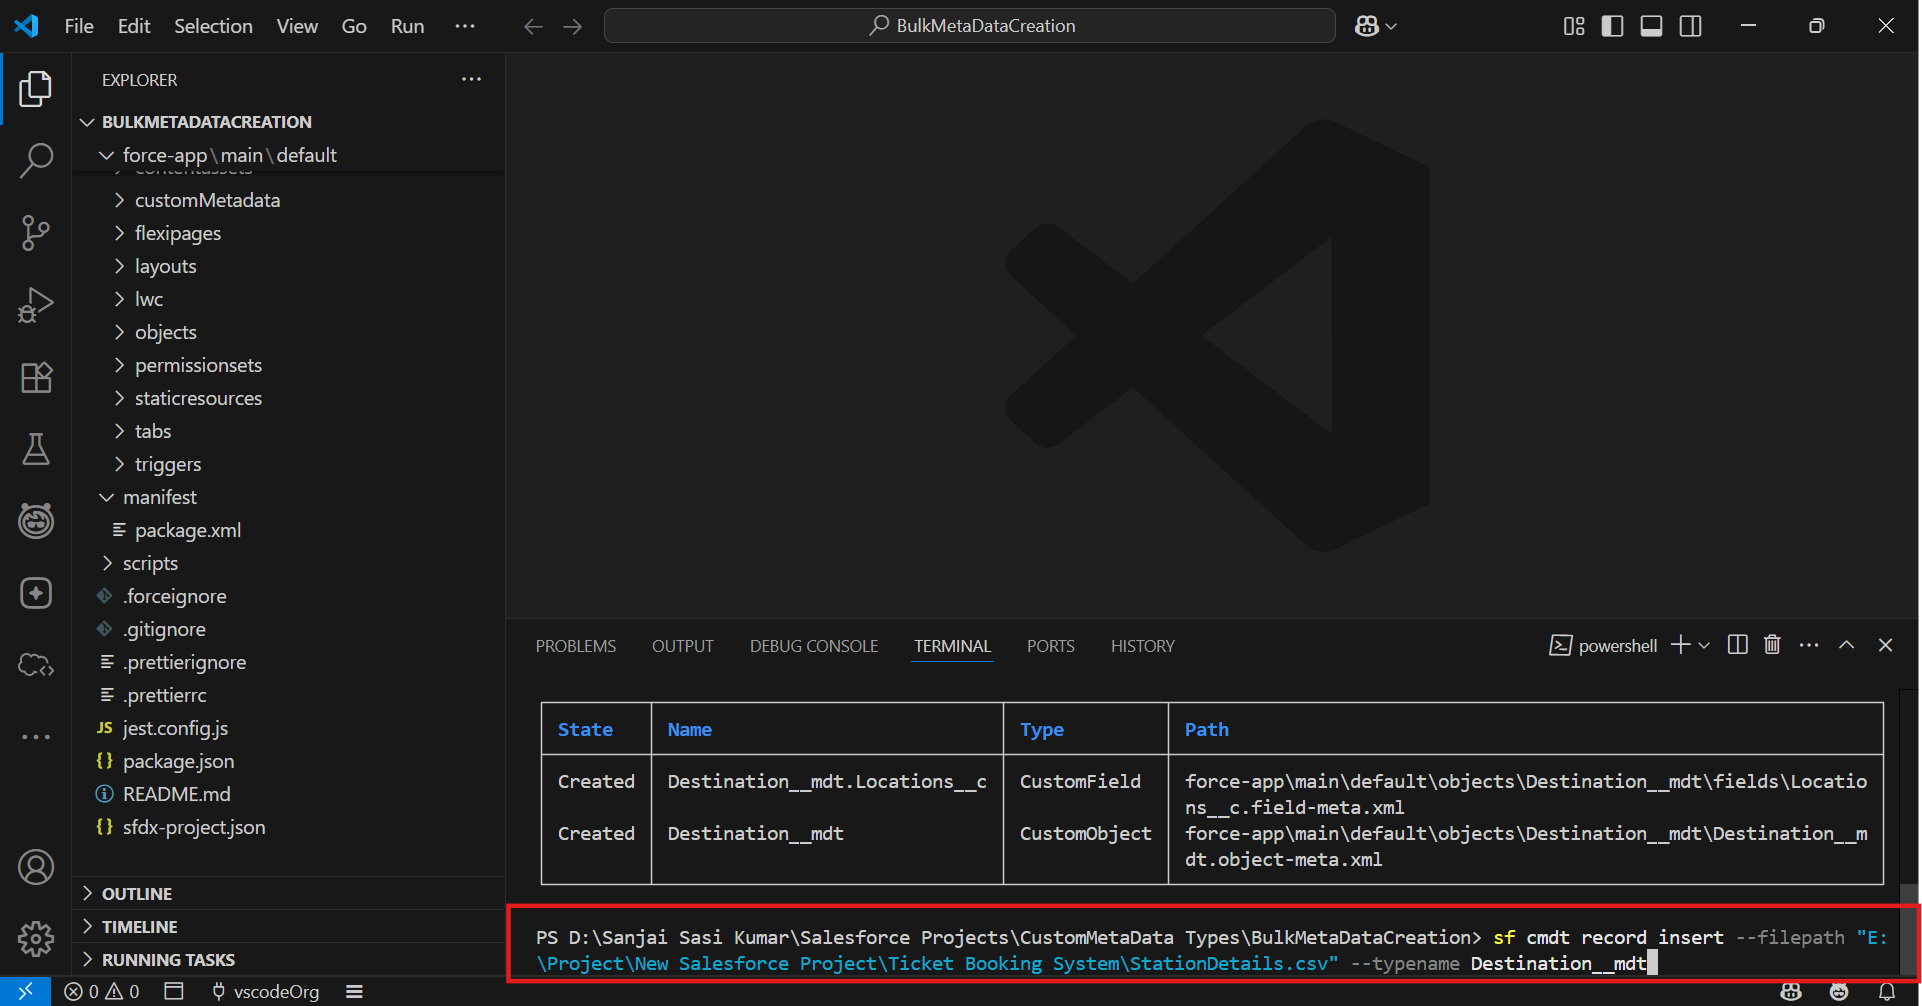
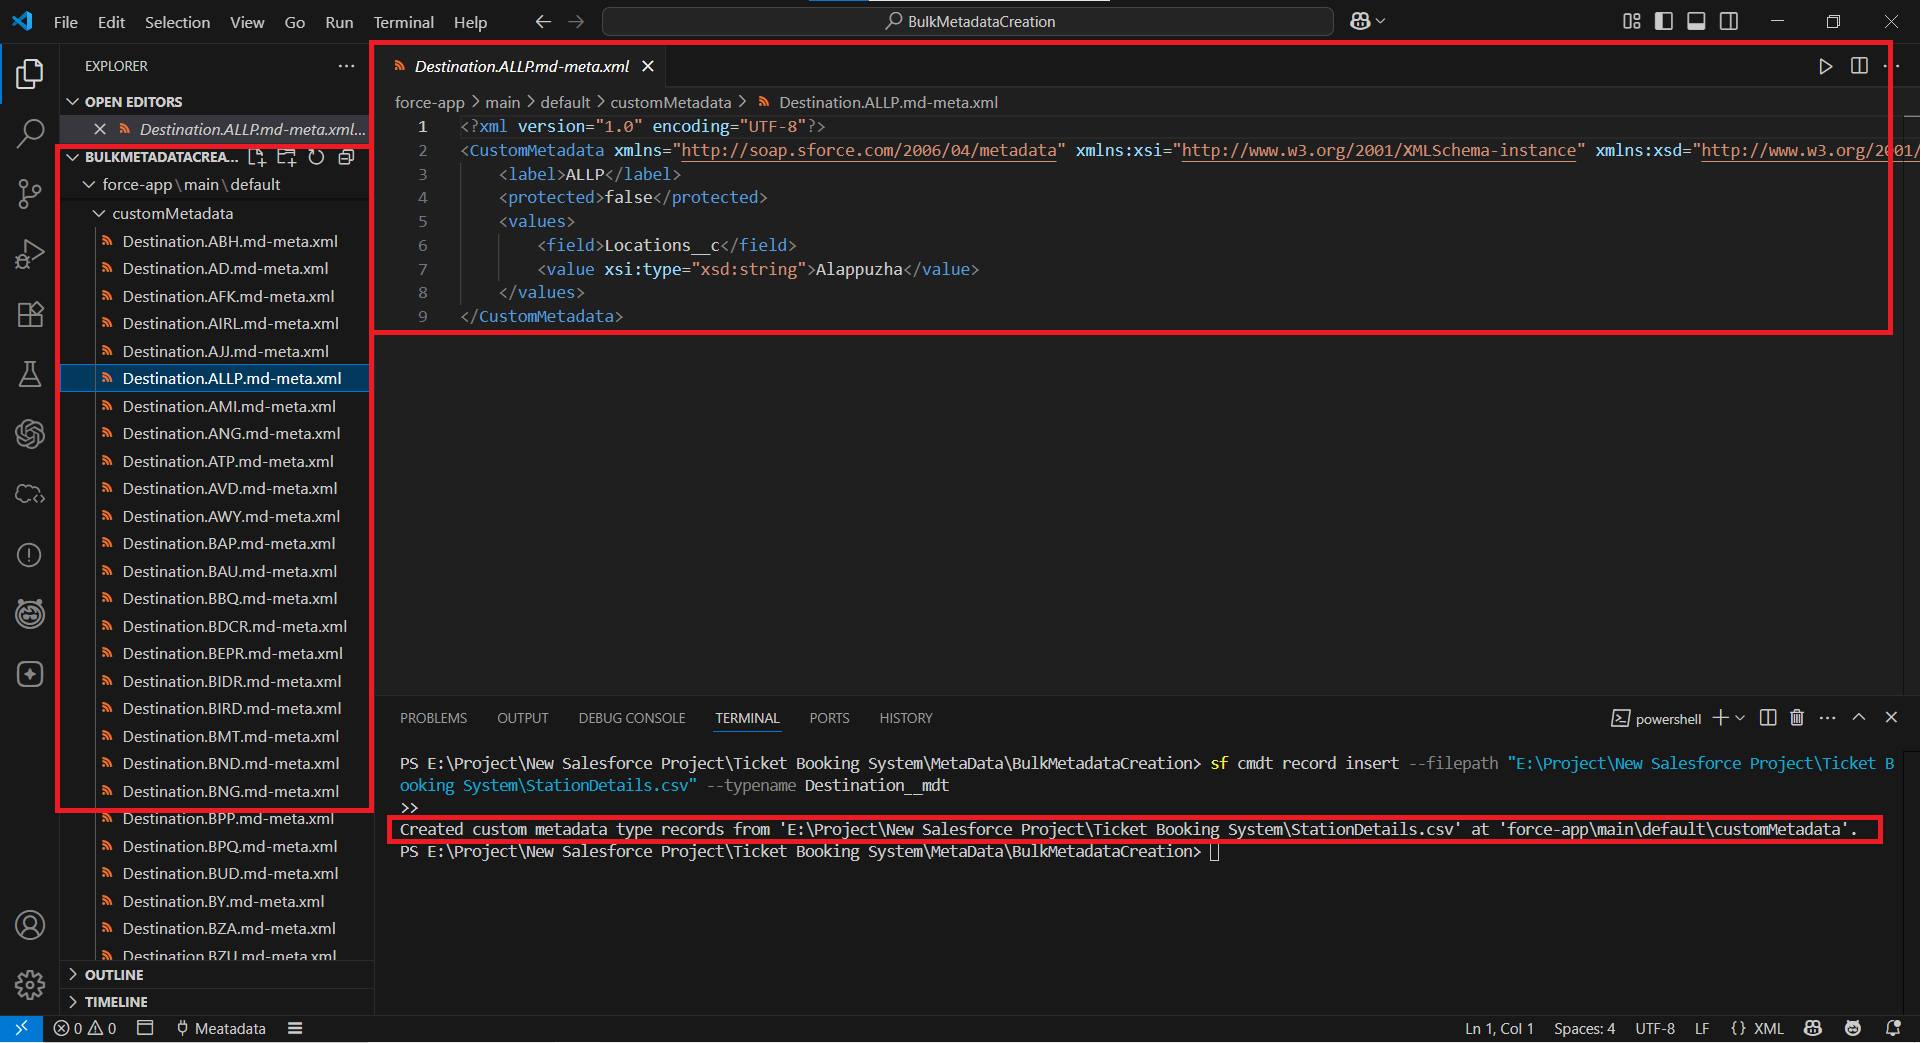
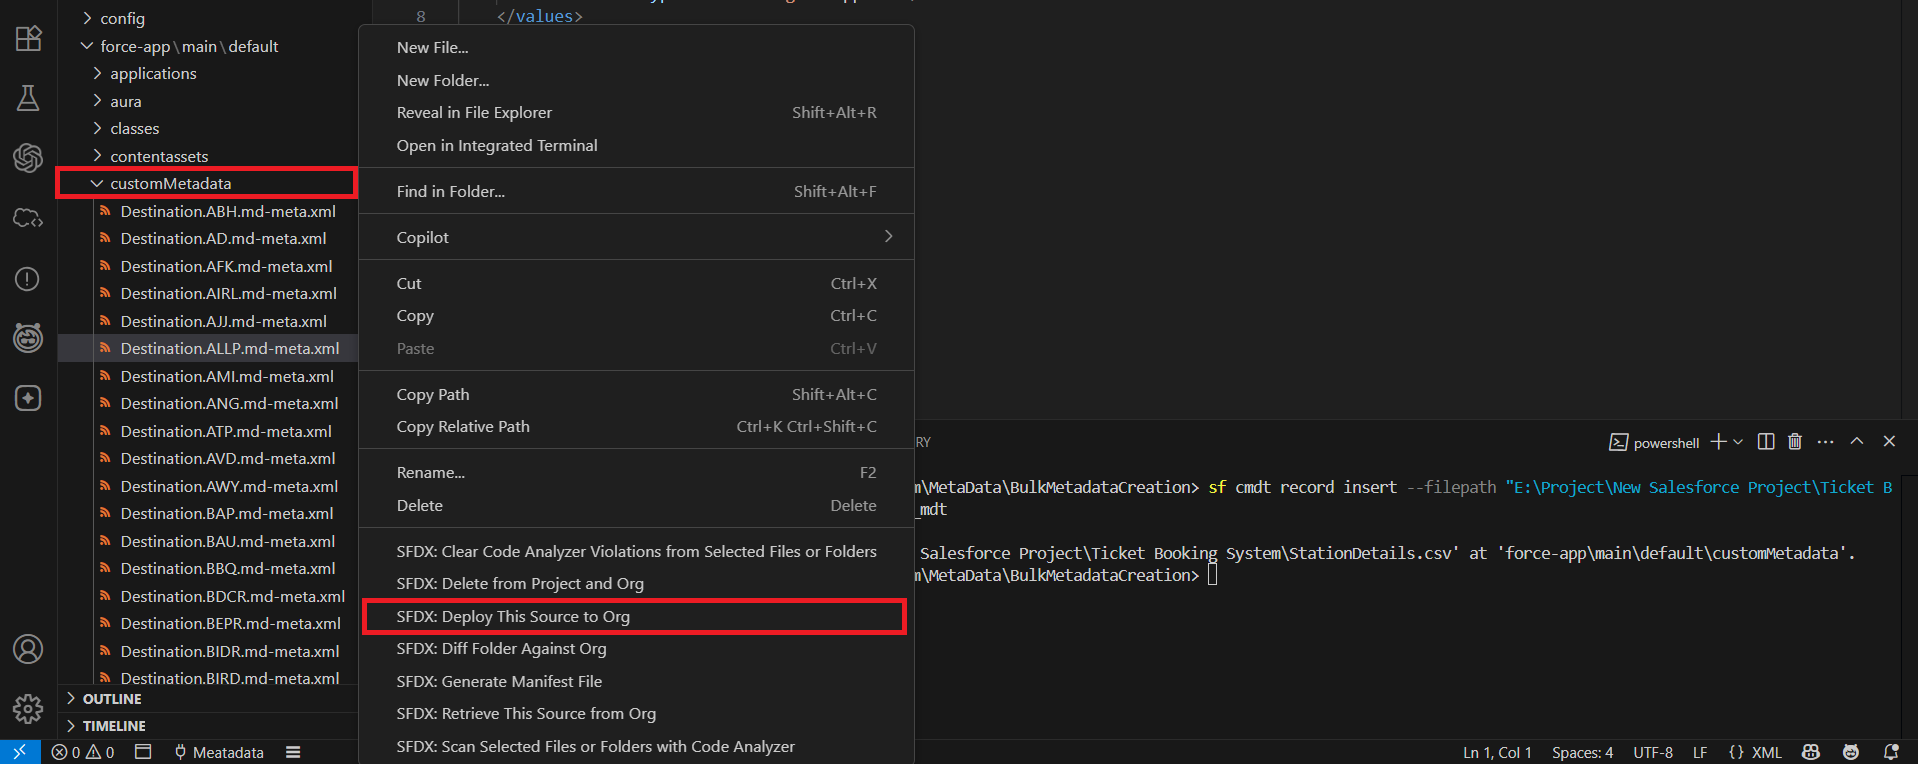
Step 7: All Custom Metadata Records created locally you can view in the project folder. Now you need to deploy this through org.

- Deploy the created Custom Metadata to your org.
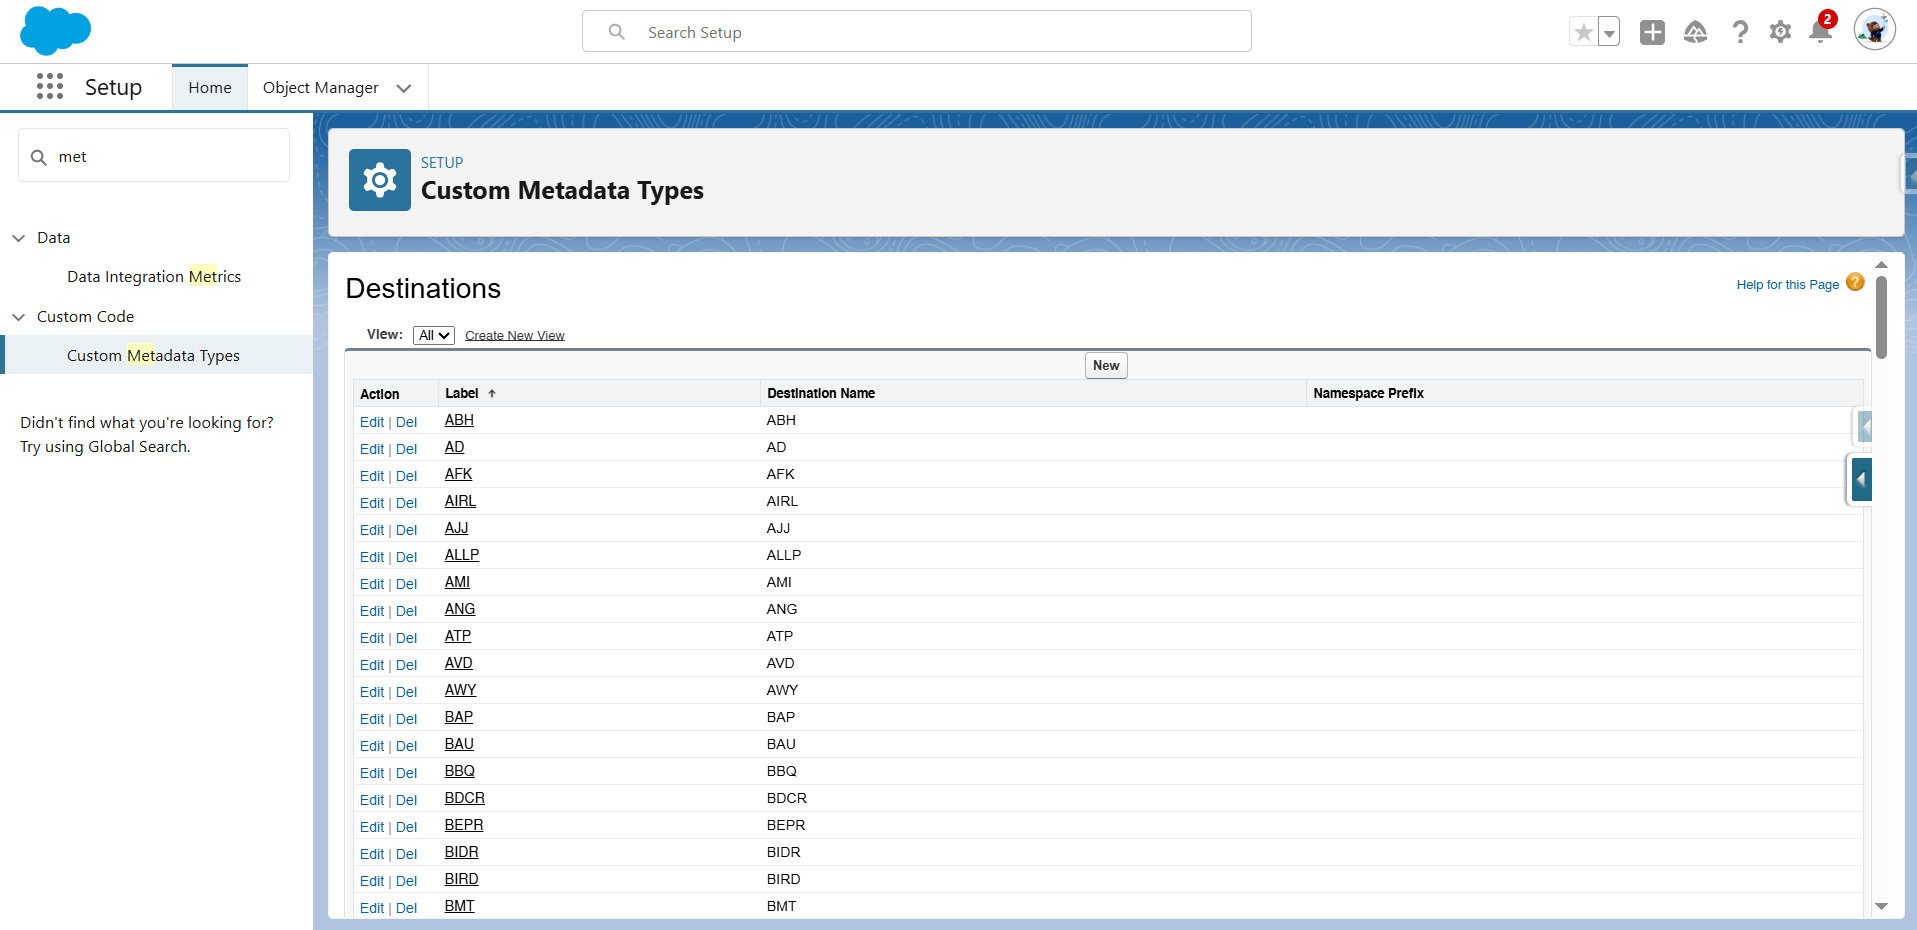
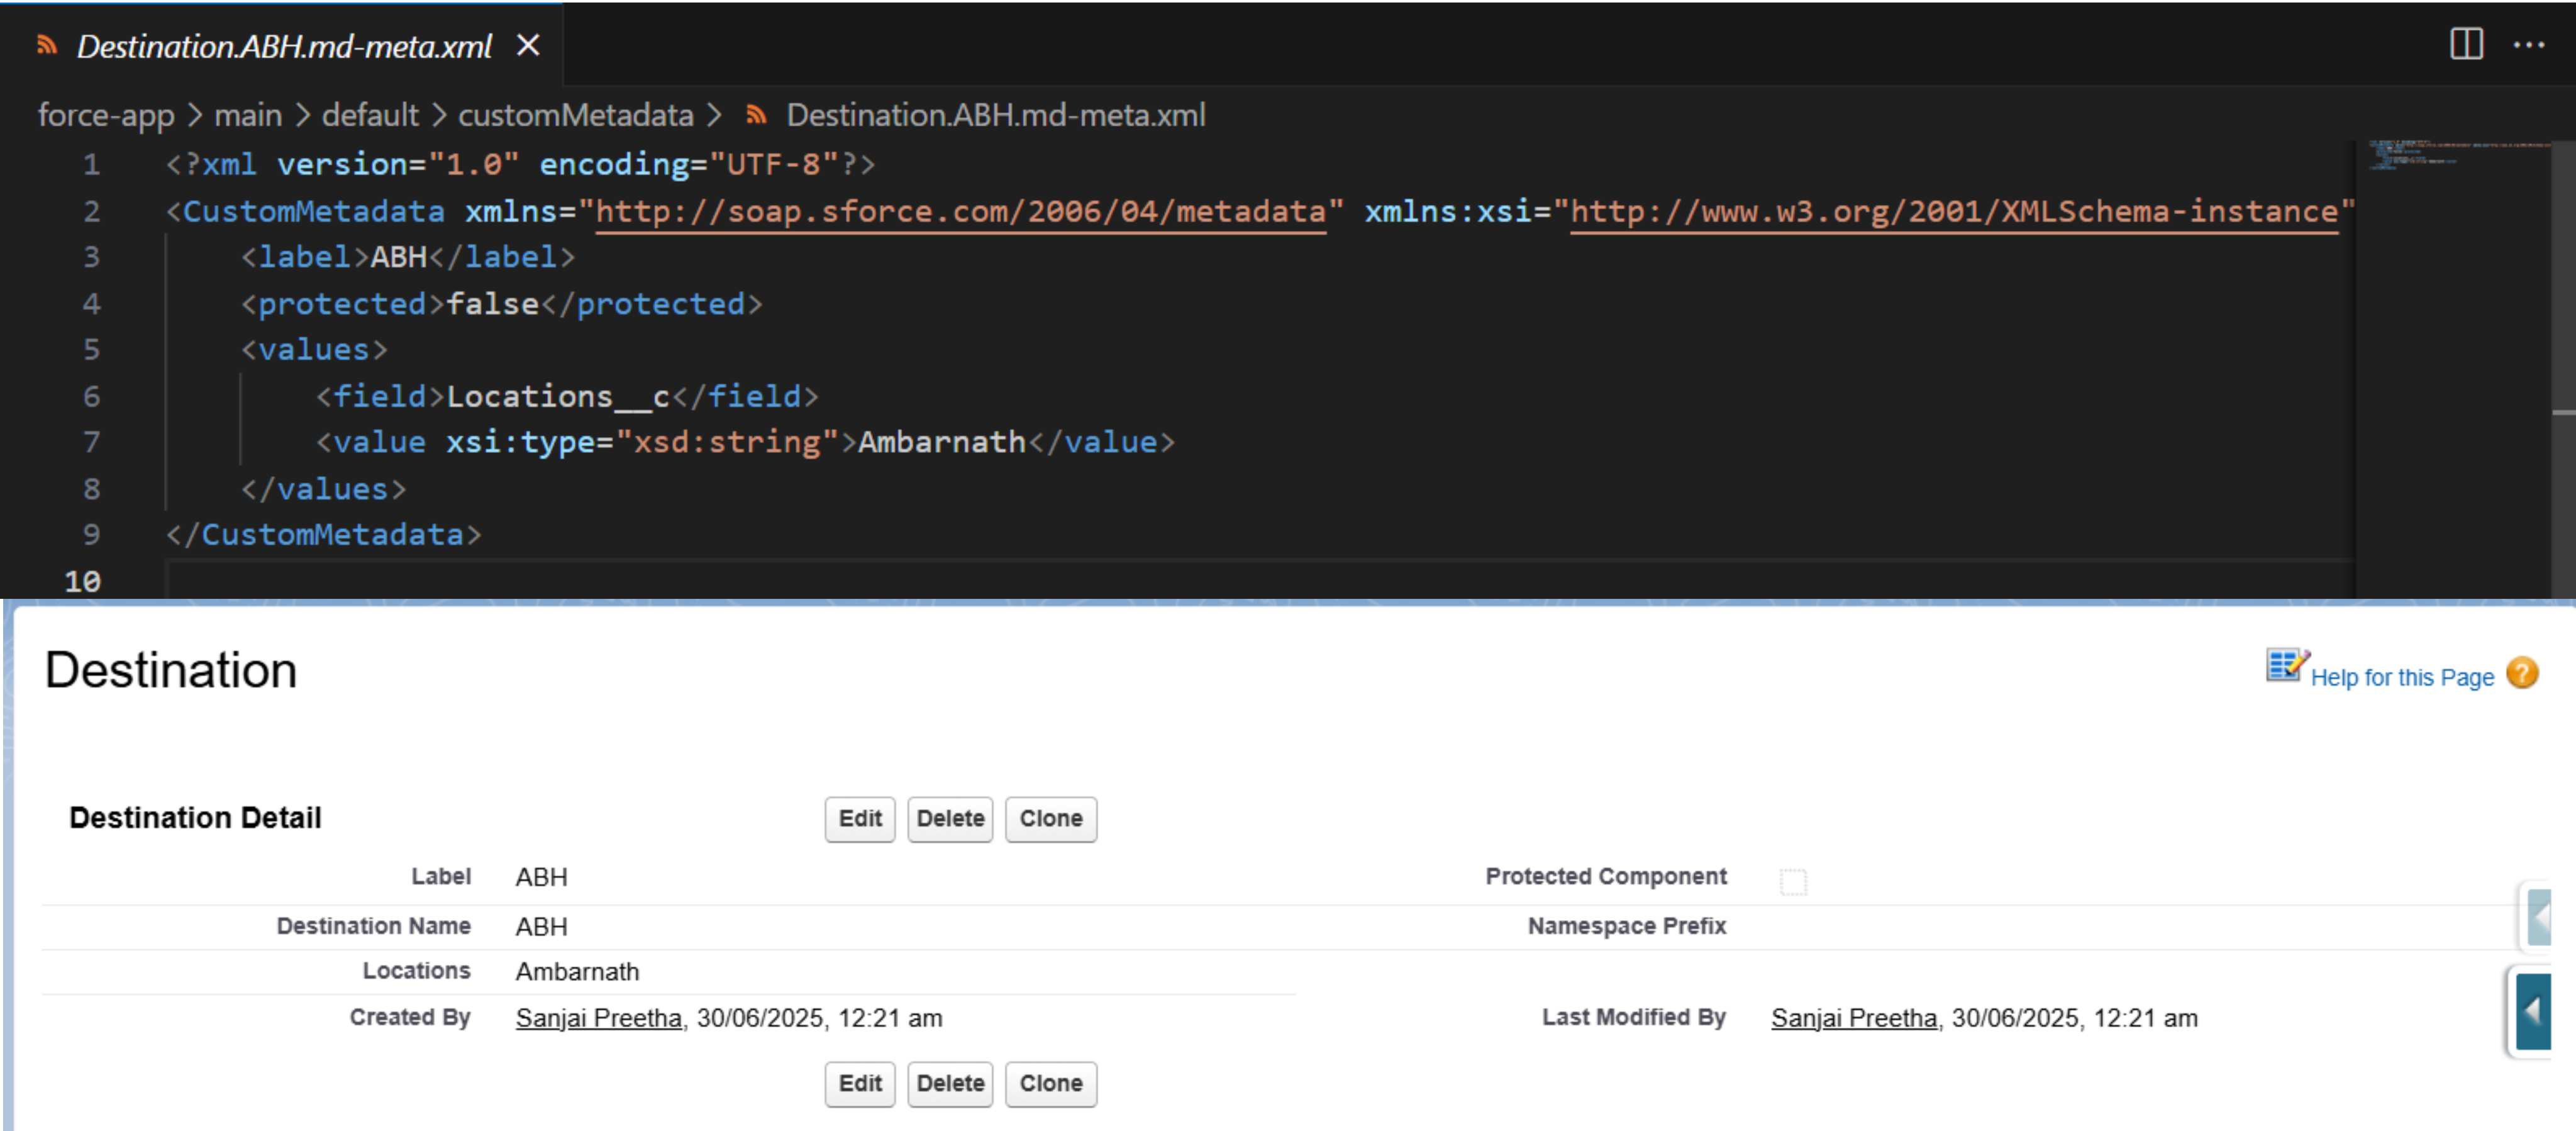
Step 8: Finally, review the created Custom Metadata records in your org.
Step 9: Finally, I am able to get those From & To values in the picklist which I have used in my booking application, please see the below-mentioned GIF image, which shows that.
Conclusion
This blog provided an overview of how to create bulk Custom Metadata records using Salesforce functionality, which can help the Salesforce Admin/Developer to save their time. These tools & techniques improve the management and manipulation of large amounts of metadata. It helps you be more efficient and effective with your workflows.
If you find this blog post helpful, please follow us for more great articles, advice, and in-depth tutorials about Salesforce and other technology!. We can't wait to keep creating posts for you and help you stay on top of the technology that continues to advance.
See you on the next blog post!